• Skip to primary navigation
  • Skip to main content
  • Skip to primary sidebar
OklaRoots

OklaRoots

Dream. Motivate. Create.

  • Video Tutorials
  • Shop OklaRoots!
  • Pattern Vault
    • All Free Patterns
    • Quilts
      • Binding Calculator and Tutorial
      • Block Party!
      • Free Quilt Patterns
      • Delilah BOM Tips
  • Blog
    • Weekly Roundup
    • Small Business Series
    • Running
  • Subscribe
  • About Jess
    • Drop a line!

Delilah Block of the Month – Month 2 – Bells Beach Block

Delilah BOM Tips - Jun. 03, 2018 - Jessica OklaRoots

Welcome back!  This month we explore curves.... again.  If you have been following me on Instagram (@oklaroots) you may have noticed that I am not a big fan of the curves.  

Well, let me clarify:  I love the look of curves... I just don't like making them. 

...
Read More

Delilah Block of the Month – Month 1 – Rising Sun Block

Delilah BOM Tips - Apr. 10, 2018 - Jessica OklaRoots

Anyone else listen to "Delilah" on the radio?  You know the intro.... "Deliiiiilaaaaaaaahhh"? Well, I sing that EVERY TIME I am working on one of these blocks... and I kind of love it. (So does my husband, he just doesn't want to admit it)

If you don't know, the Delilah star of this blog post is a recent quilt pattern by Jen Kingwell.  I have been holding on to this block of the month pattern since it started... a year ago.  I participated with Amitie quilt shop, receiving a block pattern, acrylic templates and a selection of fabrics each month.  At this point in time (April 2018) the block of the month program is over and the pattern is not available to purchase.  I will update this once that changes. UPDATE: Pattern available here!

...
Read More

Sparkle Bags!

Bags, Tutorials - Apr. 06, 2018 - Jessica OklaRoots

My love for boxy bags has gone to a whole new level today. Introducing, sparkly boxy bags!!!

:: applause :: :: cheers :: :: the crowd goes WILD ::

...
Read More

Fat Quarter Cinch Pouch Tutorial

Bags, Tutorials - Jan. 05, 2018 - Jessica OklaRoots

In an effort to get through the last minute Christmas gift hustle, I realized I didn’t have gift bags on hand for the smaller trinkets.  Instead of braving the elements (and putting on “grown up” clothes) I relied on my handy-dandy sewing room for a solution.

…

Read More

Binding Calculator and Tutorial

Quilts, Tutorials - Oct. 02, 2017 - Jessica OklaRoots


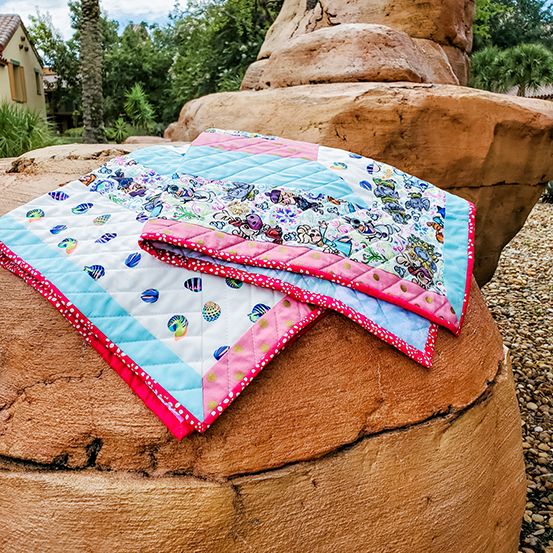
Here is a handy calculator to cut the calculation time for binding down SIGNIFICANTLY!!  

Simply enter in your quilt and fabric measurements, click “Calculate” and the calculator will tell you how long your binding should be, as well as how many strips you need to cut and how many yards that will require.  

I know…. my mind is blown as well. 

Video Tutorial:

Quilt Top Height (in)

Quilt Top Width (in)

Binding Strip Width (in)

Binding Fabric Width (in)

Binding Length (in)

Strips

Yards

The following is a tutorial to make quilt binding. Please refer to the video above for even more details.

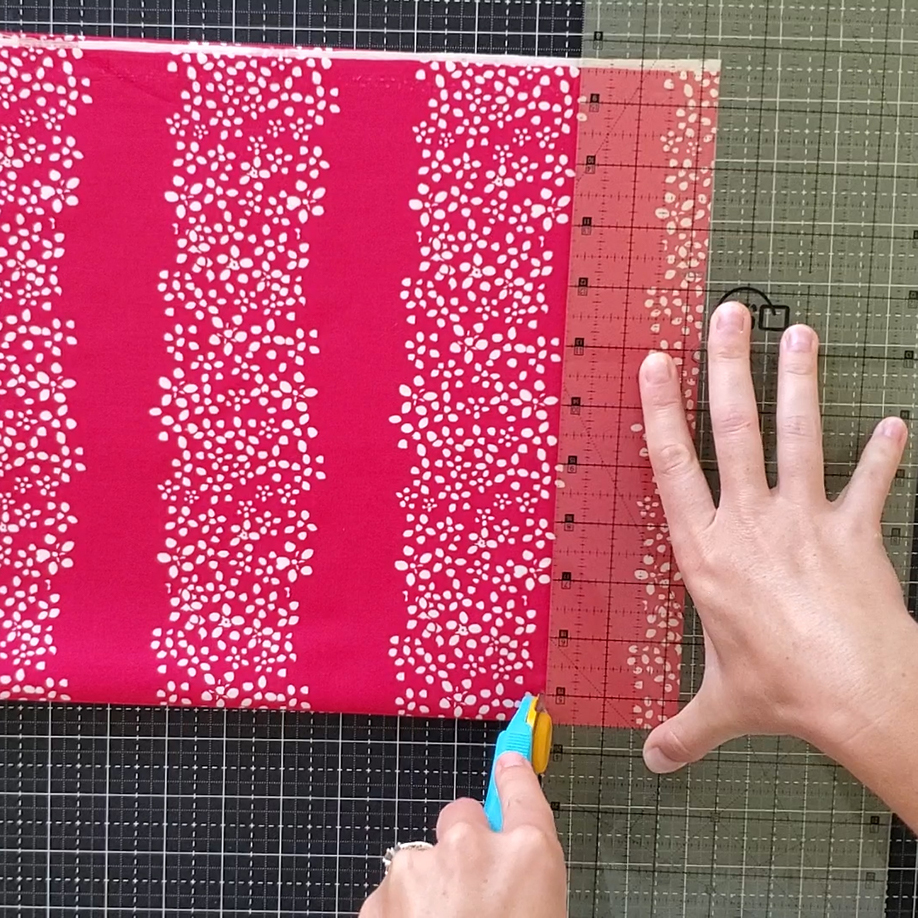
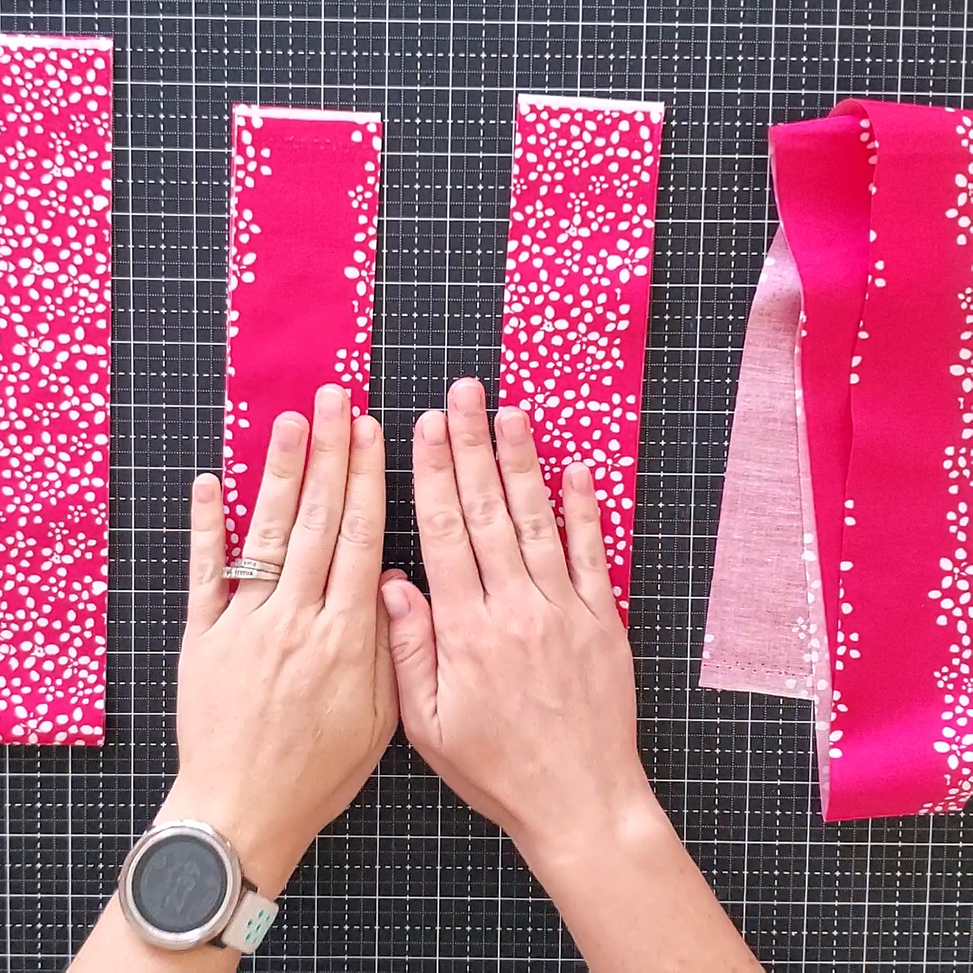
First, cut your strips as long as possible.  Usually, this is width of fabric (from one selvage to the other). Cut the strips your desired width (I default to 2.5 inches, but many quilt patterns call for 2.25 inches). 

Now we need to stitch them together!

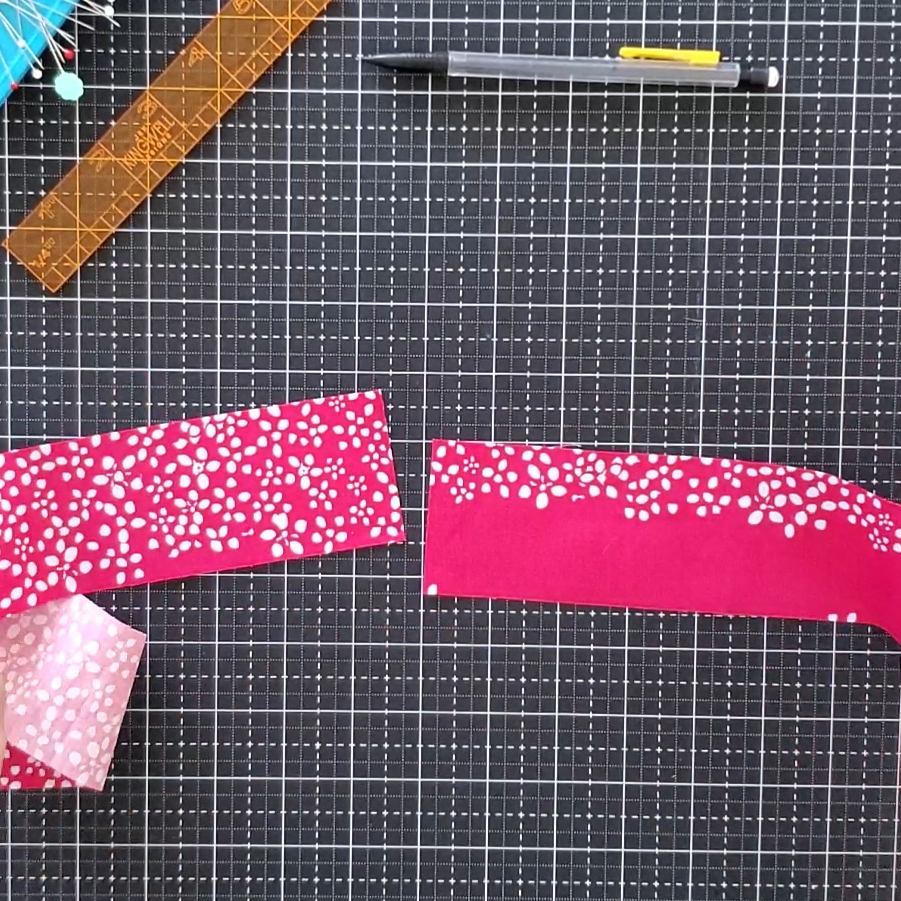
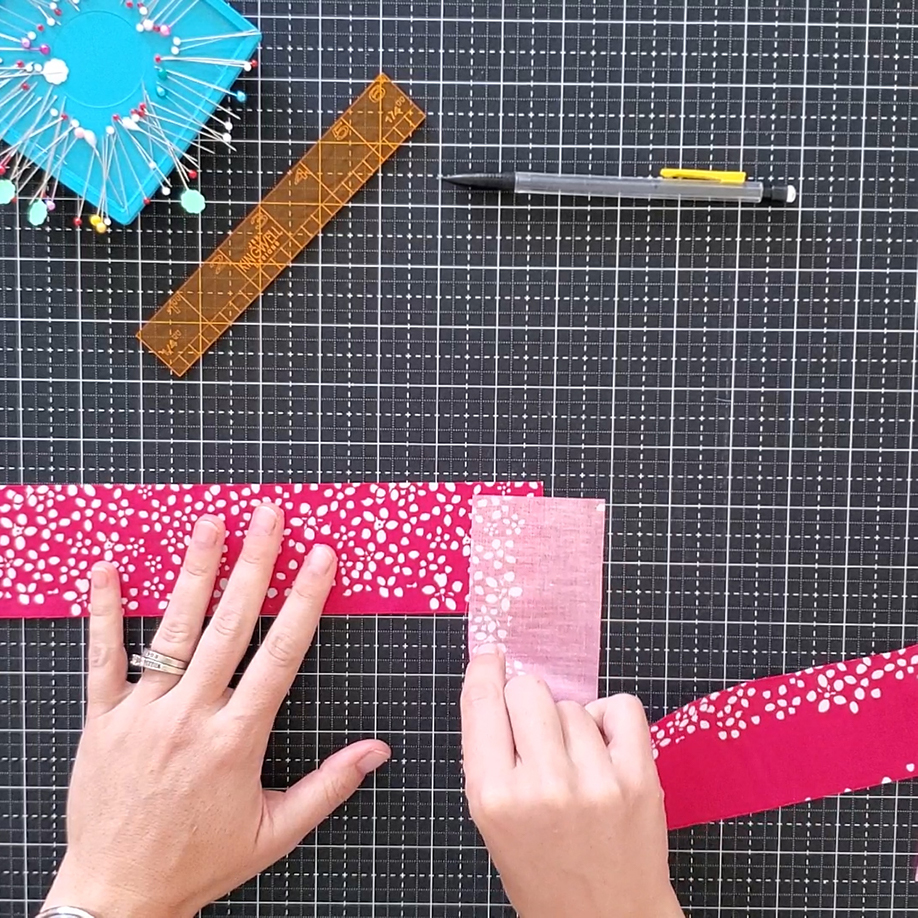
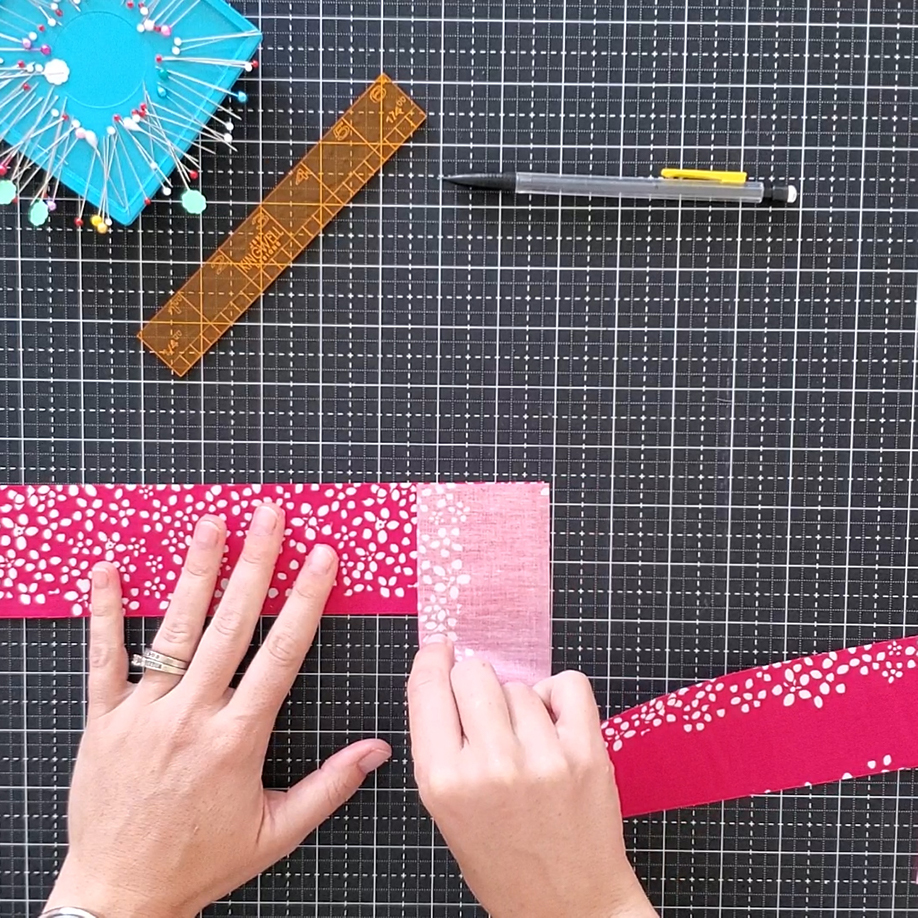
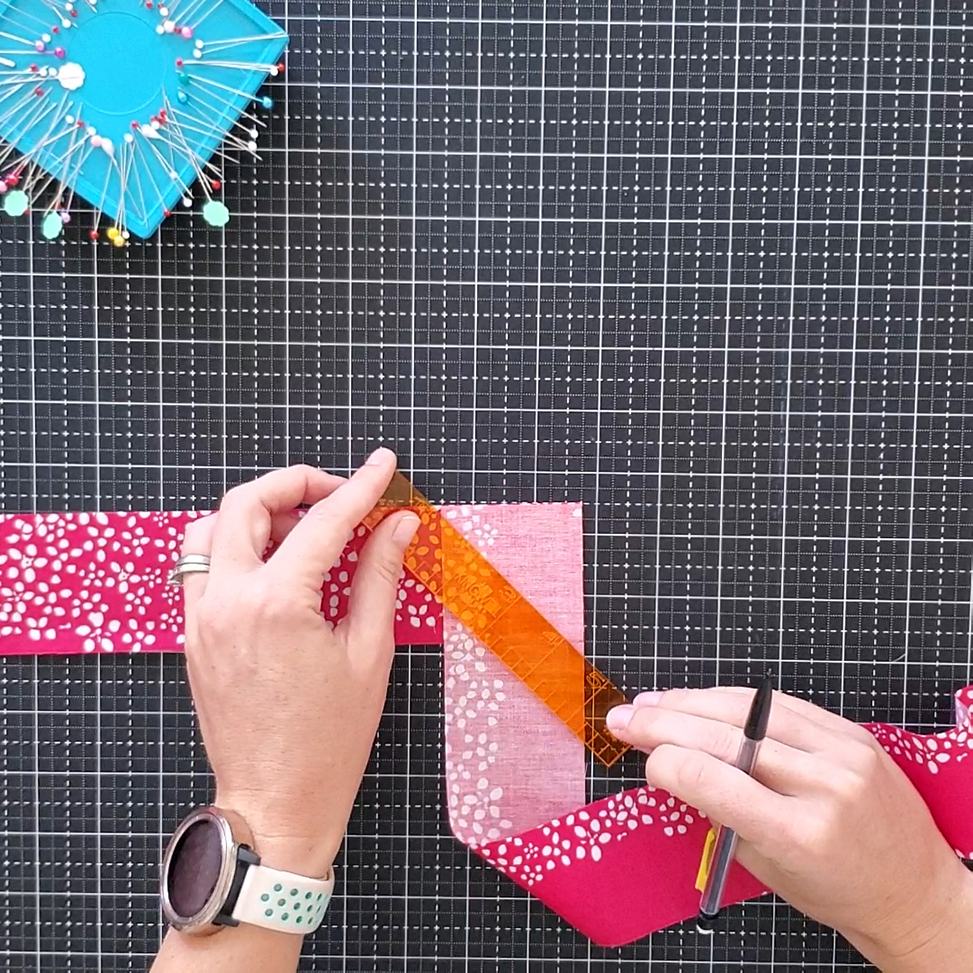
Take two strips and align them right sides together, perpendicular to one another.Align the edges as shown, and mark the bottom right edge of the bottom strip on the top strip.  Then, using a small ruler, draw a line from the top left corner of the top strip to that dot.

Do this for all the strips, creating one long strip. Sew along these marked lines. 

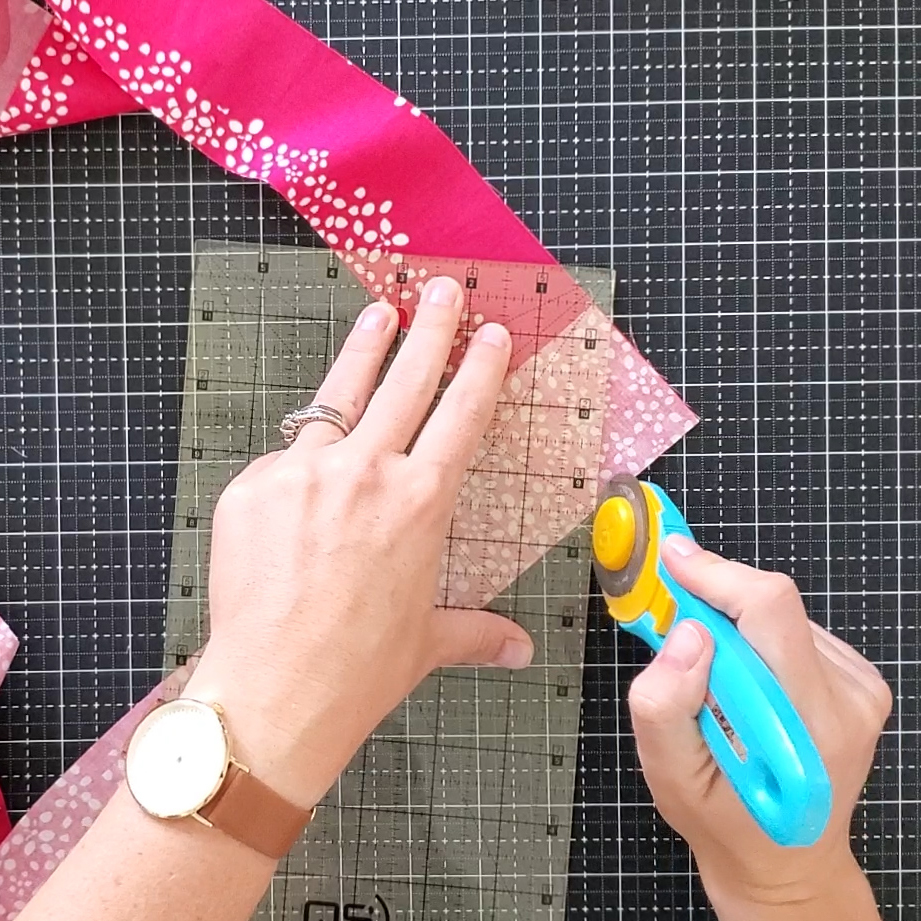
Trim off a quarter inch seam allowance. Press the seam open.

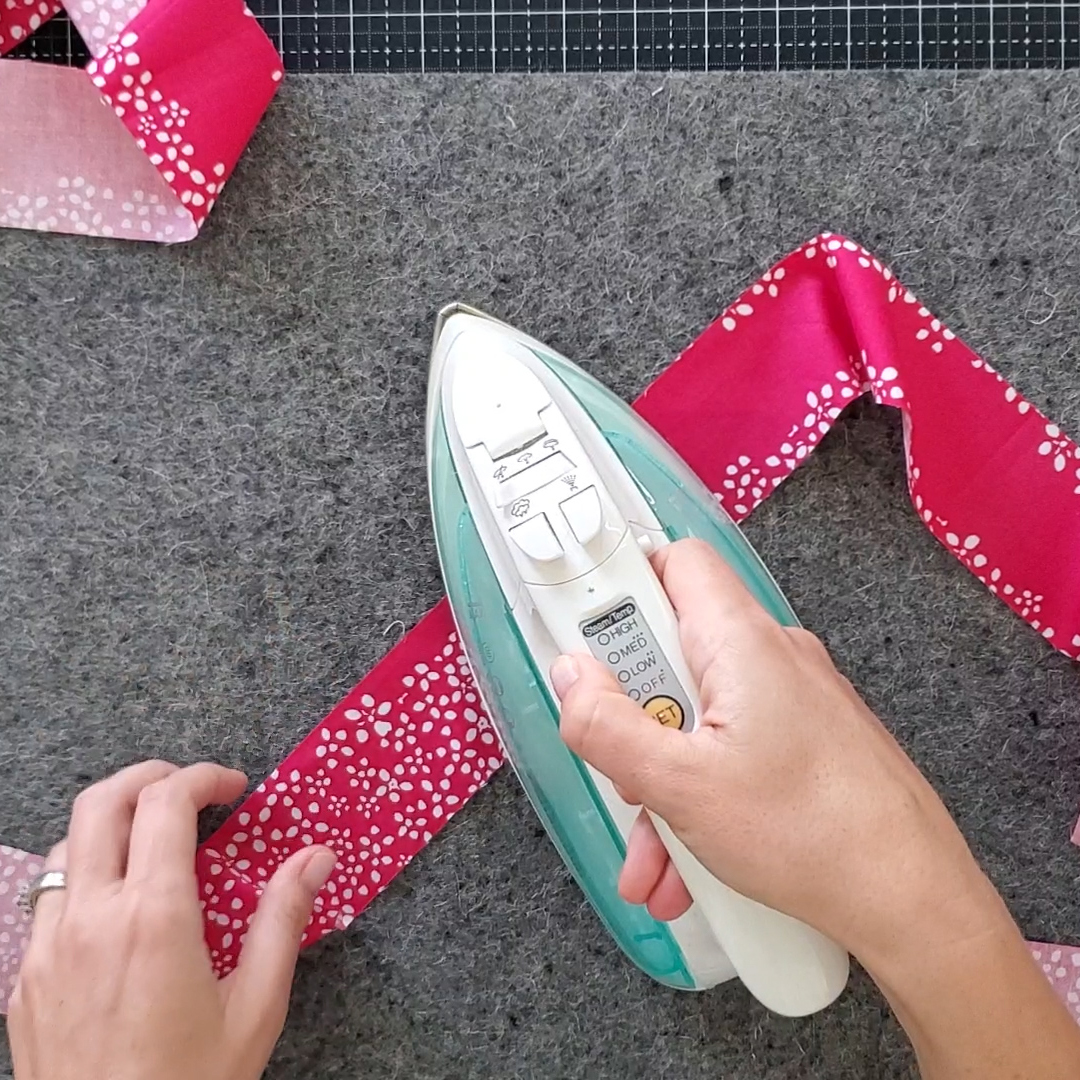
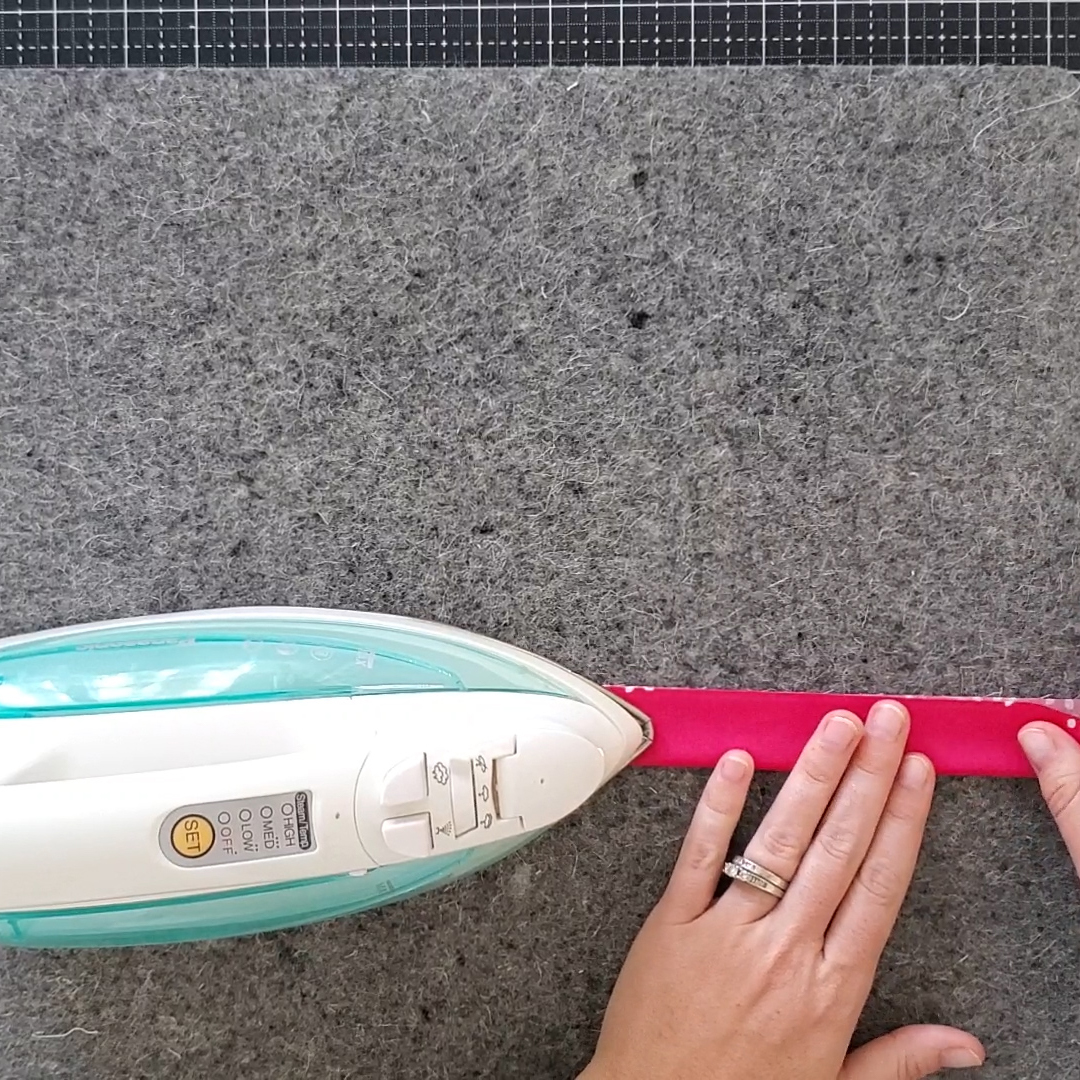
Fold the strip width wise and press, creating a crease along the half of the strip.

I like to use Binding Babies to organize my binding strip, especially for larger quilts.

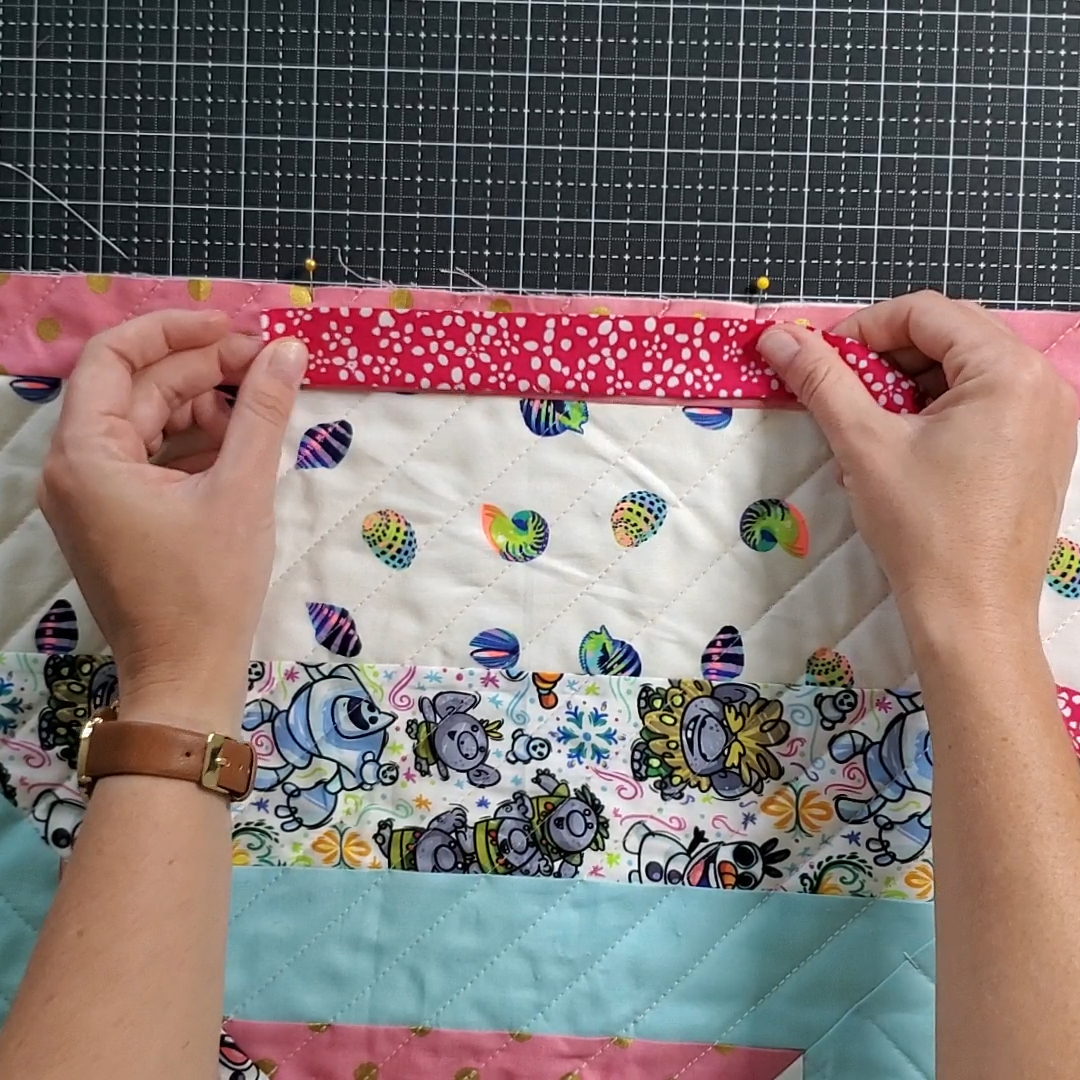
Lay your quilt top side up .  Along the middle of one edge, mark a 6-10 inch opening. Use two pins to mark the ends.

Lay your binding strip down with raw edges against raw edges of the quilt. The tail of your binding should cover the opening marked with pins. Pin the binding to the pin on the right side.  This is where we will begin sewing.

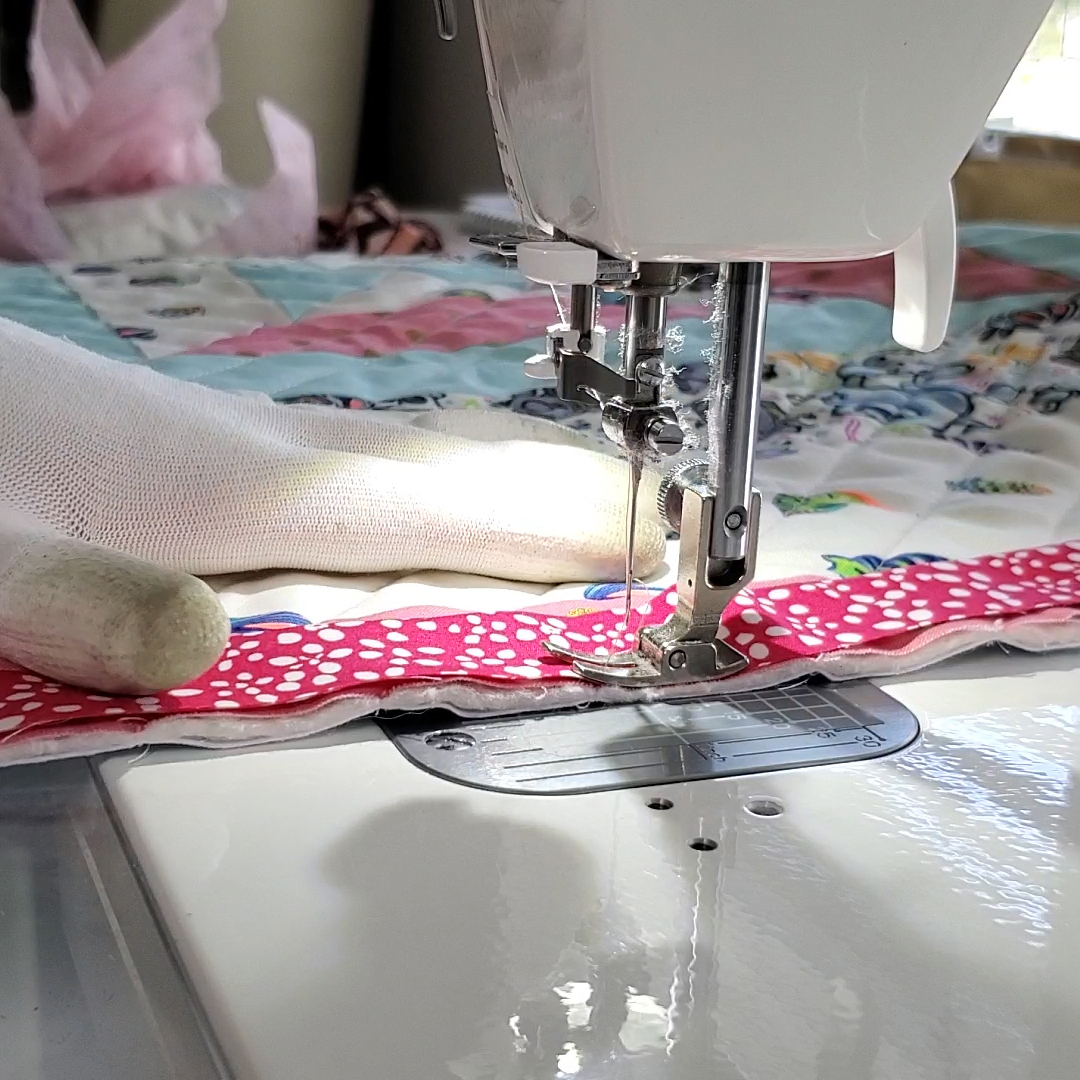
Starting at the pin on the right side, remove the pin and stitch on the binding (remember to back stitch), using a quarter inch seam allowance. 

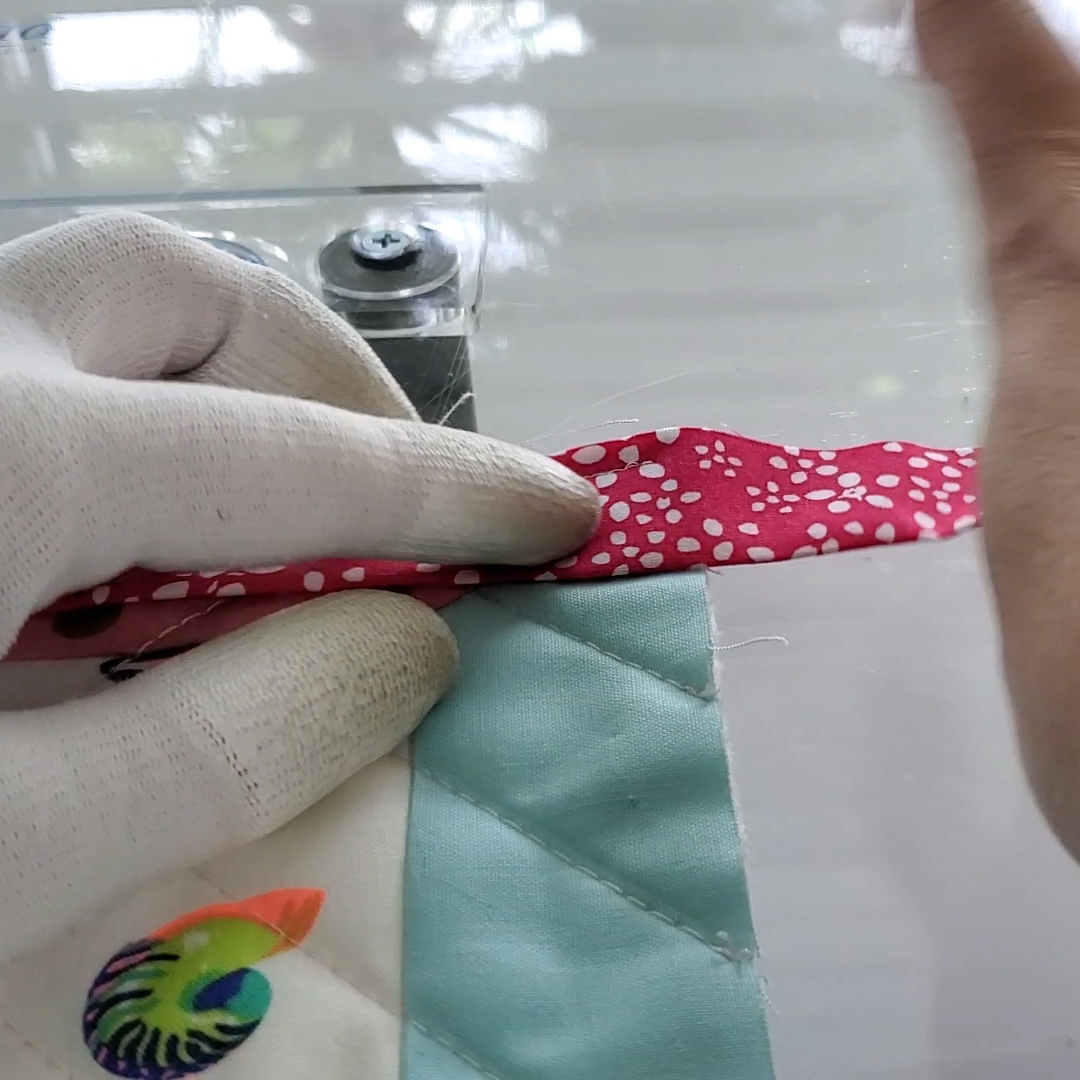
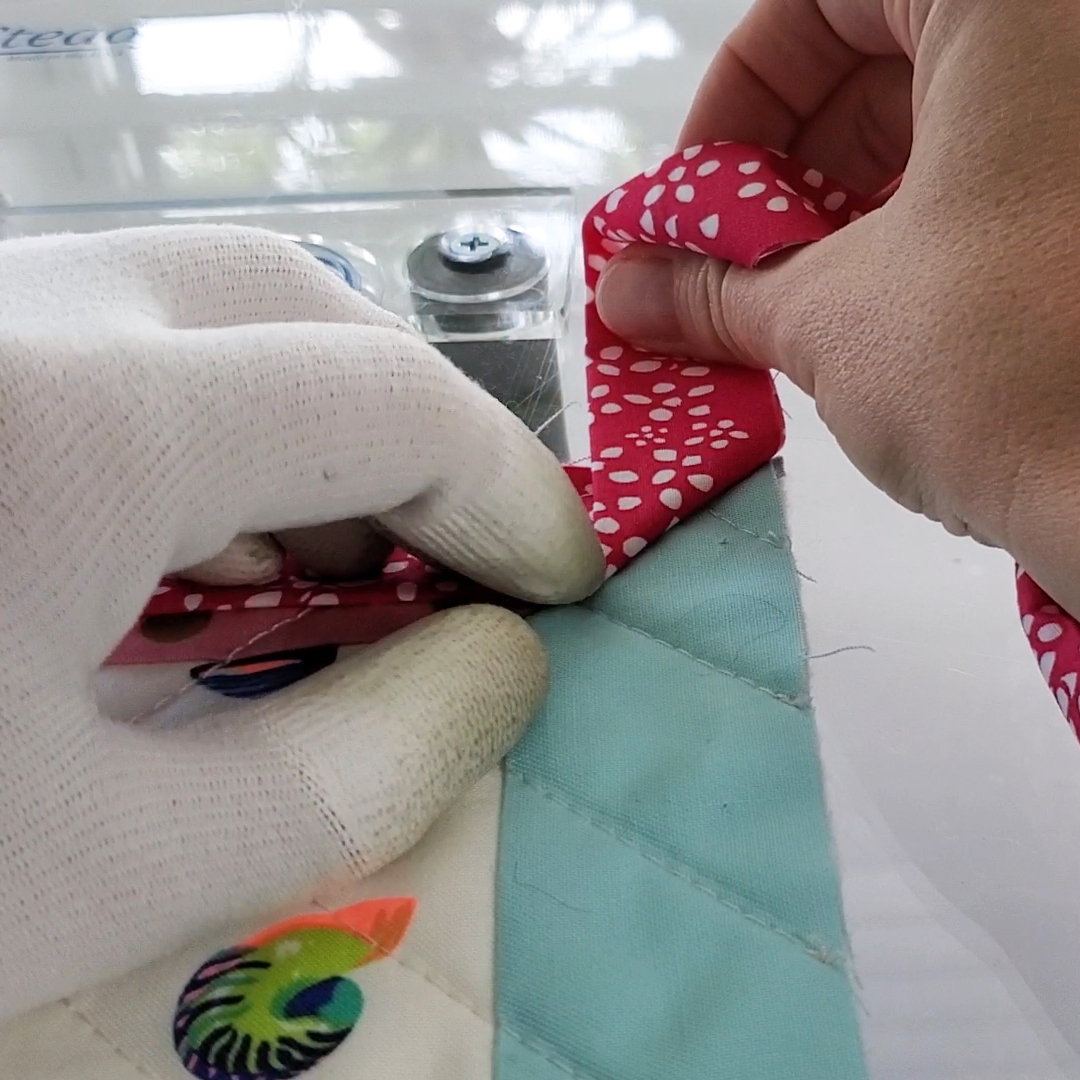
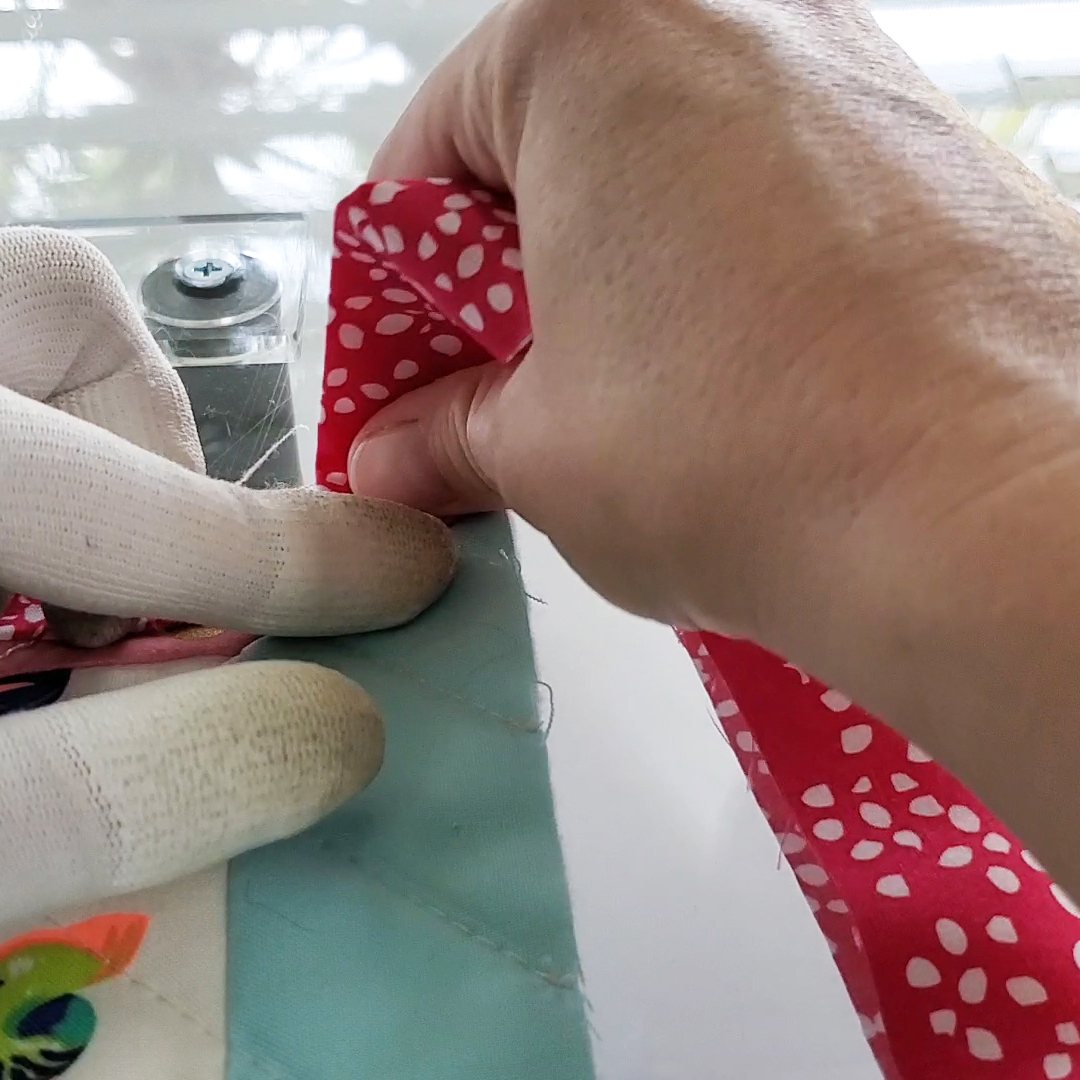
Stop about a quarter inch away from the edge. Cut the machine thread and pull quilt out. With the sewn edge laying left to right (corner stopped at on the right) pull the binding straight up. This should create a 45 degree angle on the binding. Use your finger to hold this in place.

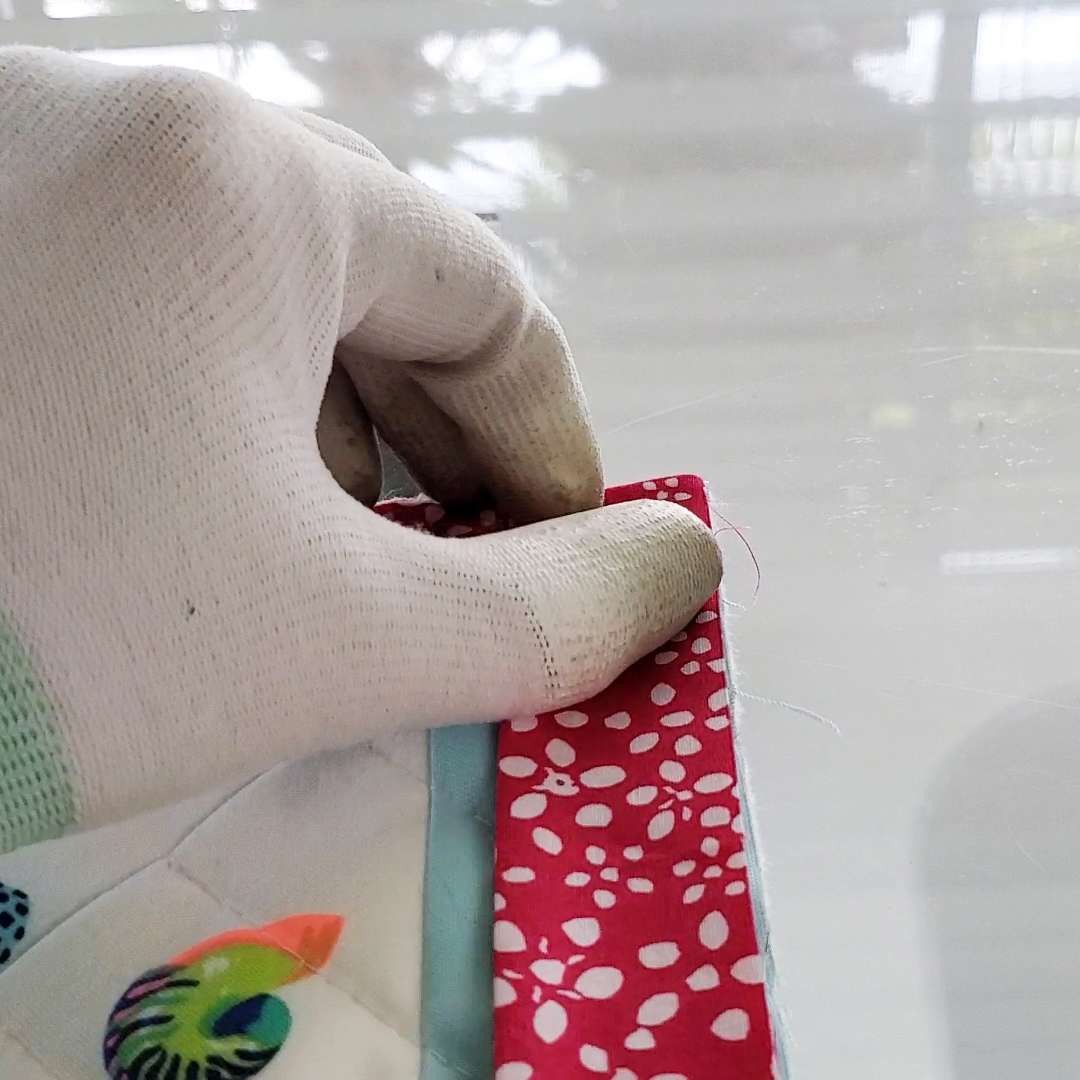
Keeping that 45 degree angle, fold the binding straight down, aligning the raw edge with the raw edge on the right side of the quilt. Clip this corner in place, and return to the machine.

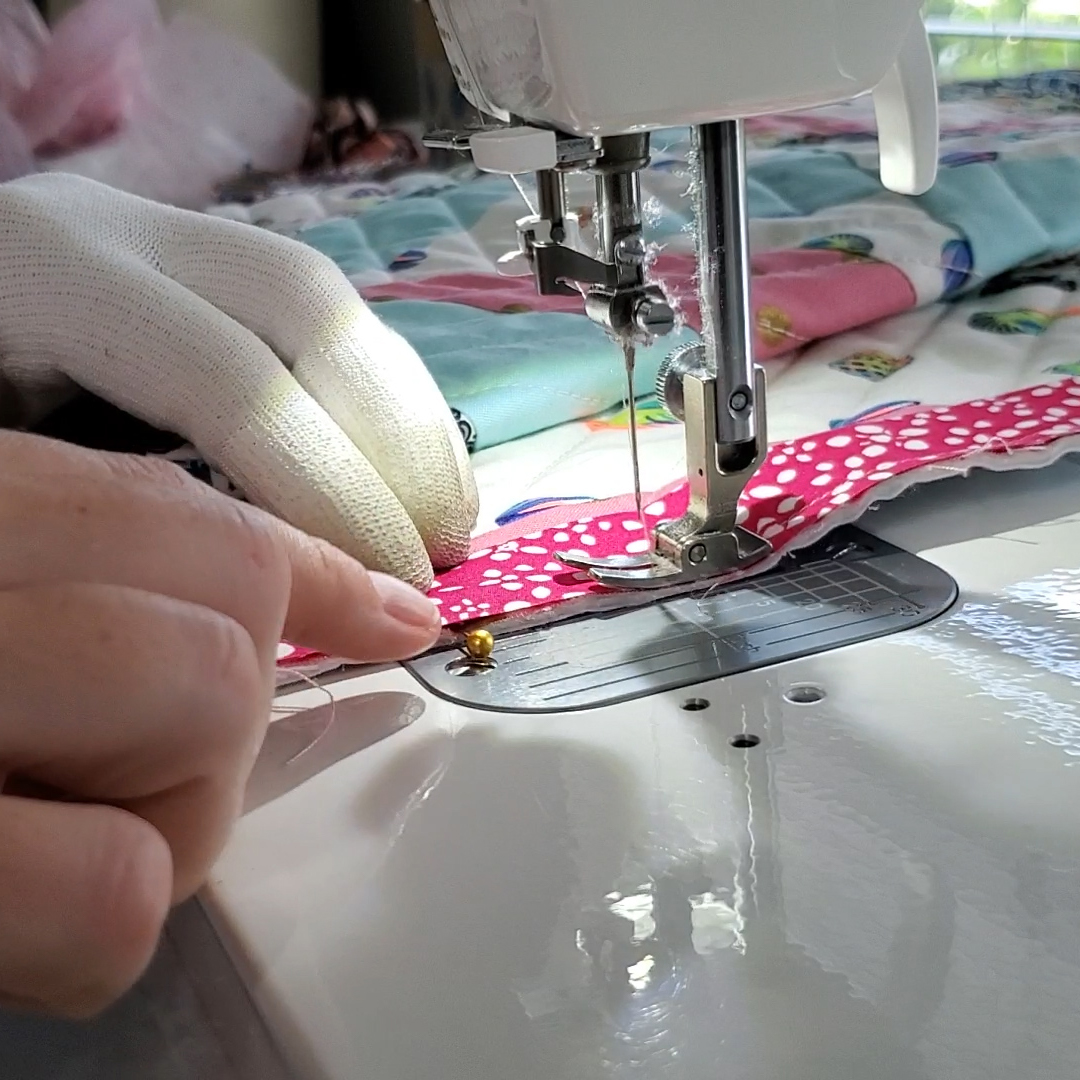
Make sure to backstitch at the start, and continue sewing. Do this for each corner.

Once you have reached the other pin mark for the opening, backstitch and cut the thread.

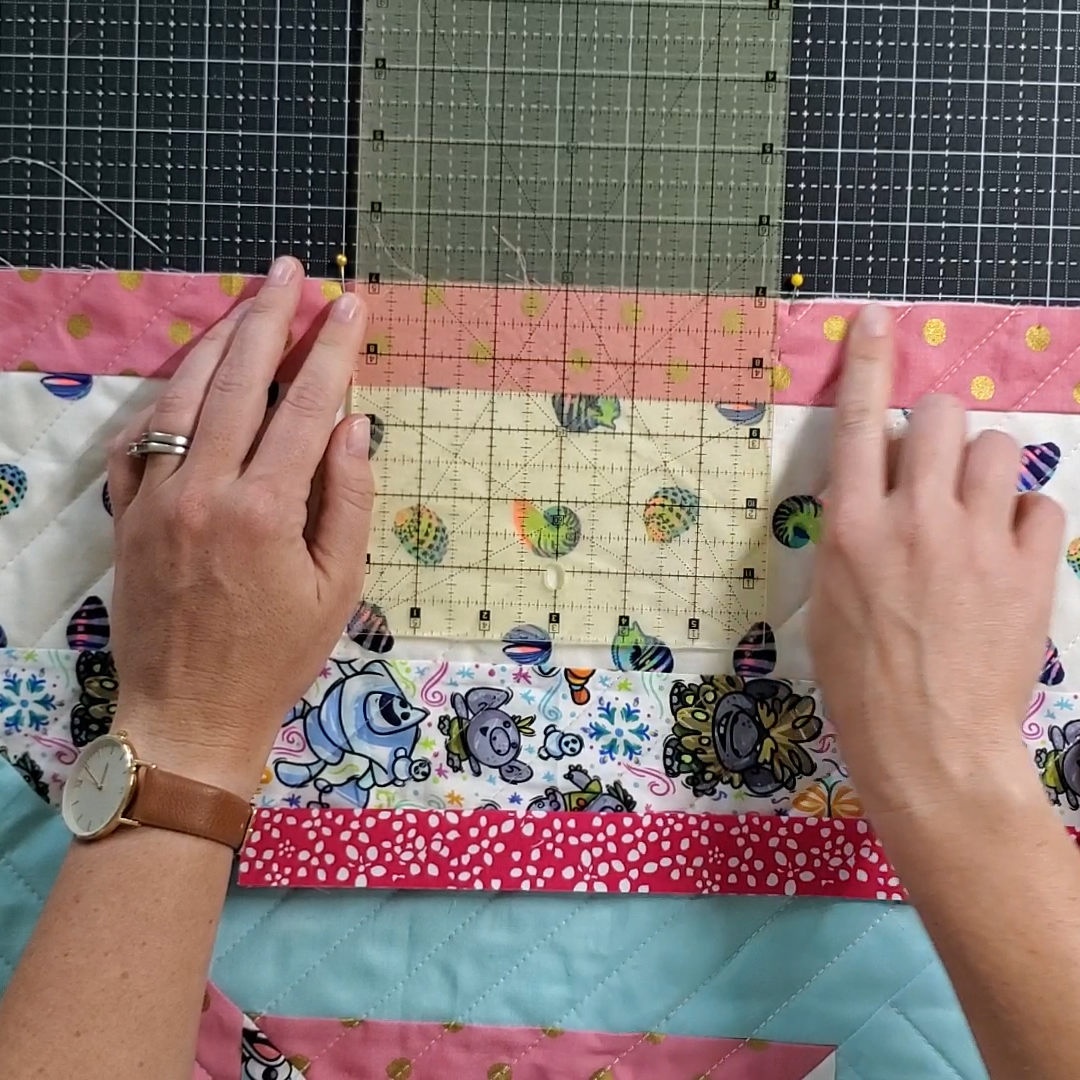
Lay your quilt with binding open. Mark a spot in the center of the opening, on the quilt. 

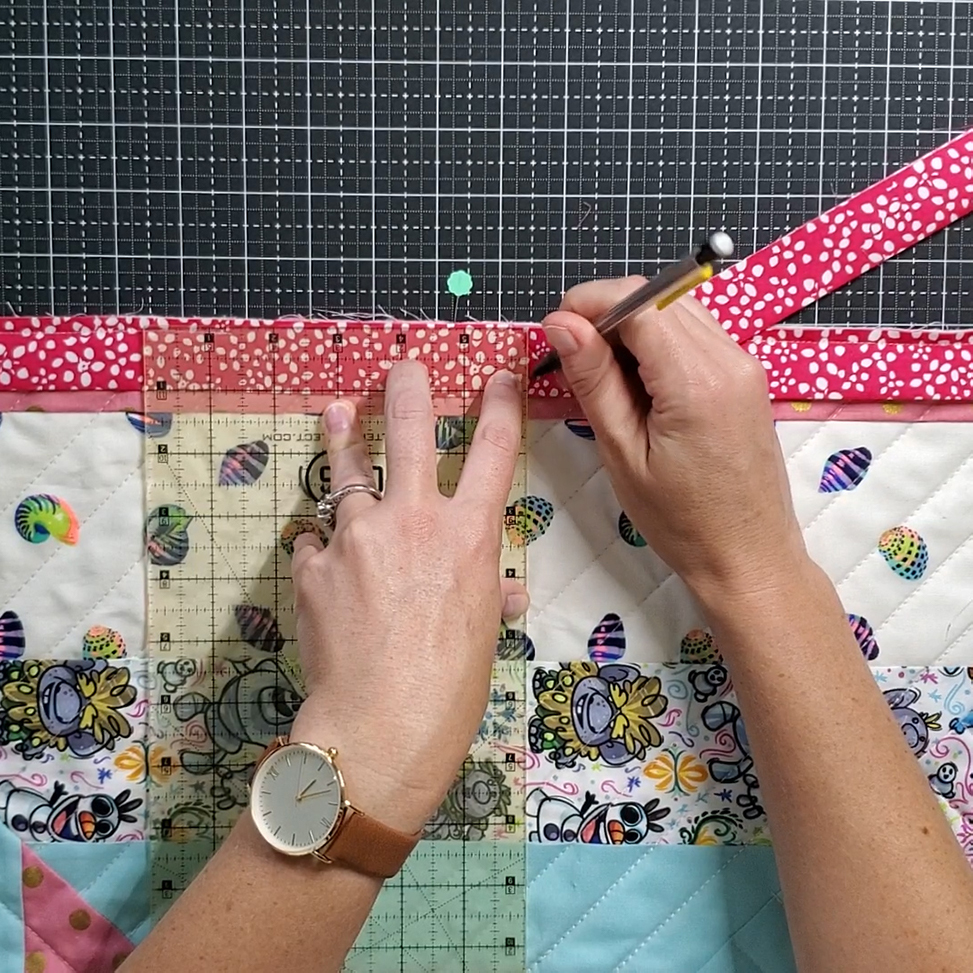
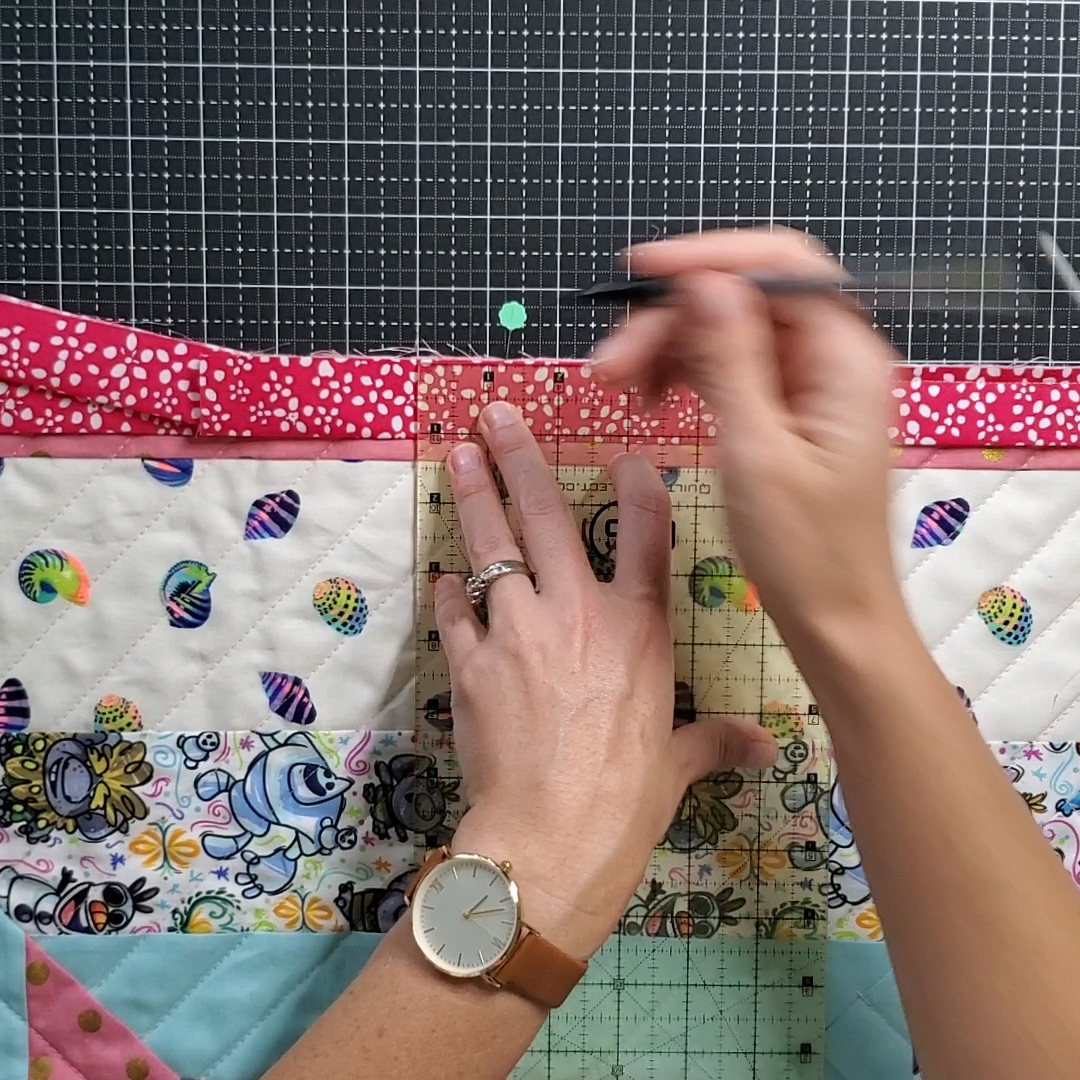
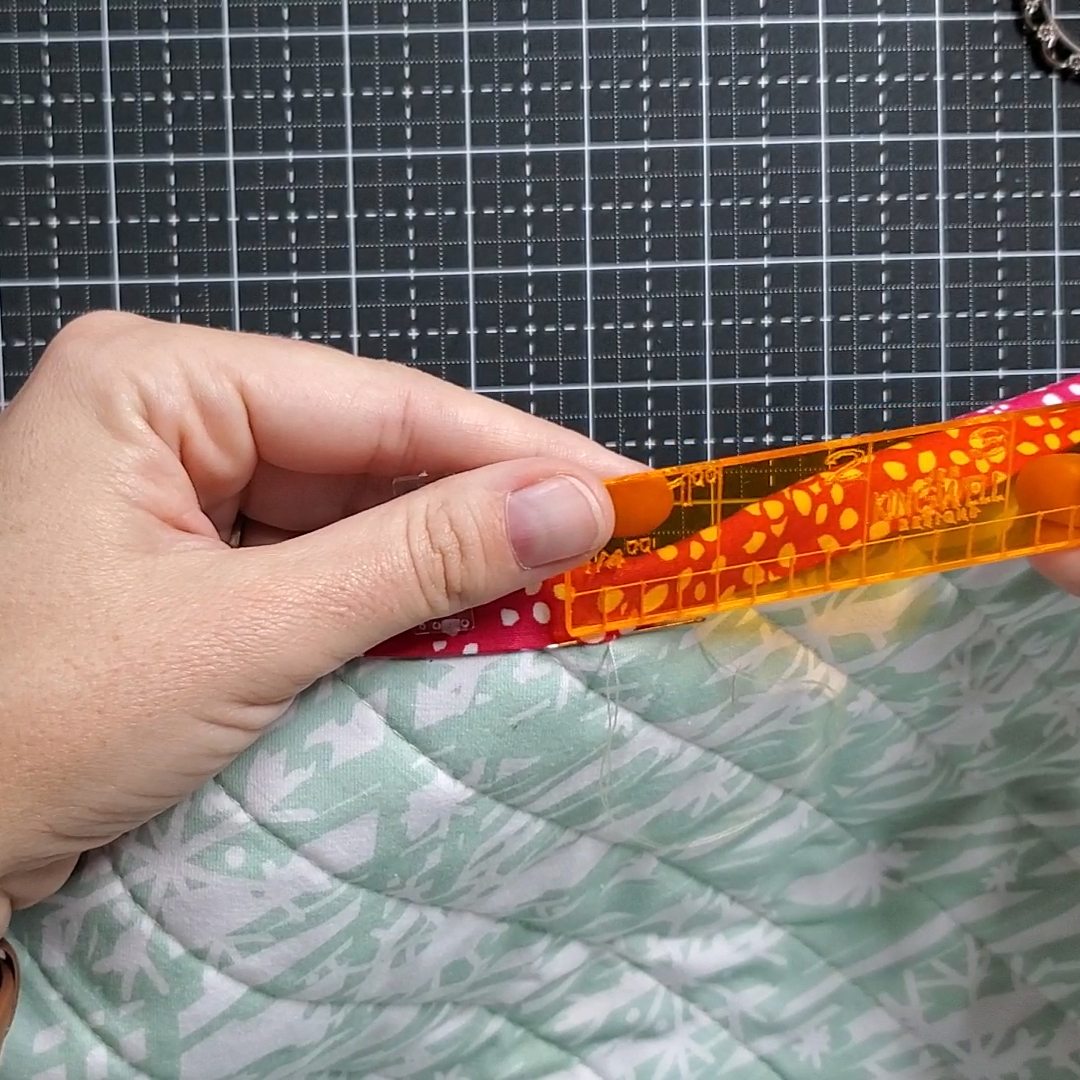
Take your binding on the left side, and lay over the pin. Mark (binding width)/2 to the right of the pin. [If using 2.5 inch binding, this will be 1.25 inches, for example]. Pull binding back to the left. 

Take the binding on the right and lay over the opening. Mark (binding width)/2 to the left of the pin, on the binding. [If using 2.5 inch binding, this will be 1.25 inches, for example]. Pull binding back to the right. 

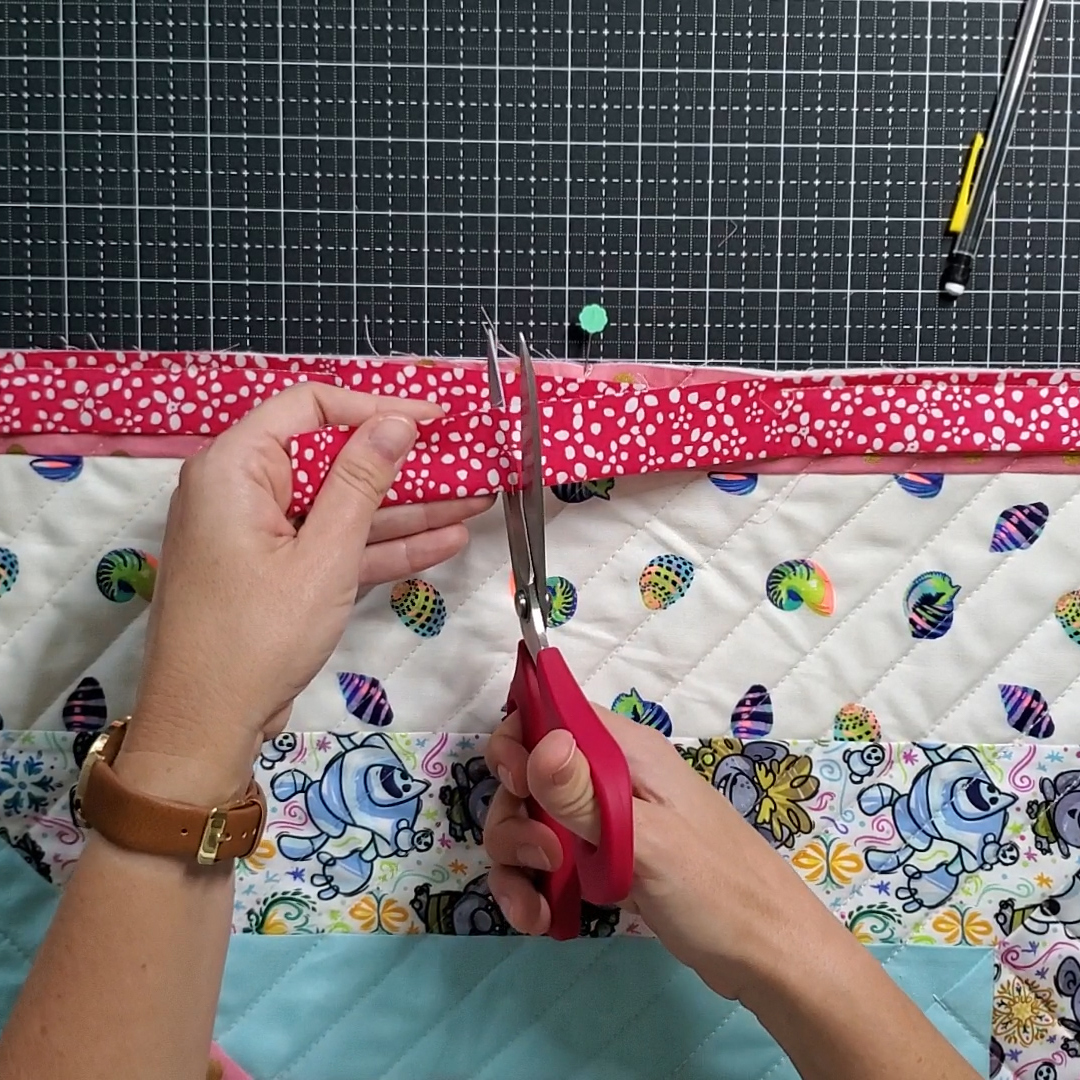
Cut both ends of binding on these marks.

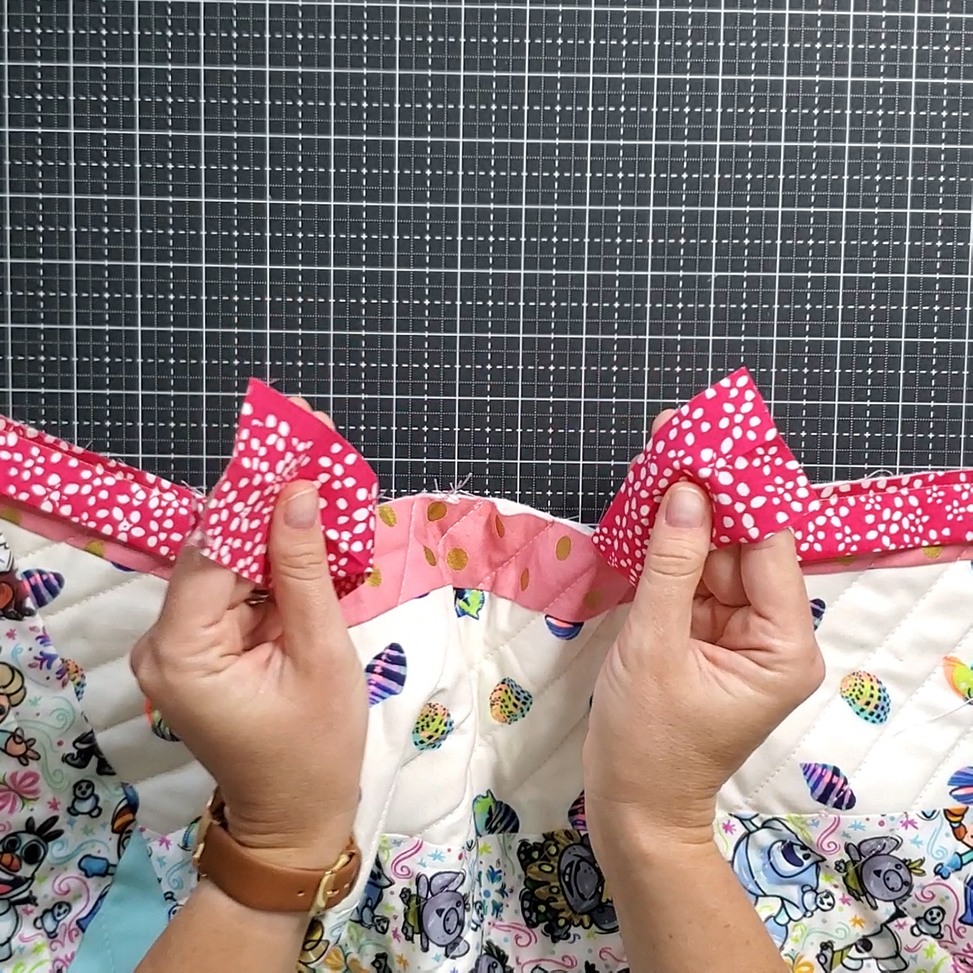
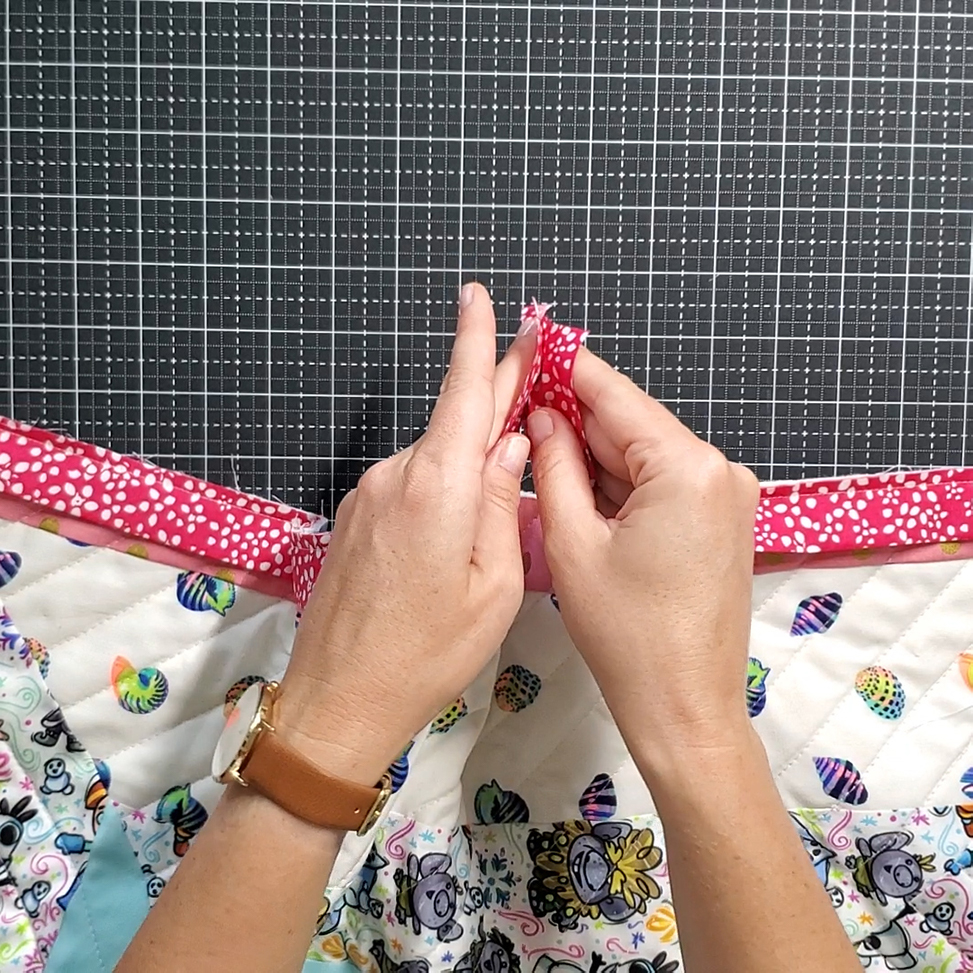
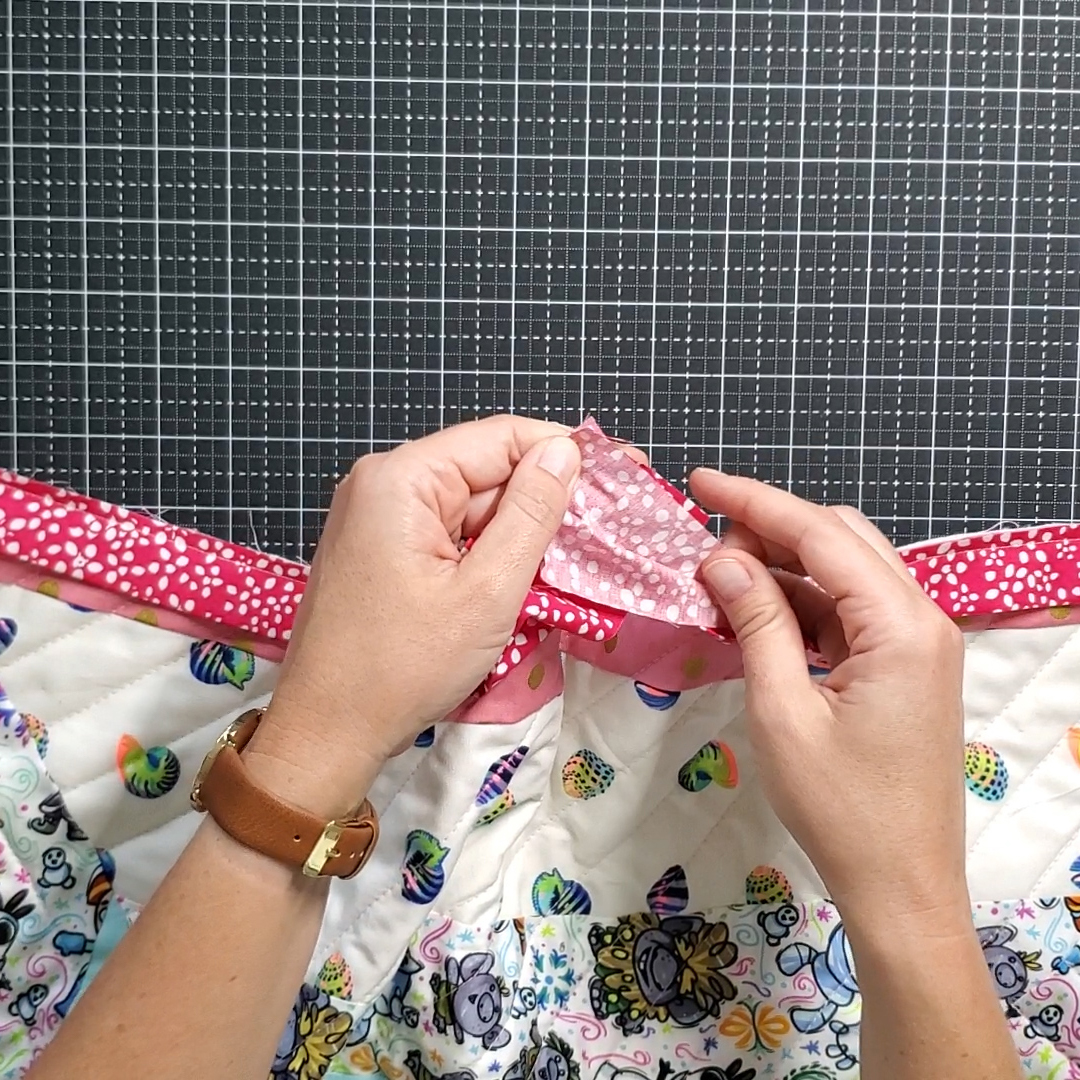
Pull the two ends together, with creases on the bottom. Open and press right sides together. Twist the ends so they are perpendicular (refer to the video for help with this step). 
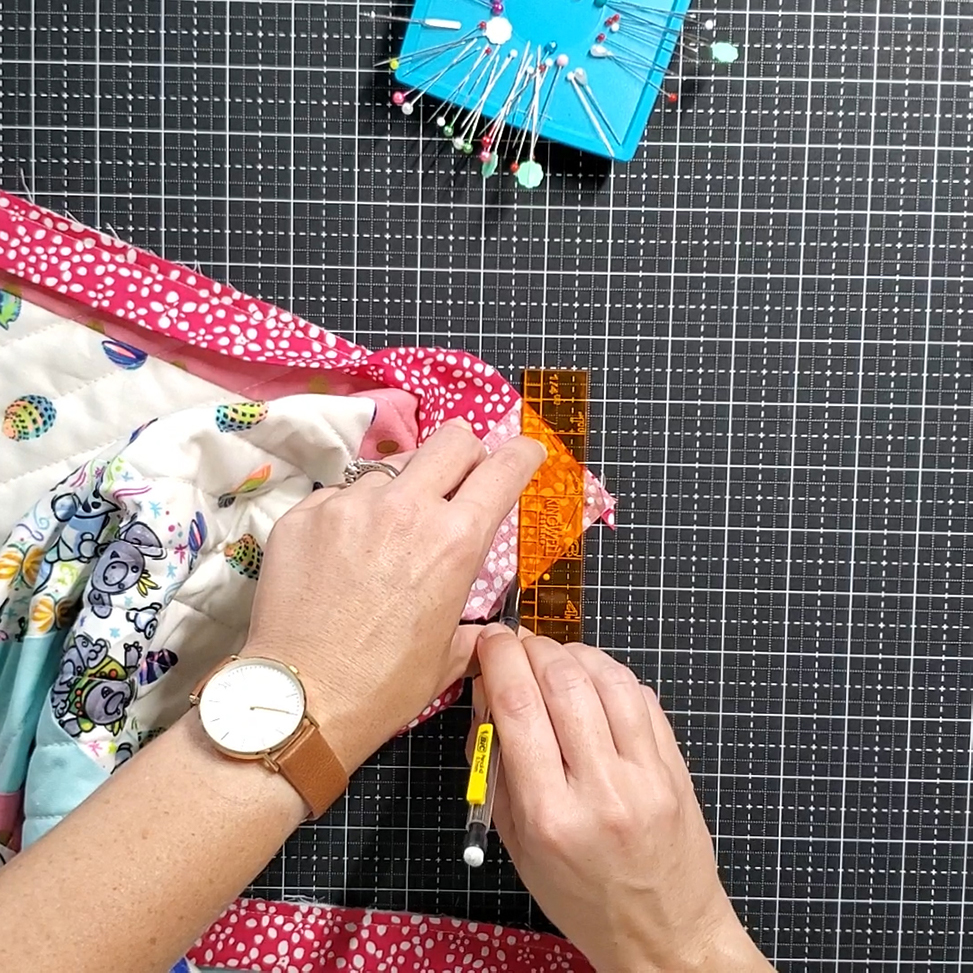
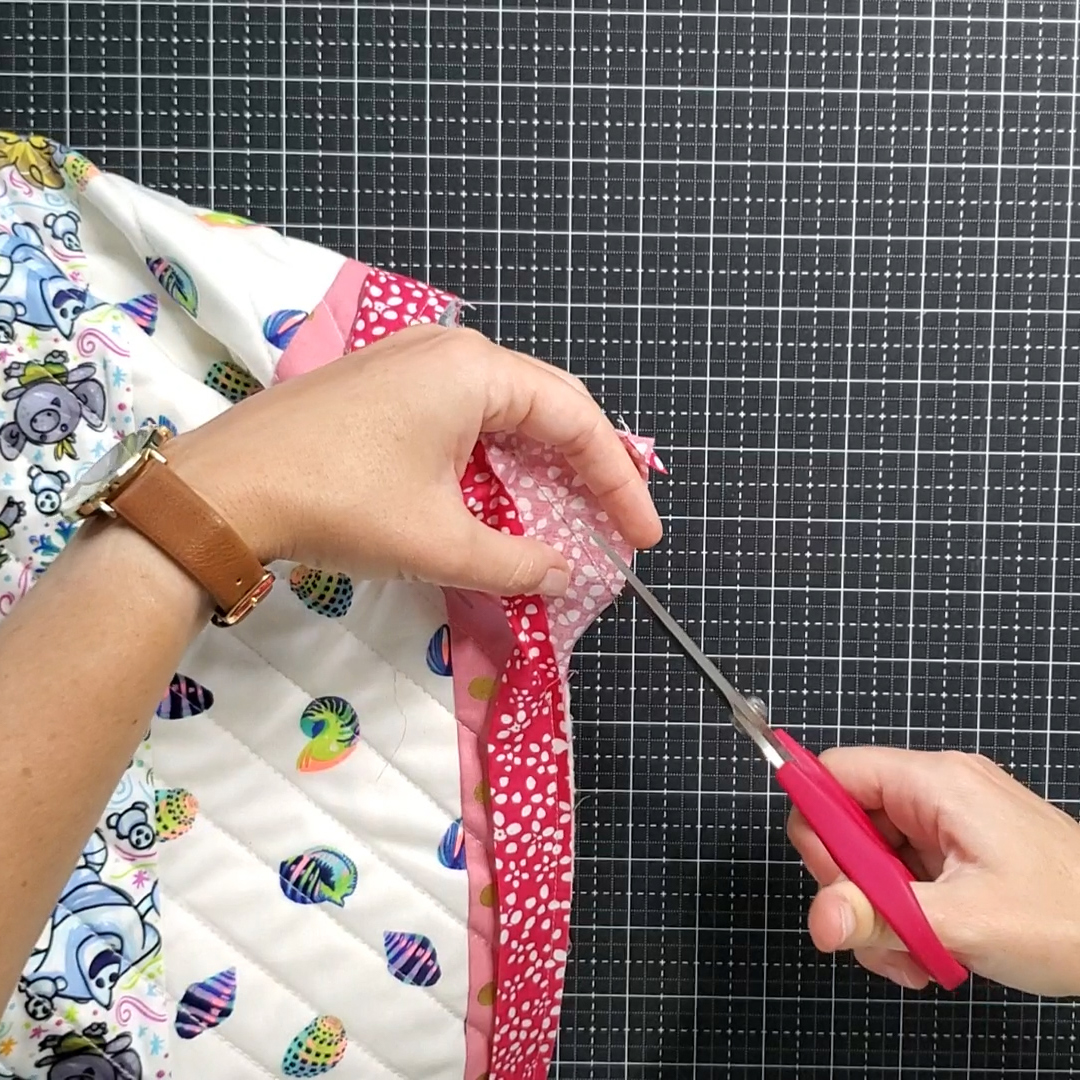
We are going to sew these two ends together just like we did when sewing the strips together to make a longer binding strip. Draw a line from top left corner on the top binding end to bottom right of the bottom binding end. Sew along this line, and then cut off a quarter inch seam allowance.

Open and fold along the original crease.  This should perfectly cover the opening, with raw edges of binding along raw edges of the quilt. Stitch this opening closed using a quarter inch seam allowance.

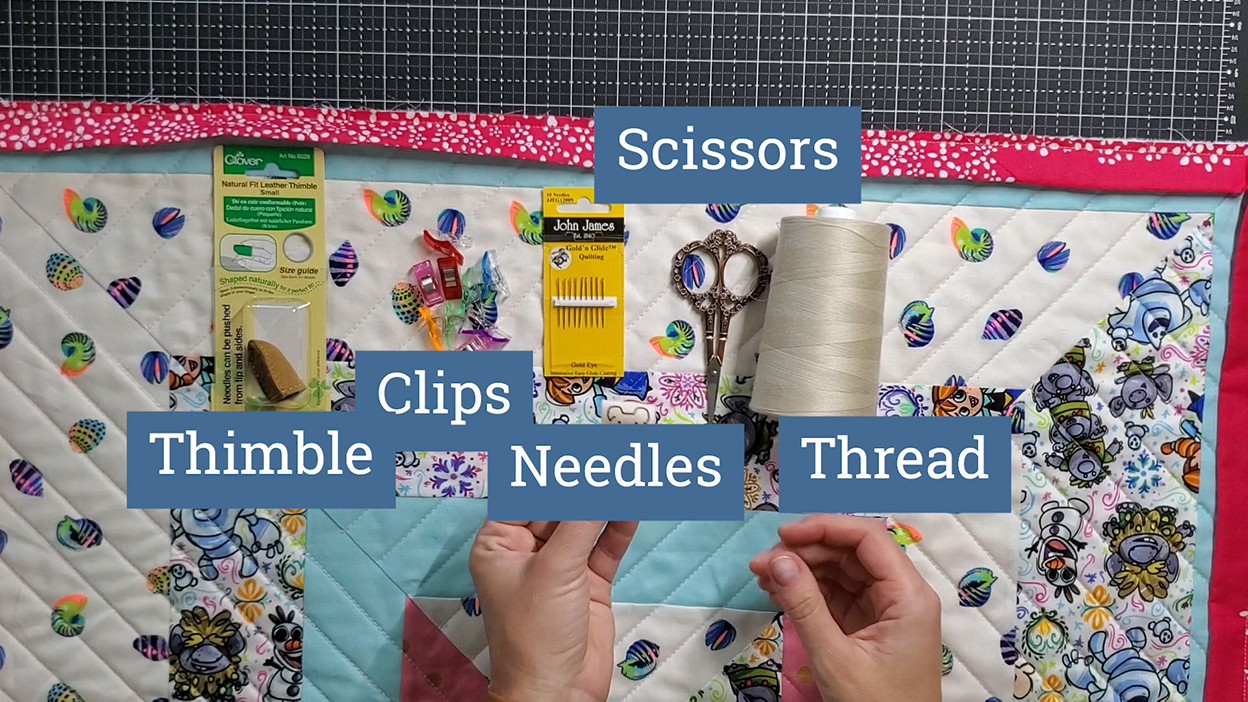
Hand binding the back requires the following tools. 

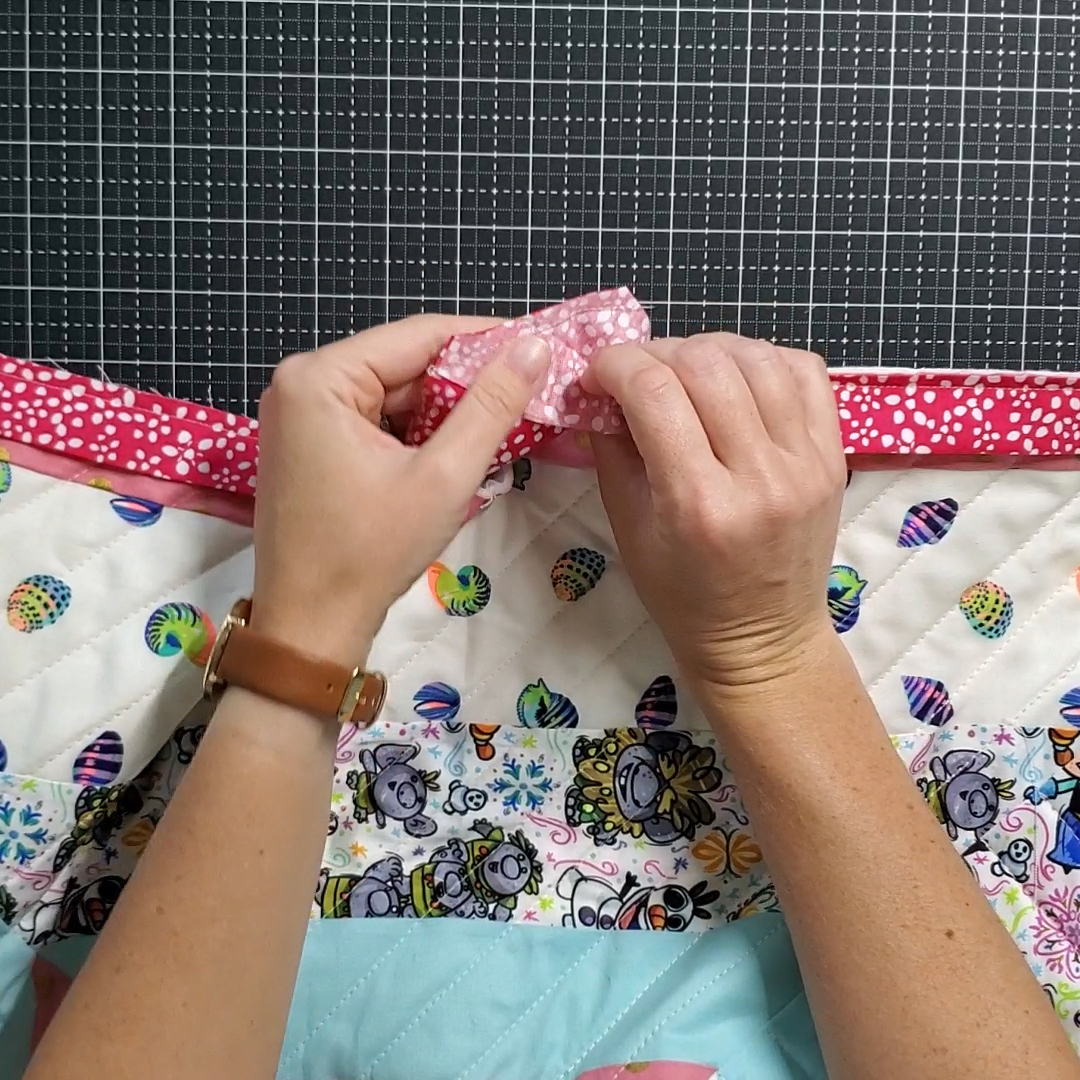
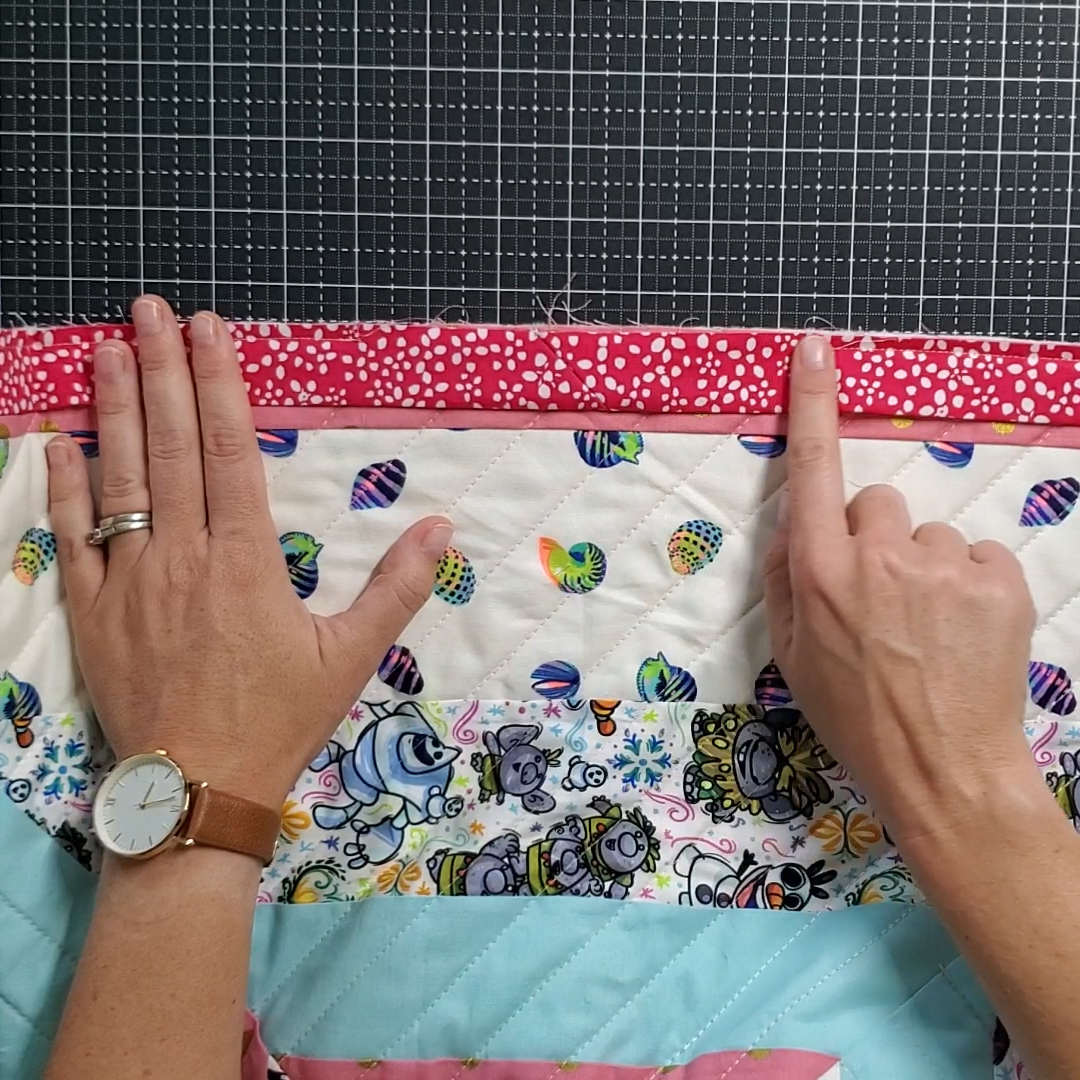
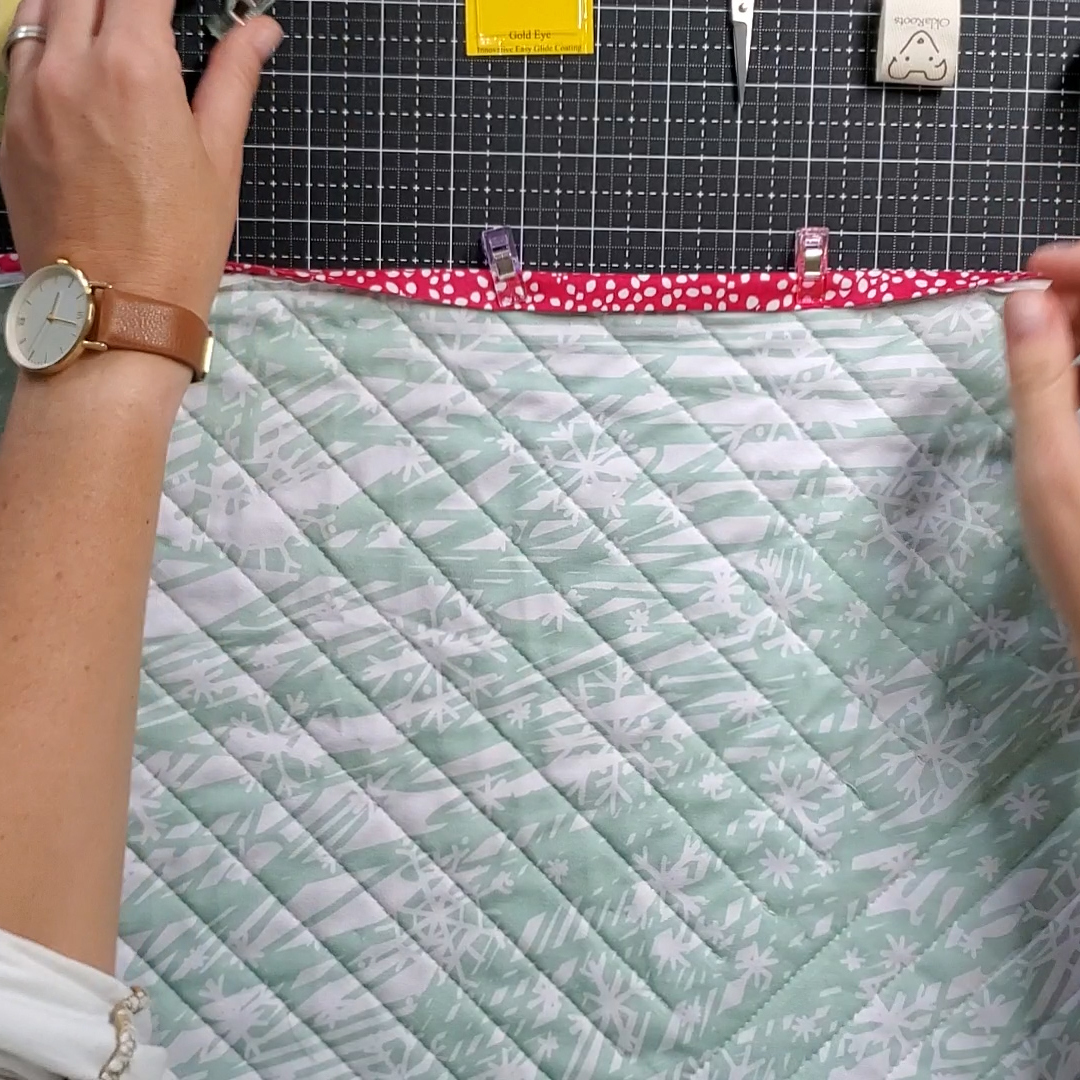
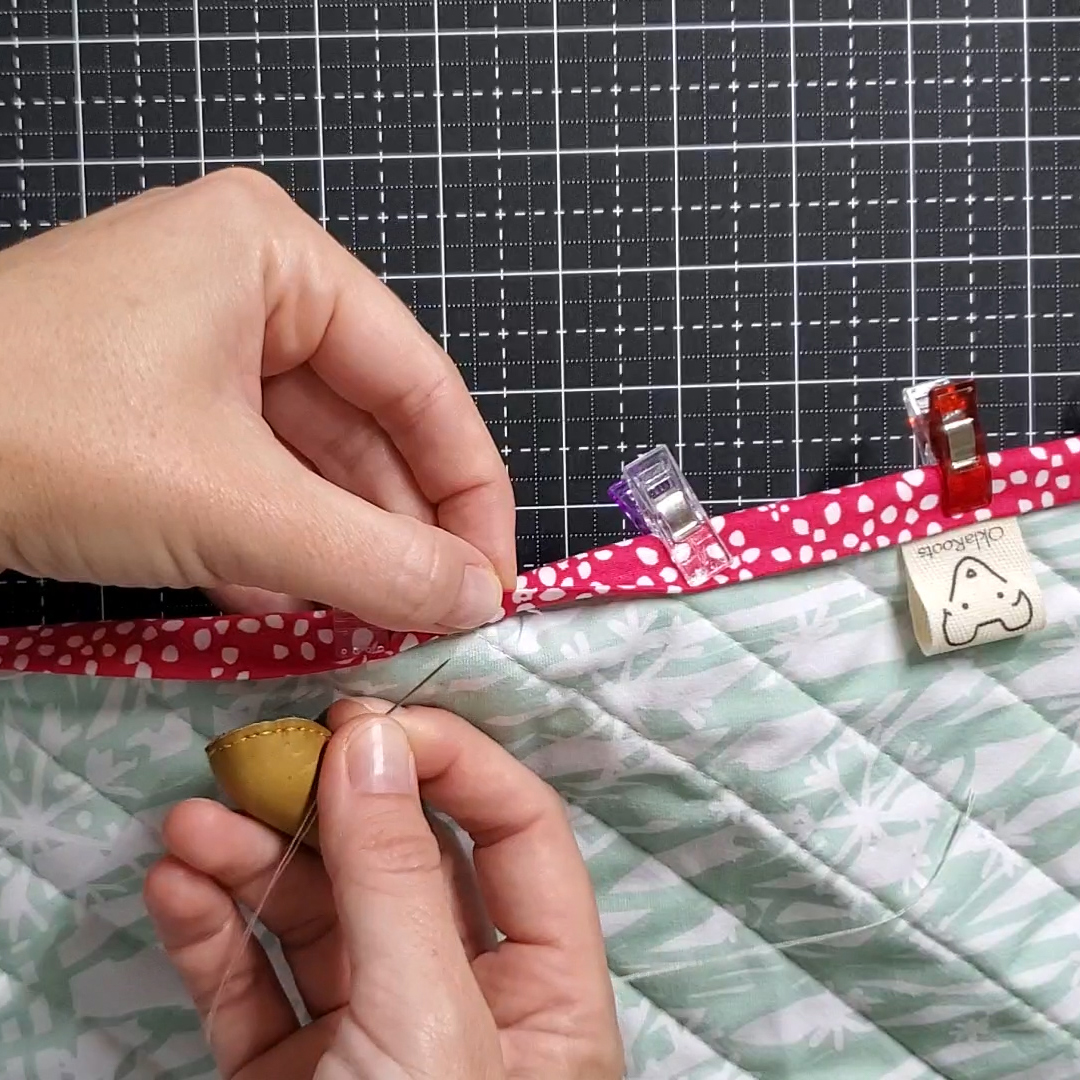
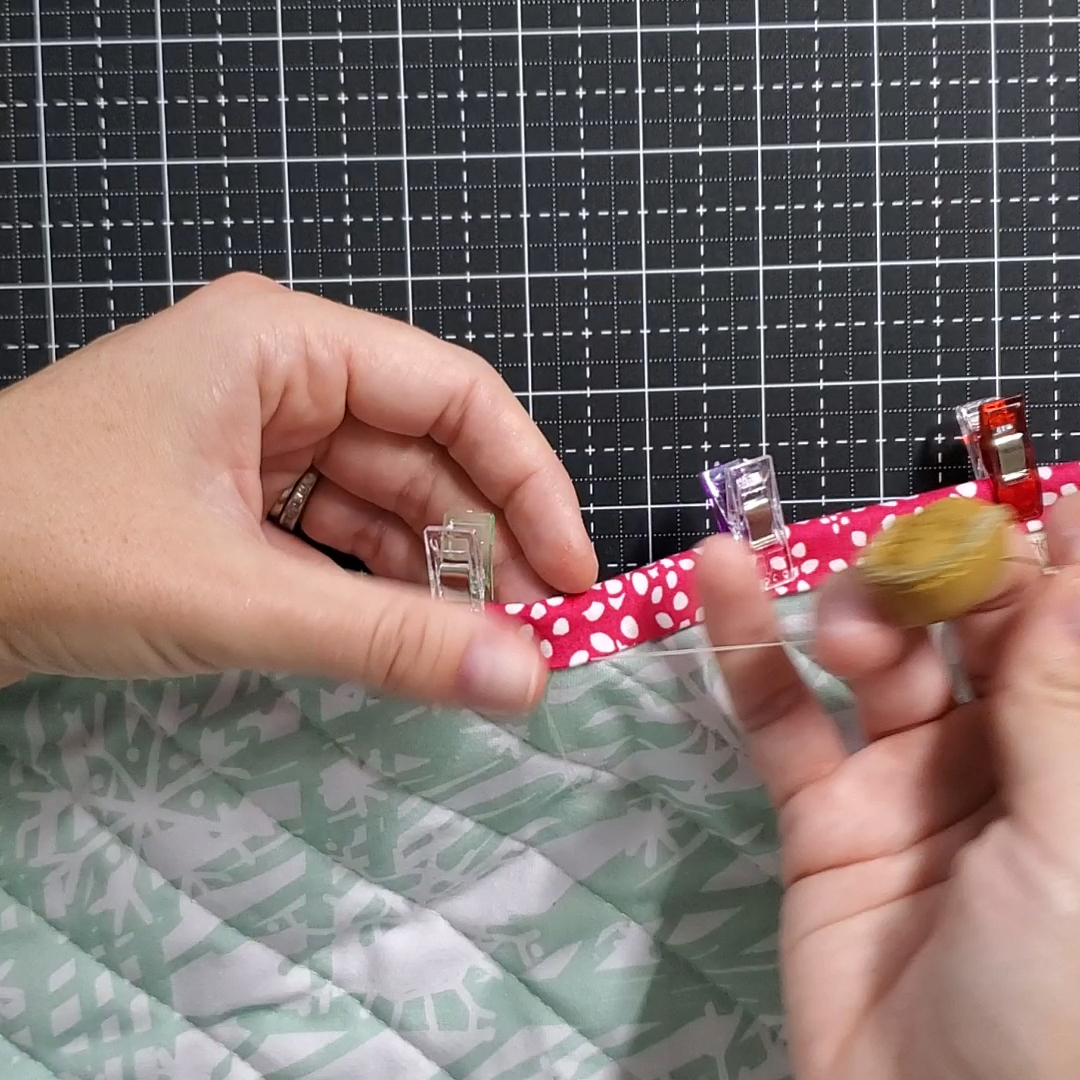
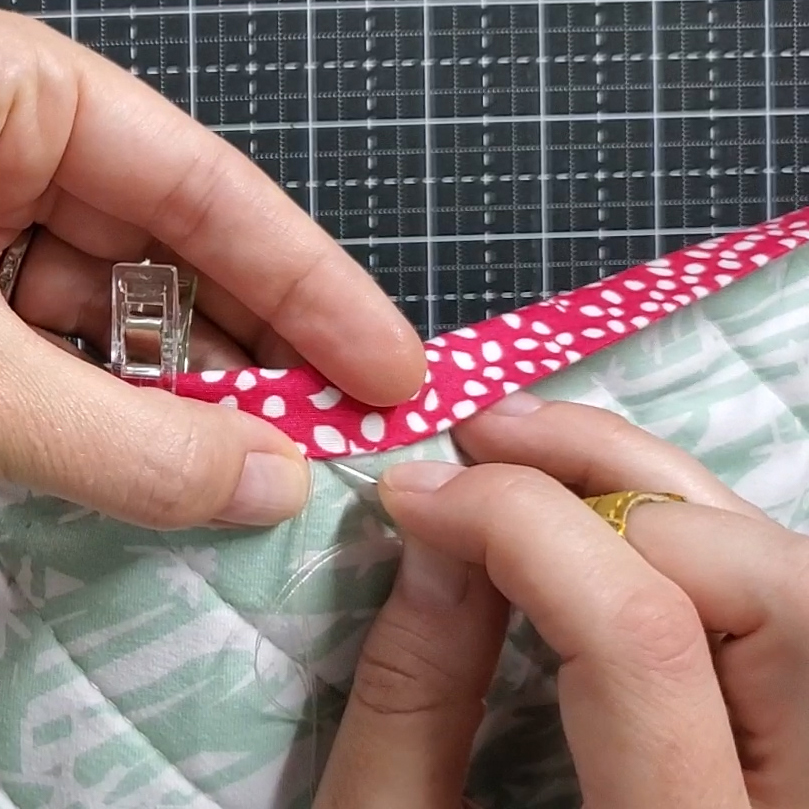
Lay the quilt back side up. Wrap the binding around to cover the seam and pin in place using the clips. Double thread your needle and knot the end. Pull the needle through the backing fabric, close to the seam, and through the binding. The needle should come out of the binding in the crease. 

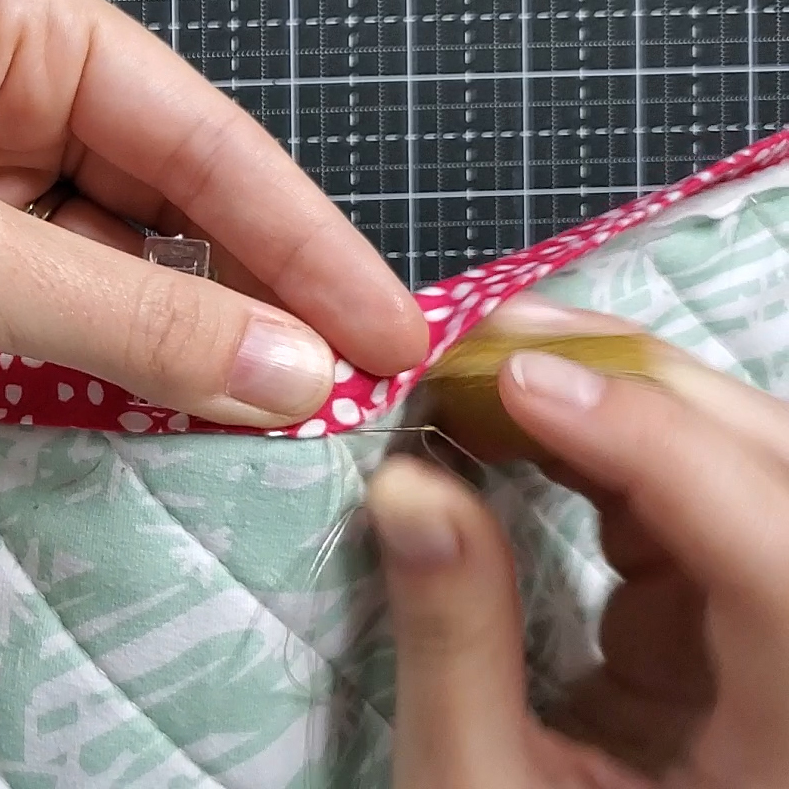
Decide which direction you will be sewing. In my photos, I am working from right to left. Insert the needle close behind where the thread came out of the binding. Push the needles into the backing fabric and then through the binding in front of where the thread came out previously, through the crease. My stitches are about a quarter inch long. 

Remember, when sewing this you will always insert the needle slightly behind where it came out, and then pull the needle out of the crease in front. Think 1 step back, 2 steps forward. 

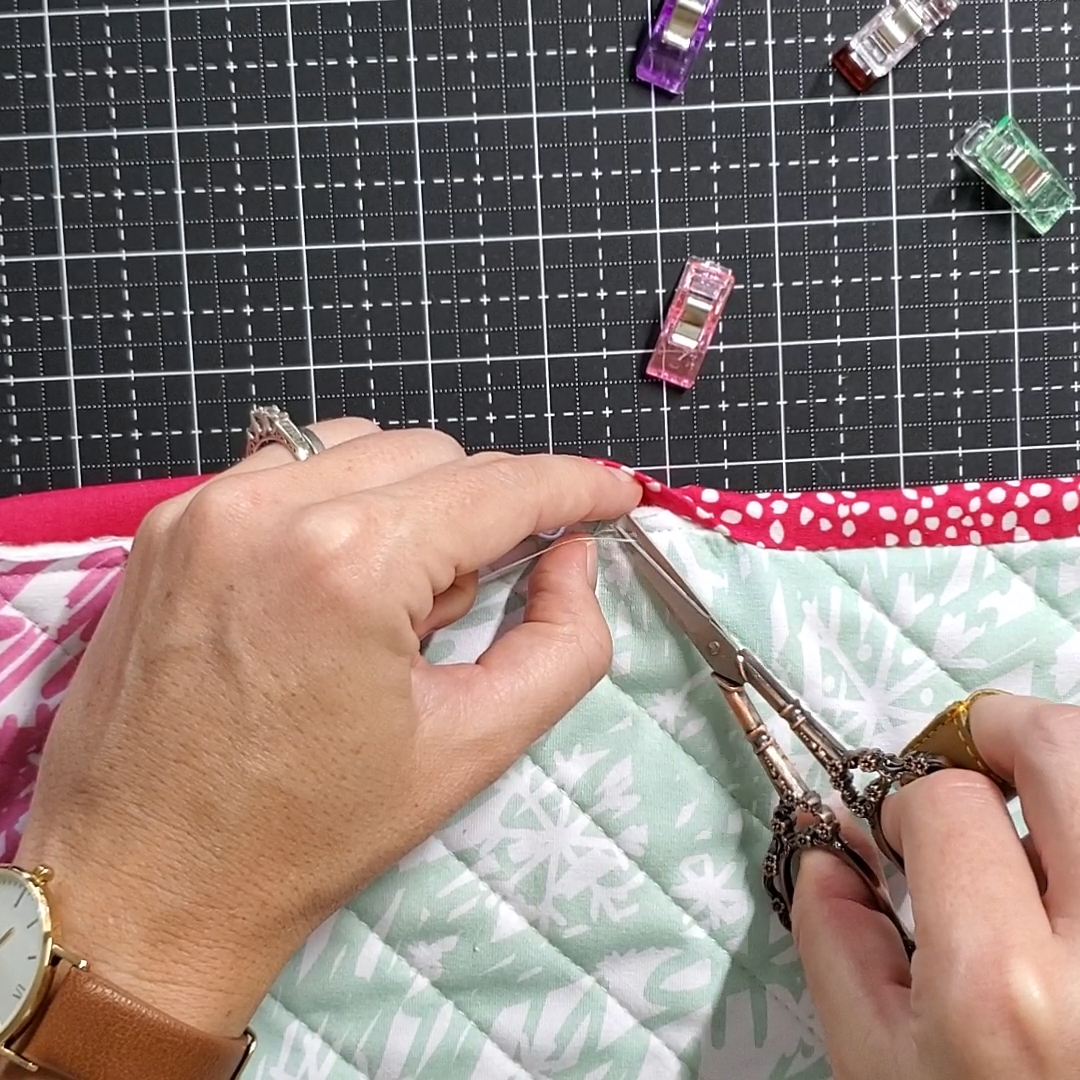
Once your thread has shortened knot it off and pull through the backing fabric, close to the seam. 

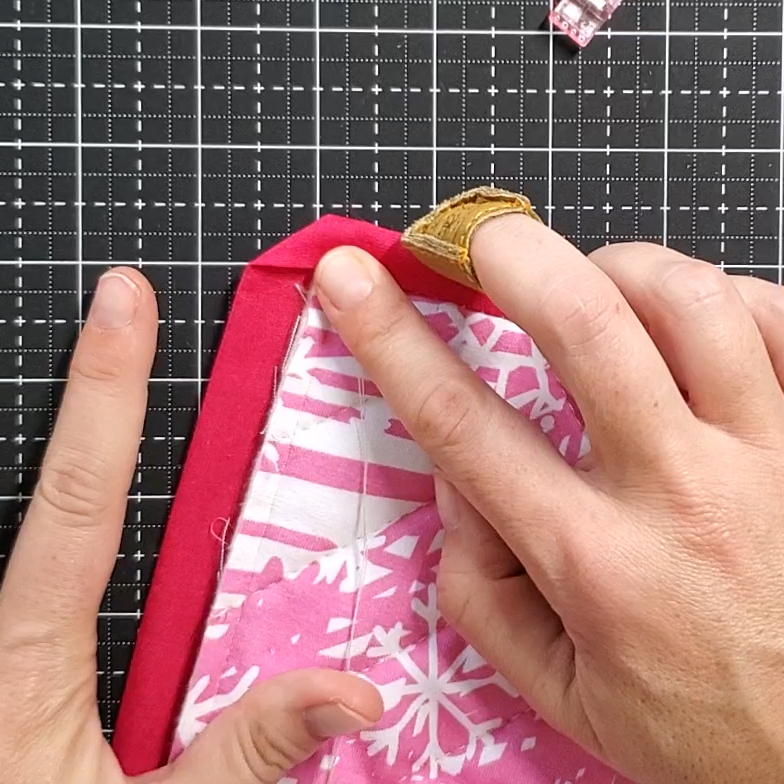
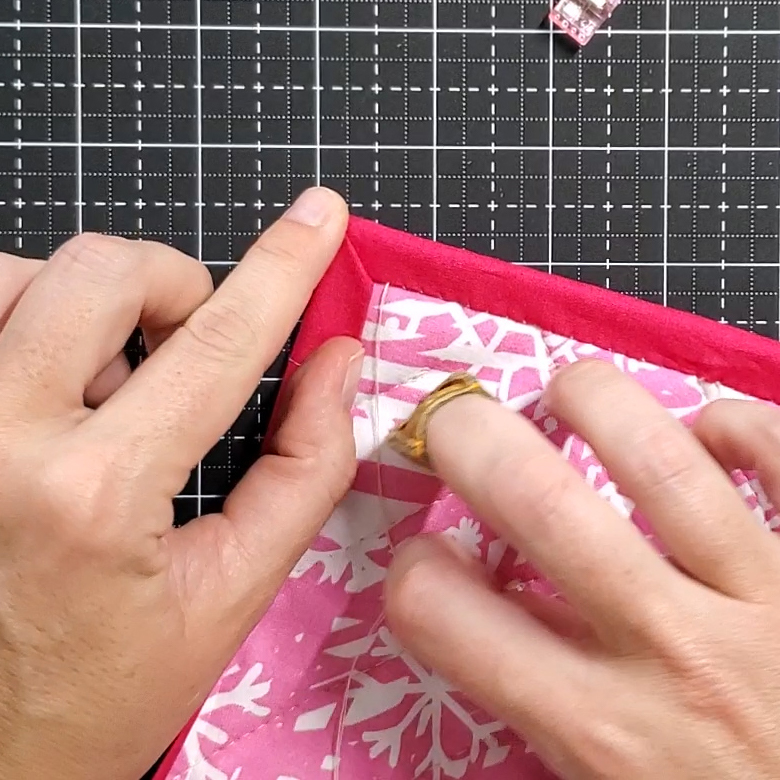
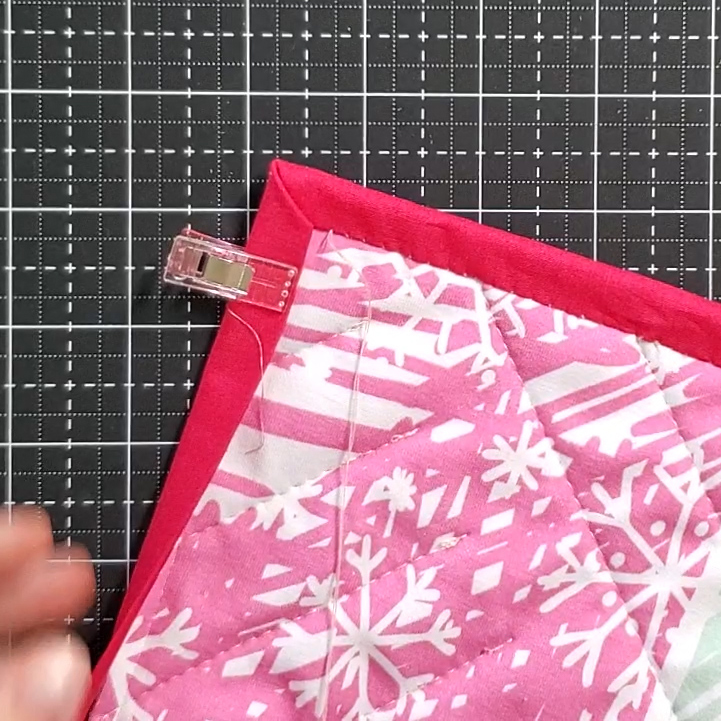
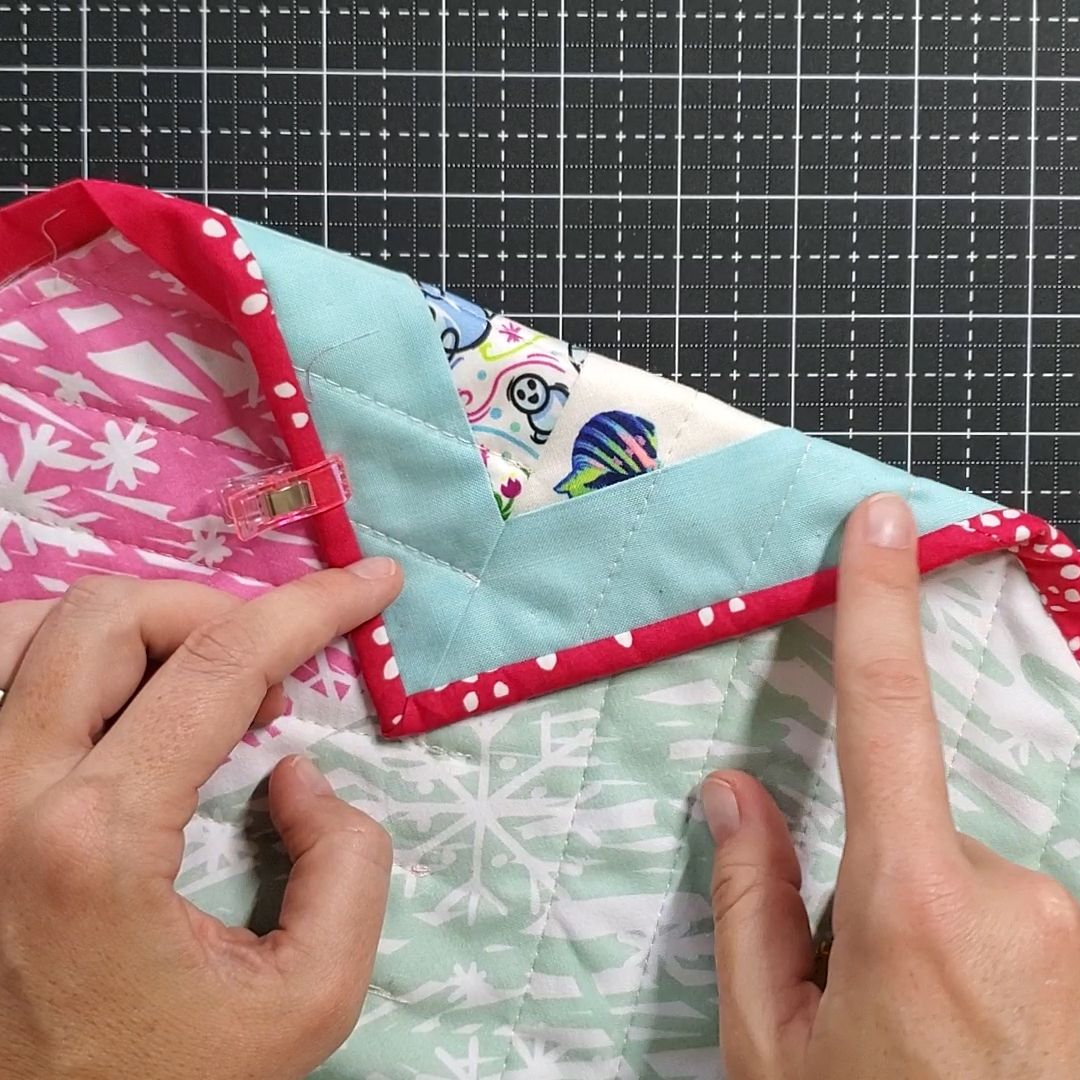
When working with corners, fold down the side you are sewing and leave the next side open. This will create a 45 degree angle on the binding. Then, fold over the next side, so the 45 degree angle now points into the center of the quilt. Adjust as needed to get both edges lined up. Use clips to hold in place.

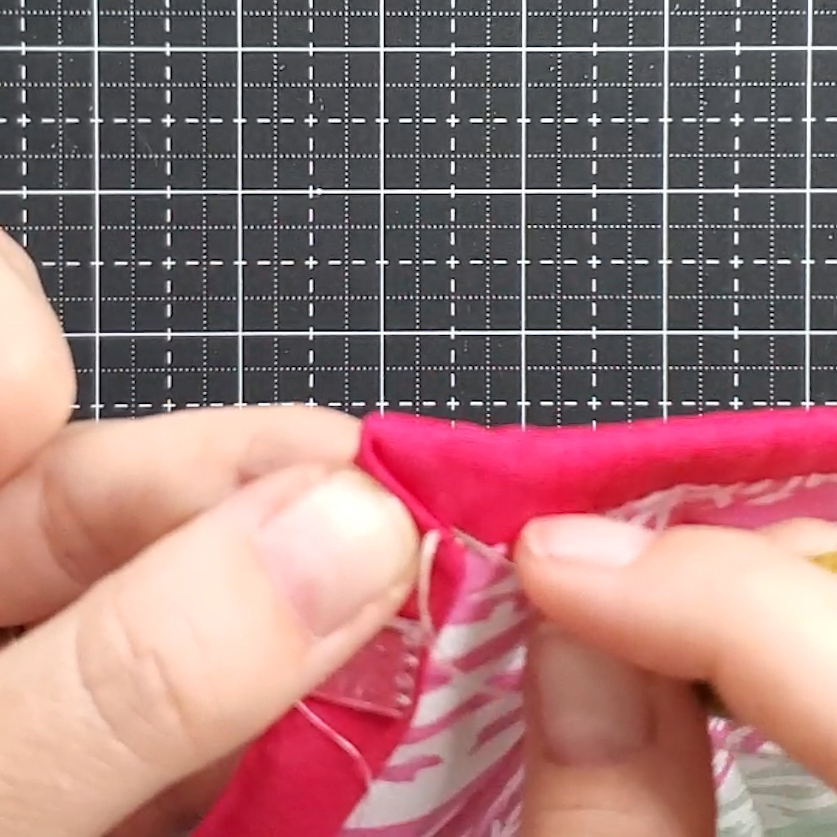
Sew along the binding into the corner, the same way you have sewn the binding on to the quilt. When at the tip of the corner, insert the needle into the binding and push it through the corner towards the middle of the quilt.  Pull out in the crease and then continue along the next edge.  Do this for each corner.

And that is how I bind my quilts! It takes a bit, but my quilts in general take a bit more time. I love getting the quilts done and binding attached to the front during the warmer months. Then once cool weather comes I have a nice stack to hand bind while watching some awesome fall shows!  Another bonus: I get a LOT of quilts completed in a short amount of time (or so it appears).

Happy sewing! Don’t forget to use #OklaRootsTuts in any of your social media postings you want me to see!

Do you have a different way of binding your quilts?? Let’s hear them!

Boxy Bag pattern additions

Bags, Tutorials - Aug. 06, 2017 - Jessica OklaRoots

The next bag I have been testing out is the Boxy Bag. This is a very popular bag pattern, especially for us beginners. After reviewing a few tutorials, I decided to follow Kelby at kelbysews. She has done such a wonderful job of showing you every single step of the process in her tutorial.

...
Read More

Trying out the Noodlehead Petal Pouch

Bags, Tutorials - Jun. 20, 2017 - Jessica OklaRoots

I have avoided making bags for years.  Yes, I only started quilting 1 year ago, but I have dabbled in sewing for the last 6. While I have been interested in making all kinds of things, a zippered bag seemed too daunting for this newby sewer.

…

Read More

Faux-Flake Quilt Pattern — Download

Free Patterns - Apr. 12, 2017 - Jessica OklaRoots

Pattern Details


​

Full size : 50″ x 70″

​Downloadable PDF

Half Square Triangle Pattern

Perfect for scraps!

Detailed layout

Beginner friendly

Includes links to tutorials

​

Access Pattern


“Faux-Flake” Quilt Preview

Quilts - Feb. 23, 2017 - Jessica OklaRoots

Here is a sneak peak at a pattern I am working on.  This is a beginner pattern, specifically a winter pattern. The pieced quilt top is made up entirely of half square triangles, which were made using Triangles On A Roll Half Square, 2″. For the backing and binding, I used a large cut of  Shannon Minky Soft Rabbit Cuddle Creme. 

A printable, easy to understand pattern is still in the works.  Here is a sneak peak of the design!

This was hand quilted, using a small stitch on the minky side and a long stitch on the quilt top.  This allowed the top of the quilt to look heavily quilted, but no quilting lines show up on the back (minky) side.

How To Vectorize a Watercolor Image using Affinity Designer (Mac)

Tutorials - Nov. 18, 2016 - Jessica OklaRoots

Adobe Illustrator appears to be the standard in almost any creative industry.  I have not used it.  If you work for a company that is footing the monthly bill for Ai, high five, that is awesome.  But for me, that is going to cost another 25-50 dollars a month.  And while that doesn’t sound like a terribly large amount of money, I don’t need another monthly expense.

An alternative (especially for those of us who don’t have a need for every Ai feature) is Affinity Designer. …

Read More
« Previous Page

Primary Sidebar

Recent Posts

  • The Bag Maker’s Companion – An All New Sewing Book!
  • 2025 ByAnnie SewPINK Blog Hop – Making The Zip It Up 2.0
  • 2026 OklaCruise!
  • January 2025 Livestream
  • 2024 ByAnnie #SewPink Breast Cancer Awareness

Instagram

oklaroots

Here’s our second week in the UK in 90 seconds! We Here’s our second week in the UK in 90 seconds! We loved every minute and feel so grateful to have this experience. We are already saving up to go back! 

Most of this week was spent in Edinburgh Scotland ❤️

Here’s a list of our favorite places to visit!
Stayed at the Caledonian
Red Squirrel Pub (so good!)
Edinburgh Castle
The Real Mary Close Tour
Islander Bag Making
Makars Mash
Calton Hill
Mary’s Milk Bar
All the Cadbury

#Travel #scotland #edinburgh
All new OklaRoots pattern! The Passport Pouch is a All new OklaRoots pattern! The Passport Pouch is a quick and easy make that can hold up to four passports 🤩

And I’m working on hacks for those of you who want to make this but not for passports 🫣

Happy Monday!

#oklarootstuts #travel #passport #handmade
Our 7 days in London in 90 seconds! Here is a lis Our 7 days in London in 90 seconds!

Here is a list of most of our London activities:
Flew Virgin Atlantic
Stayed at the Londoner in Leicester Square
China Town
Carnaby Street
Fortnum and Mason
Liberty of London
Tower of London
Borough Market
Feya tea
Natural History Museum
Harrods
High tea the Ritz
Lunch at Sky Garden
Oxford day
St Paul’s Cathedral
Lots of gelato and chocolate
Train to Edinburgh
Two weeks of gabbing to do! Two weeks of gabbing to do!
Comment ZURI and I’ll message you a link to the tu Comment ZURI and I’ll message you a link to the tutorial!

This month’s @bagmakingbeesclub Bee Box is for the ADORABLE Zuri Crossbody from @bagstockdesigns 😍😍

This cutie has some really clever pockets that allow it to remain functional and keep that beautiful design. It’s a great quick-ish sew and would be a fun project to make with family or at a retreat.

Enjoy!

#oklarootstuts #bagmakingbeesclub #bagsewing #bagstockdesigns #crossbody
Comment BAG BOOK and I’ll message you where you ca Comment BAG BOOK and I’ll message you where you can find my book! Coming out April of 2027 😍

Thank you so much @countrymanpress @w.w.norton for allowing me to do this!! It’s the most special moment of my career ❤️

#oklarootstuts #sewingbook #sewing #newbook #handmade
The 2026 Summer Mega Box is here!!! This box is P The 2026 Summer Mega Box is here!!!

This box is PACKED with goodies! Tons of material, hardware and notions, as all as all kinds of extra goodies. 

The featured pattern for this back is the Andy Backpack from @uhohcreations and this is one of my favorite patterns of all time. This bag is great for schools, college, work, travel, slumber parties… you name it! It has the most clever pockets and that come together in the coolest way. It’s a more intermediate make, but I believe a confident beginner would also enjoy it. Just take your time!

I’ve also included my latest Passport Pouch pattern with this box. You should have an email with the coupon code to snag it completely free, AND the templates are included in the box 🥰. 

There are two versions that were available: the bold and the neutral. Both truly live up to their name. The bold is bright and vibrant, with special prints designed by Gabbi at @wondergroundfabrics . The neutral is truly neutral and great for ANYONE. 

My video tutorial for the Passport Pouch will be available on July 20th and the tutorial for the Andy Backpack will be out on July 27th. 

I hope you love this!!

#oklarootstuts #bagmakingbeesclub #uhohcreations #bagpack
We’re turning a crossbody into a backpack this wee We’re turning a crossbody into a backpack this week, using a tshirt! Ok, that’s a mouthful. But in today’s add-on tutorial I’m sharing how I twisted and converted the Mila Monster into a backpack, based off inspiration from one of you! All measurements and adjustments are listed in the description of the video. 

I hope you enjoy the hack 🥰 Comment MILA and I’ll message you a link to the video ❤️

#oklarootstuts #backpack #patternhack #sewing
Posted today: a mini tut! In the most recent Okl Posted today: a mini tut! 

In the most recent OklaRoots YouTube video I’m showing you how I prepare a tshirt to be used in a bag pattern. It’s simple, straightforward and easy. 

I now have a huge bin of tshirts waiting to be made into a bag! Enjoy!

#oklarootstuts #repurpose #tshirt #handmade #sewing
Follow on Instagram

Recent Posts

  • The Bag Maker’s Companion – An All New Sewing Book!
  • 2025 ByAnnie SewPINK Blog Hop – Making The Zip It Up 2.0
  • 2026 OklaCruise!
  • January 2025 Livestream
  • 2024 ByAnnie #SewPink Breast Cancer Awareness

Instagram

oklaroots

Here’s our second week in the UK in 90 seconds! We Here’s our second week in the UK in 90 seconds! We loved every minute and feel so grateful to have this experience. We are already saving up to go back! 

Most of this week was spent in Edinburgh Scotland ❤️

Here’s a list of our favorite places to visit!
Stayed at the Caledonian
Red Squirrel Pub (so good!)
Edinburgh Castle
The Real Mary Close Tour
Islander Bag Making
Makars Mash
Calton Hill
Mary’s Milk Bar
All the Cadbury

#Travel #scotland #edinburgh
All new OklaRoots pattern! The Passport Pouch is a All new OklaRoots pattern! The Passport Pouch is a quick and easy make that can hold up to four passports 🤩

And I’m working on hacks for those of you who want to make this but not for passports 🫣

Happy Monday!

#oklarootstuts #travel #passport #handmade
Our 7 days in London in 90 seconds! Here is a lis Our 7 days in London in 90 seconds!

Here is a list of most of our London activities:
Flew Virgin Atlantic
Stayed at the Londoner in Leicester Square
China Town
Carnaby Street
Fortnum and Mason
Liberty of London
Tower of London
Borough Market
Feya tea
Natural History Museum
Harrods
High tea the Ritz
Lunch at Sky Garden
Oxford day
St Paul’s Cathedral
Lots of gelato and chocolate
Train to Edinburgh
Two weeks of gabbing to do! Two weeks of gabbing to do!
Comment ZURI and I’ll message you a link to the tu Comment ZURI and I’ll message you a link to the tutorial!

This month’s @bagmakingbeesclub Bee Box is for the ADORABLE Zuri Crossbody from @bagstockdesigns 😍😍

This cutie has some really clever pockets that allow it to remain functional and keep that beautiful design. It’s a great quick-ish sew and would be a fun project to make with family or at a retreat.

Enjoy!

#oklarootstuts #bagmakingbeesclub #bagsewing #bagstockdesigns #crossbody
Comment BAG BOOK and I’ll message you where you ca Comment BAG BOOK and I’ll message you where you can find my book! Coming out April of 2027 😍

Thank you so much @countrymanpress @w.w.norton for allowing me to do this!! It’s the most special moment of my career ❤️

#oklarootstuts #sewingbook #sewing #newbook #handmade
The 2026 Summer Mega Box is here!!! This box is P The 2026 Summer Mega Box is here!!!

This box is PACKED with goodies! Tons of material, hardware and notions, as all as all kinds of extra goodies. 

The featured pattern for this back is the Andy Backpack from @uhohcreations and this is one of my favorite patterns of all time. This bag is great for schools, college, work, travel, slumber parties… you name it! It has the most clever pockets and that come together in the coolest way. It’s a more intermediate make, but I believe a confident beginner would also enjoy it. Just take your time!

I’ve also included my latest Passport Pouch pattern with this box. You should have an email with the coupon code to snag it completely free, AND the templates are included in the box 🥰. 

There are two versions that were available: the bold and the neutral. Both truly live up to their name. The bold is bright and vibrant, with special prints designed by Gabbi at @wondergroundfabrics . The neutral is truly neutral and great for ANYONE. 

My video tutorial for the Passport Pouch will be available on July 20th and the tutorial for the Andy Backpack will be out on July 27th. 

I hope you love this!!

#oklarootstuts #bagmakingbeesclub #uhohcreations #bagpack
We’re turning a crossbody into a backpack this wee We’re turning a crossbody into a backpack this week, using a tshirt! Ok, that’s a mouthful. But in today’s add-on tutorial I’m sharing how I twisted and converted the Mila Monster into a backpack, based off inspiration from one of you! All measurements and adjustments are listed in the description of the video. 

I hope you enjoy the hack 🥰 Comment MILA and I’ll message you a link to the video ❤️

#oklarootstuts #backpack #patternhack #sewing
Posted today: a mini tut! In the most recent Okl Posted today: a mini tut! 

In the most recent OklaRoots YouTube video I’m showing you how I prepare a tshirt to be used in a bag pattern. It’s simple, straightforward and easy. 

I now have a huge bin of tshirts waiting to be made into a bag! Enjoy!

#oklarootstuts #repurpose #tshirt #handmade #sewing
Follow on Instagram

Recent Posts

  • The Bag Maker’s Companion – An All New Sewing Book!
  • 2025 ByAnnie SewPINK Blog Hop – Making The Zip It Up 2.0
  • 2026 OklaCruise!
  • January 2025 Livestream
  • 2024 ByAnnie #SewPink Breast Cancer Awareness

Copyright © 2026 · OklaRoots

Lexi Theme by Code + Coconut