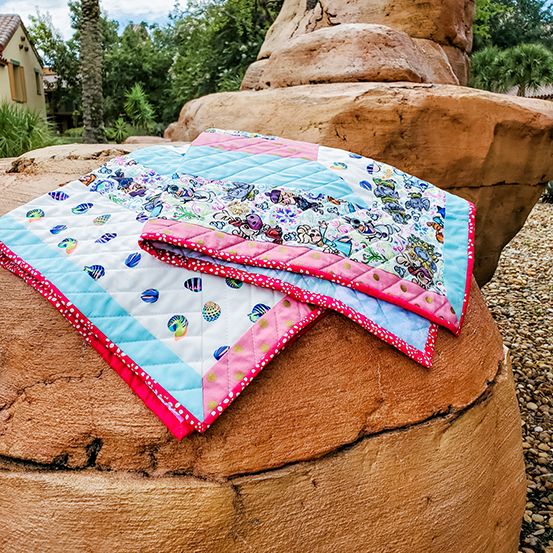
Here is a handy calculator to cut the calculation time for binding down SIGNIFICANTLY!!
Simply enter in your quilt and fabric measurements, click "Calculate" and the calculator will tell you how long your binding should be, as well as how many strips you need to cut and how many yards that will require.
I know.... my mind is blown as well.
Video Tutorial:
More...
The following is a tutorial to make quilt binding. Please refer to the video above for even more details.
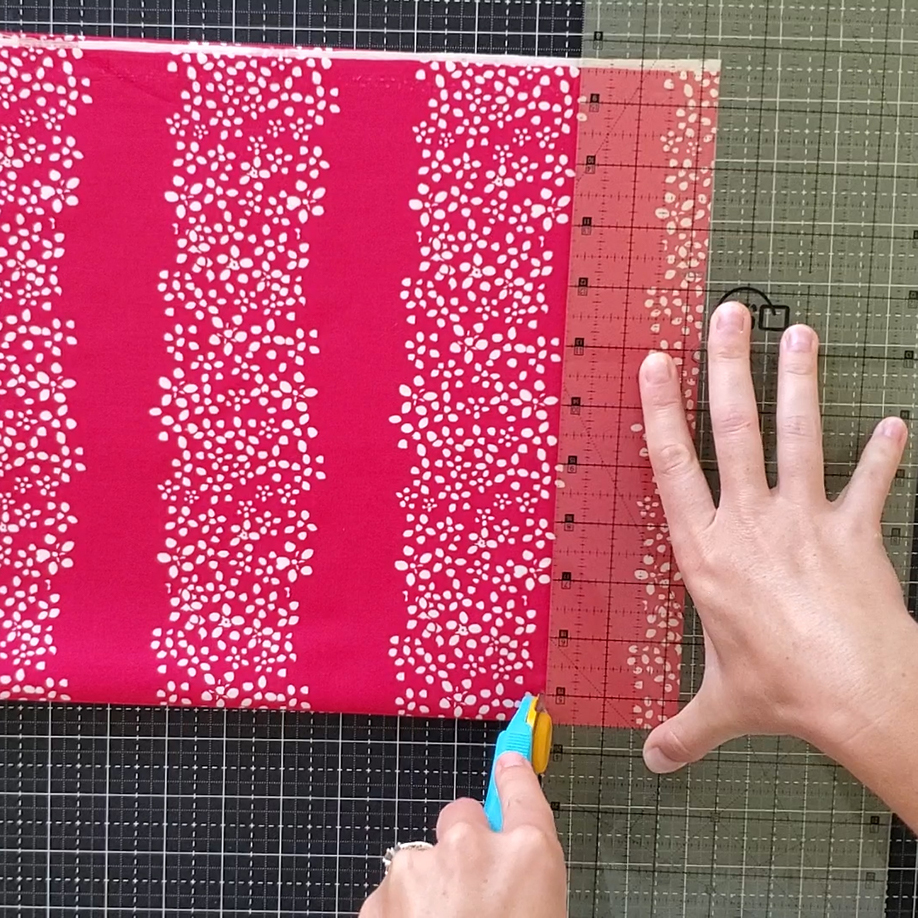
First, cut your strips as long as possible. Usually, this is width of fabric (from one selvage to the other). Cut the strips your desired width (I default to 2.5 inches, but many quilt patterns call for 2.25 inches).
Now we need to stitch them together!
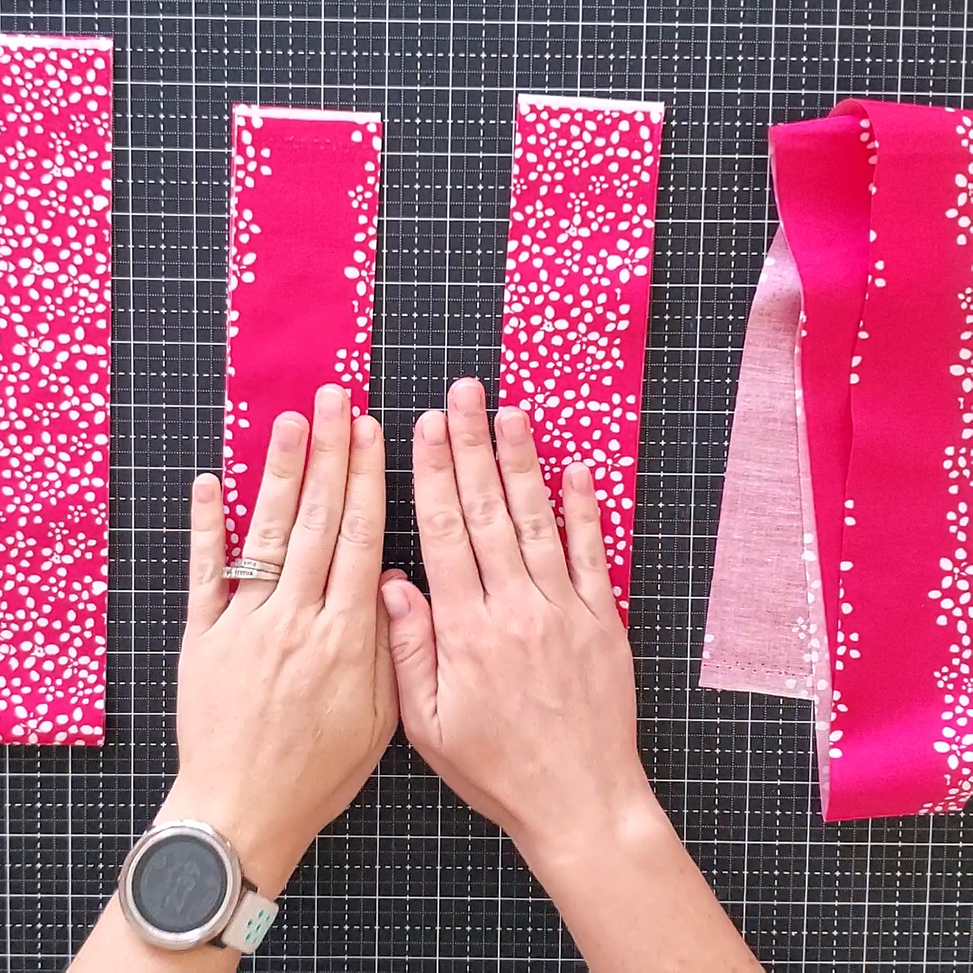
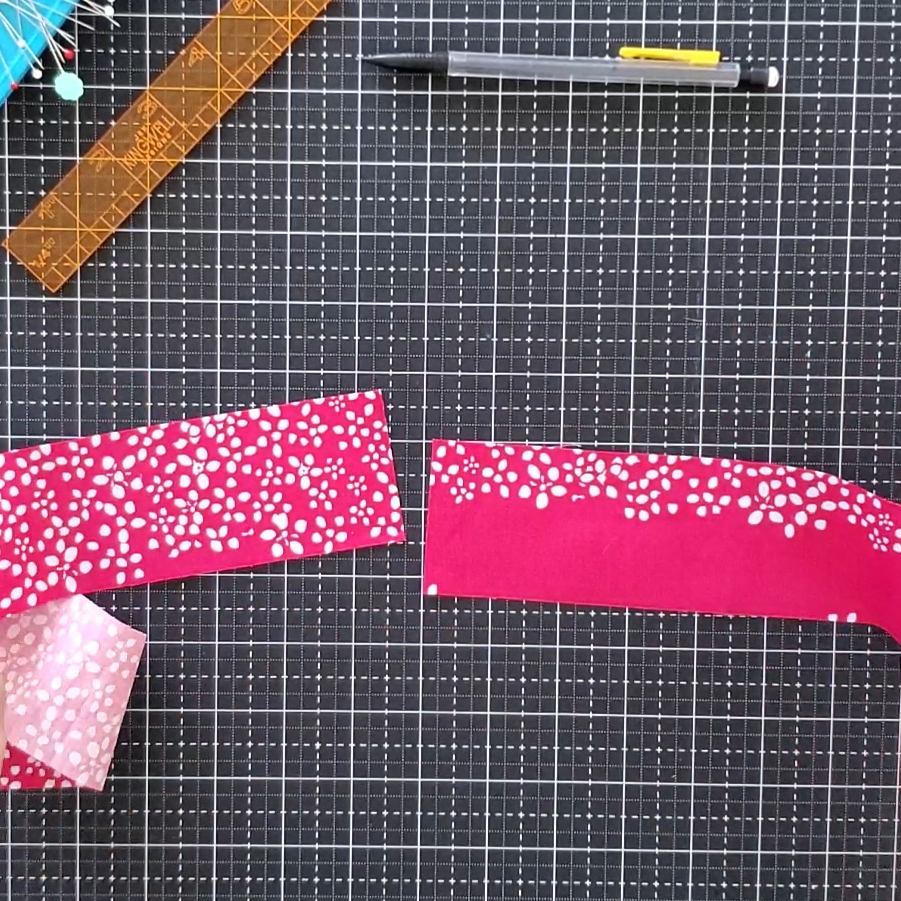
Take two strips and align them right sides together, perpendicular to one another.Align the edges as shown, and mark the bottom right edge of the bottom strip on the top strip. Then, using a small ruler, draw a line from the top left corner of the top strip to that dot.
Do this for all the strips, creating one long strip. Sew along these marked lines.
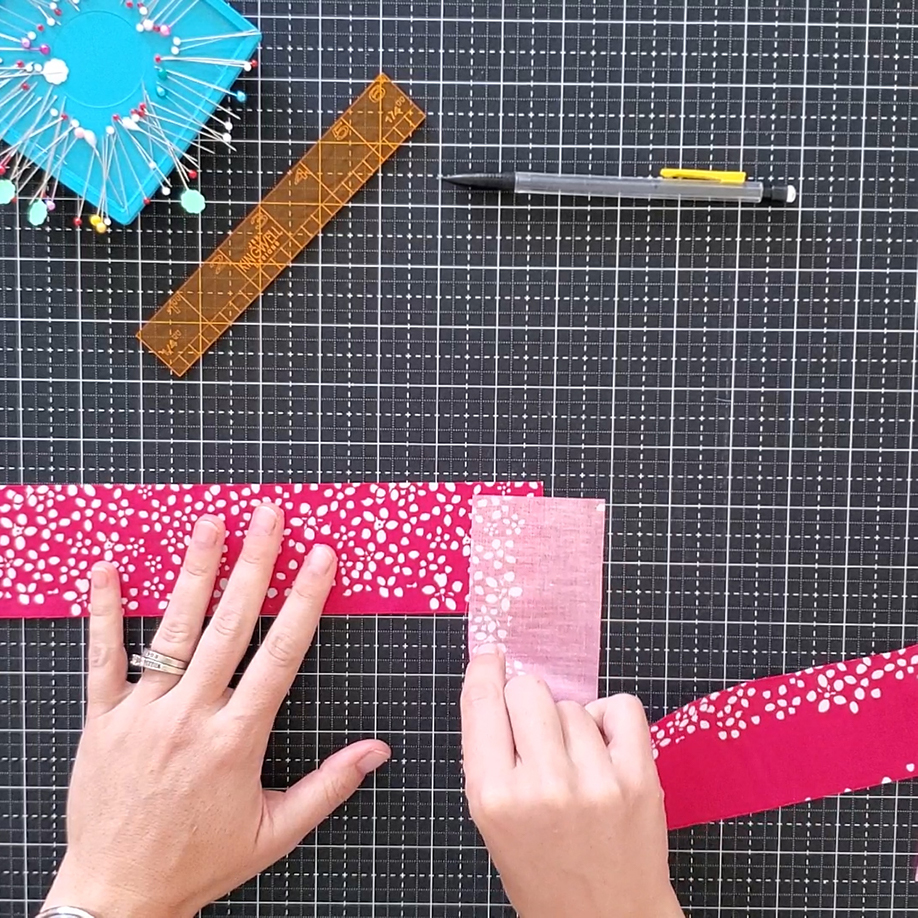
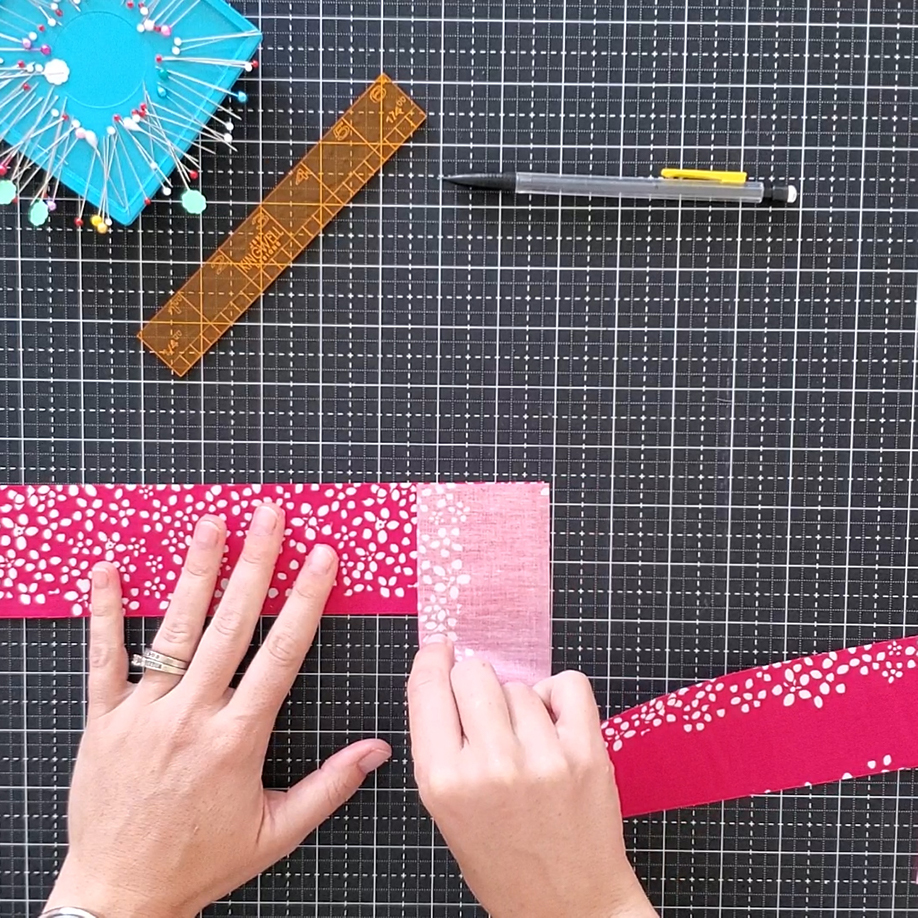
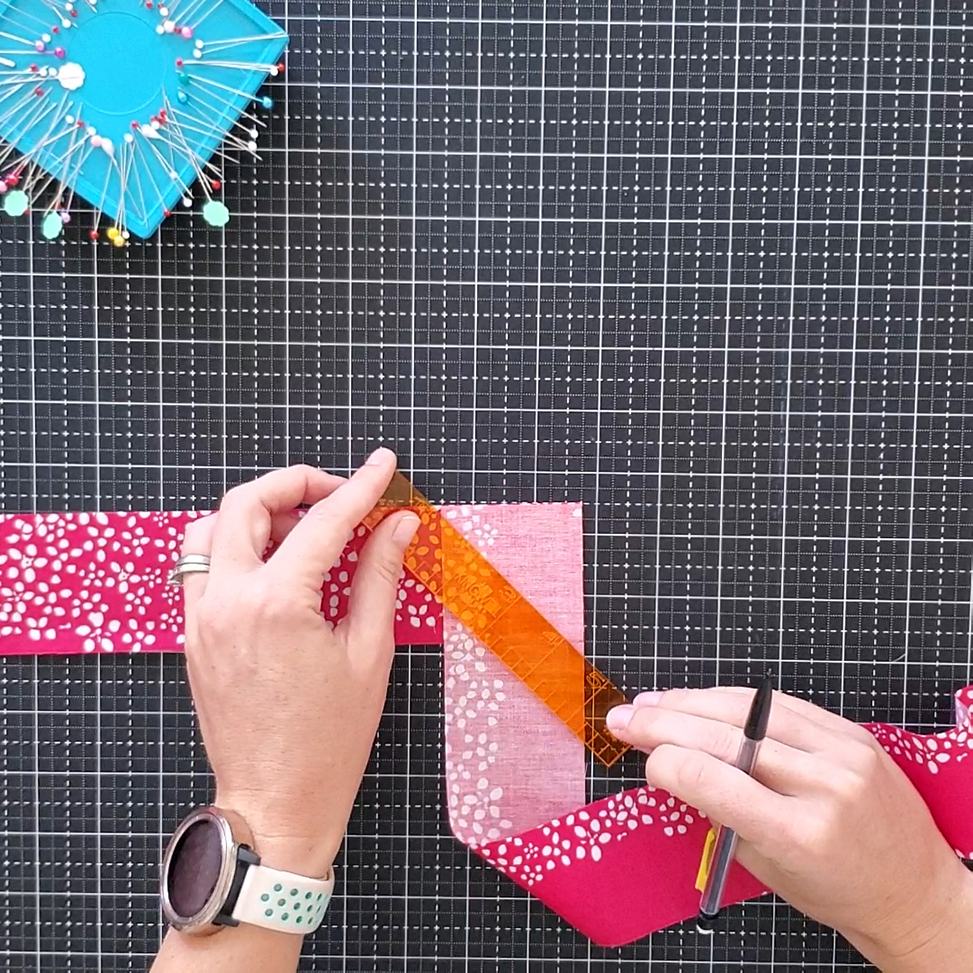
Trim off a quarter inch seam allowance. Press the seam open.
Fold the strip width wise and press, creating a crease along the half of the strip.
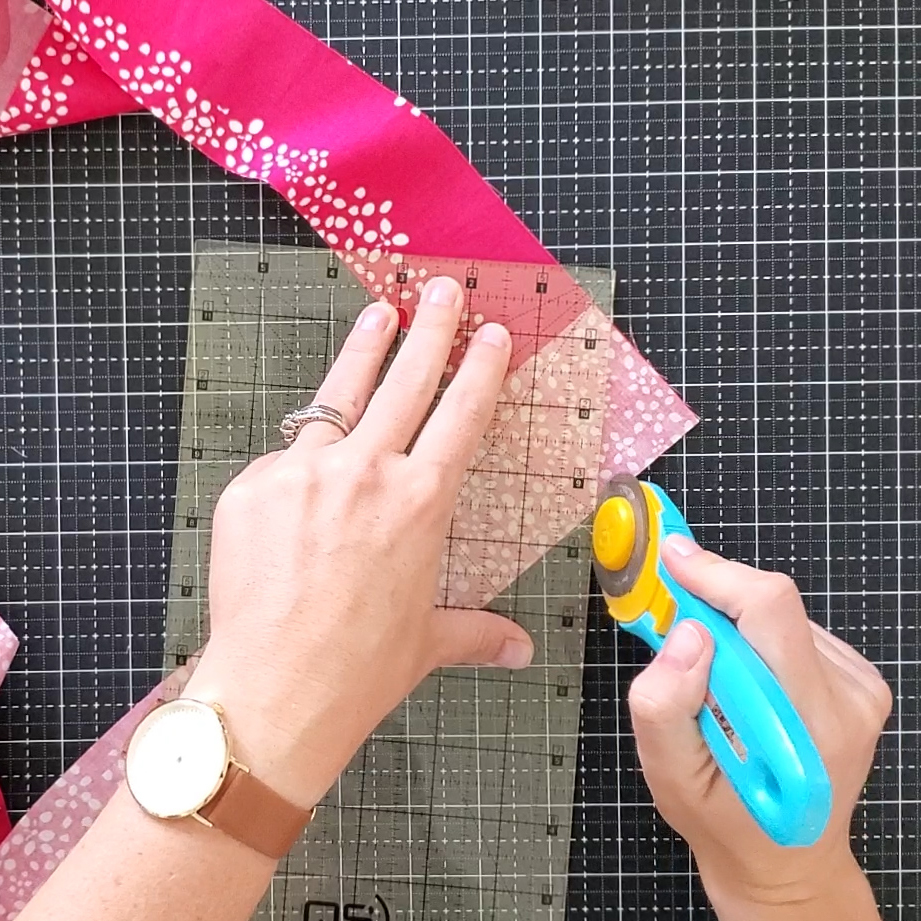
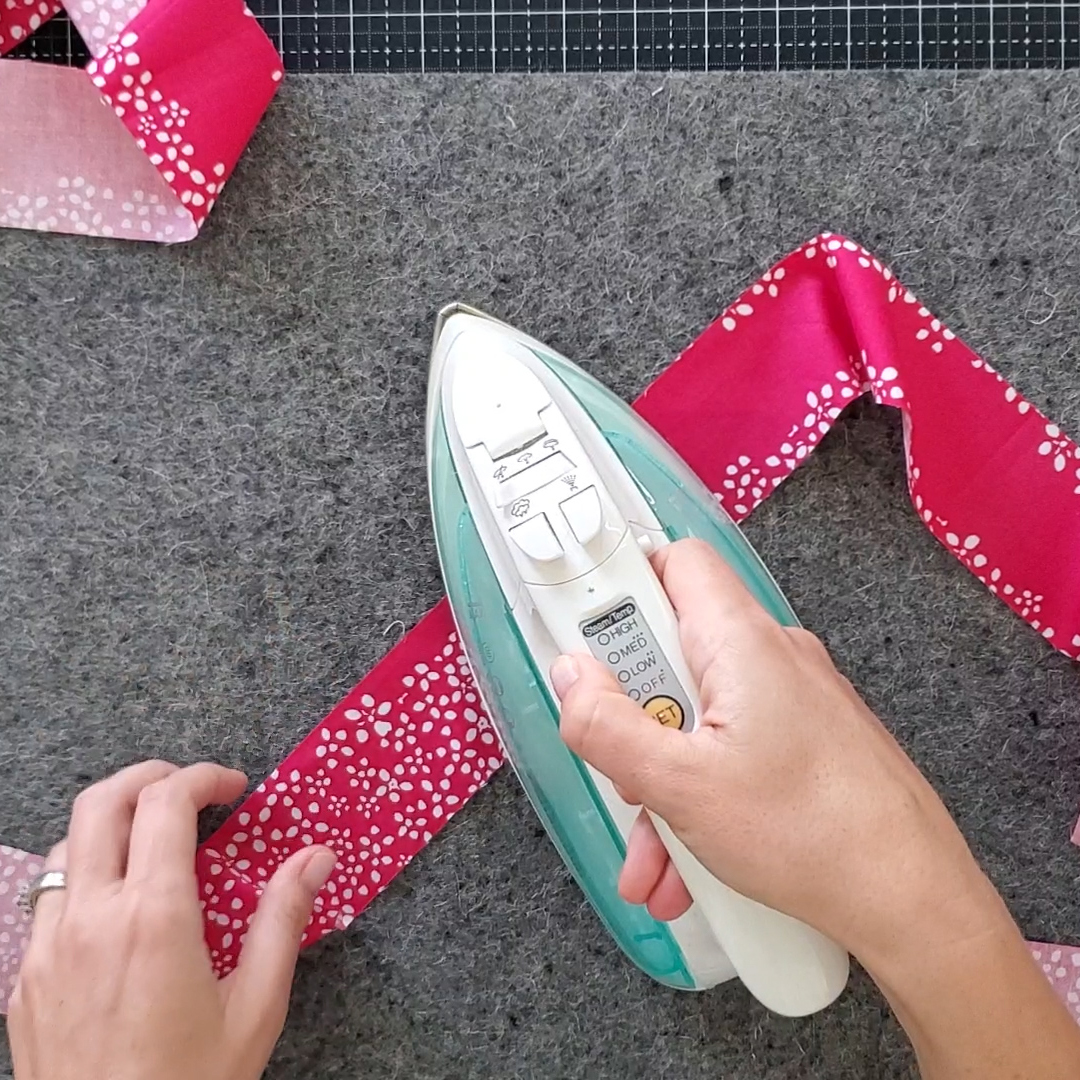
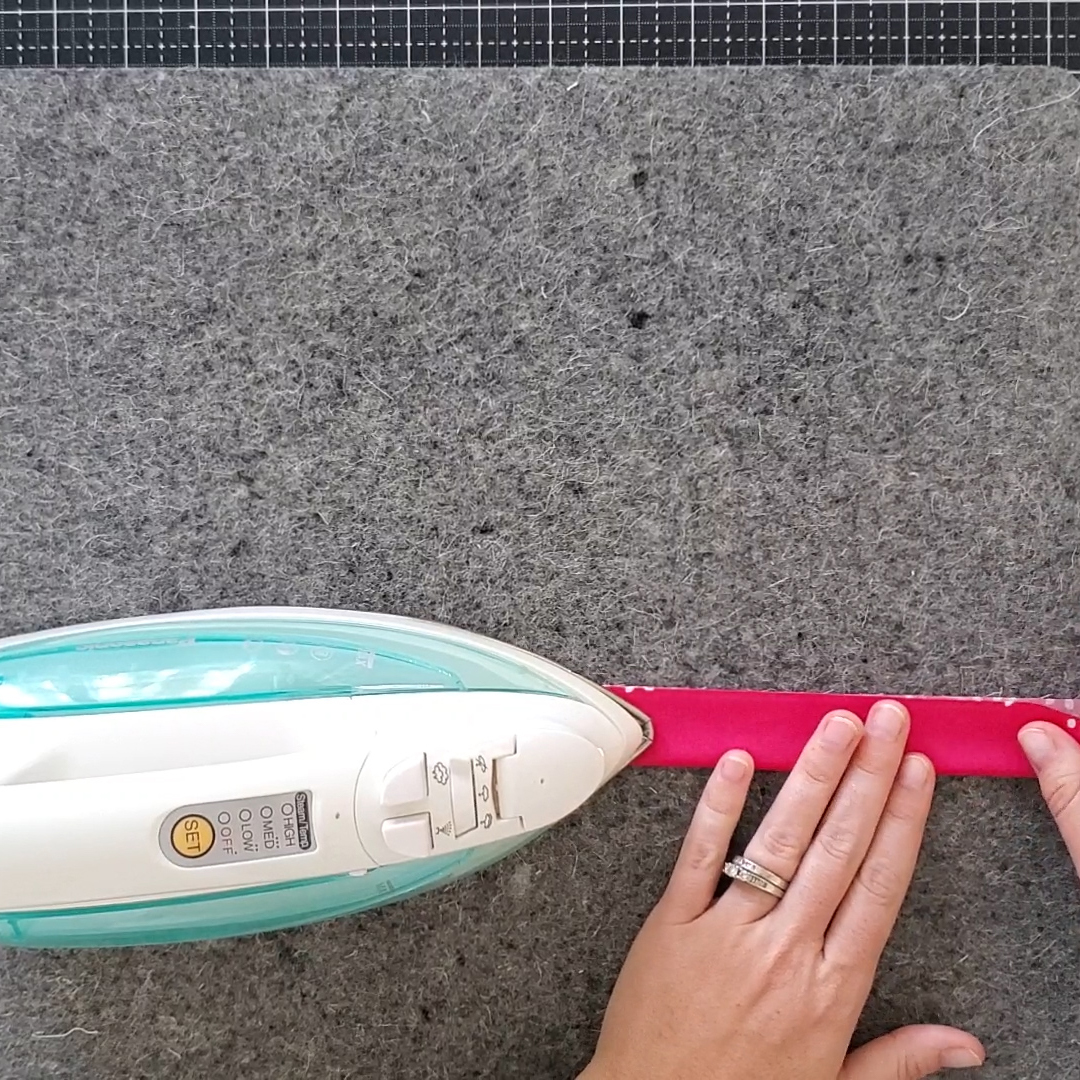
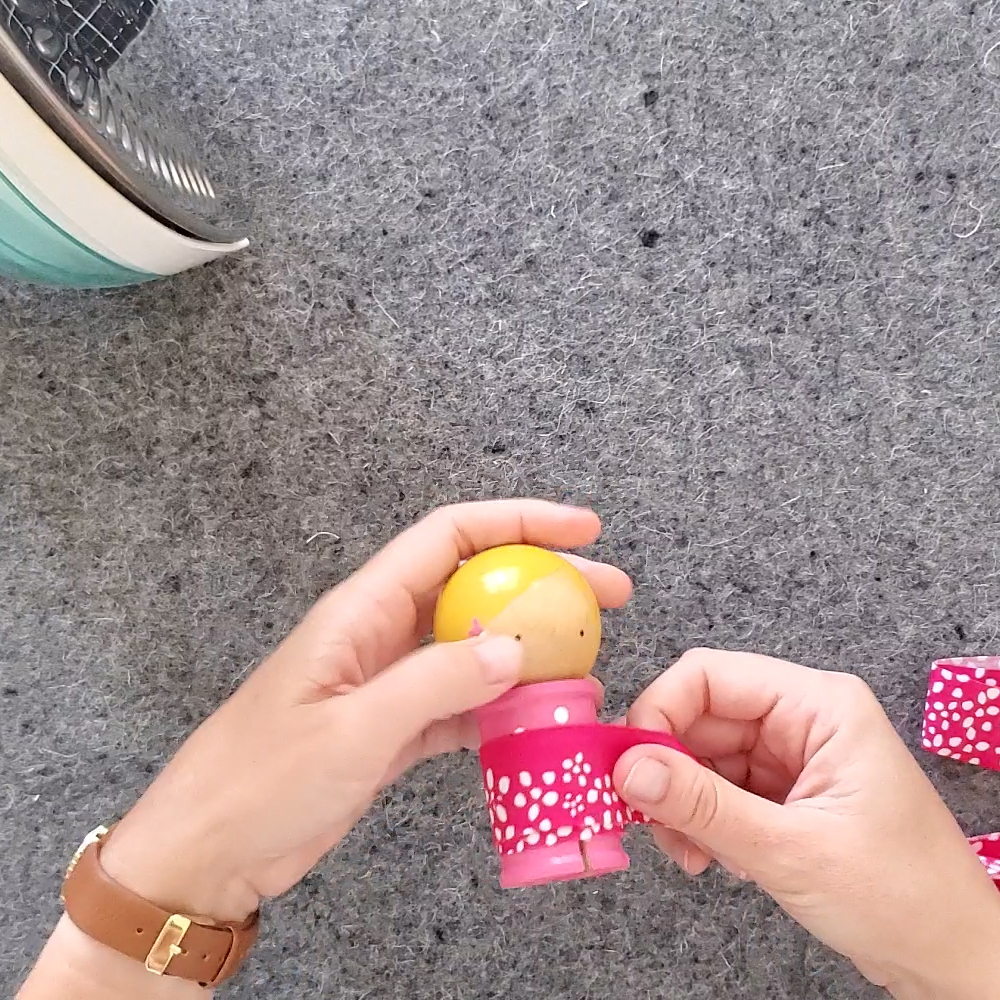
I like to use Binding Babies to organize my binding strip, especially for larger quilts.
Lay your quilt top side up . Along the middle of one edge, mark a 6-10 inch opening. Use two pins to mark the ends.
Lay your binding strip down with raw edges against raw edges of the quilt. The tail of your binding should cover the opening marked with pins. Pin the binding to the pin on the right side. This is where we will begin sewing.
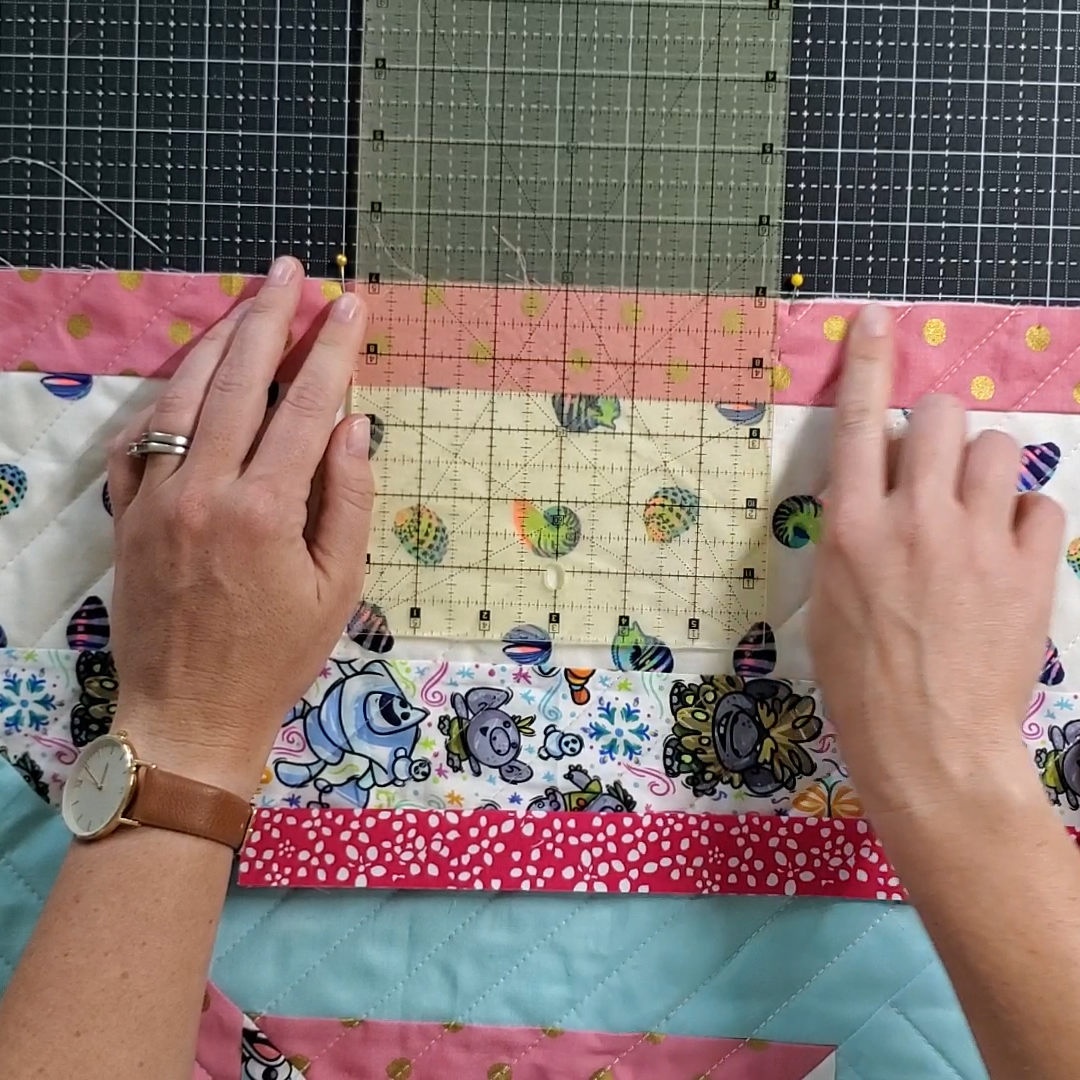
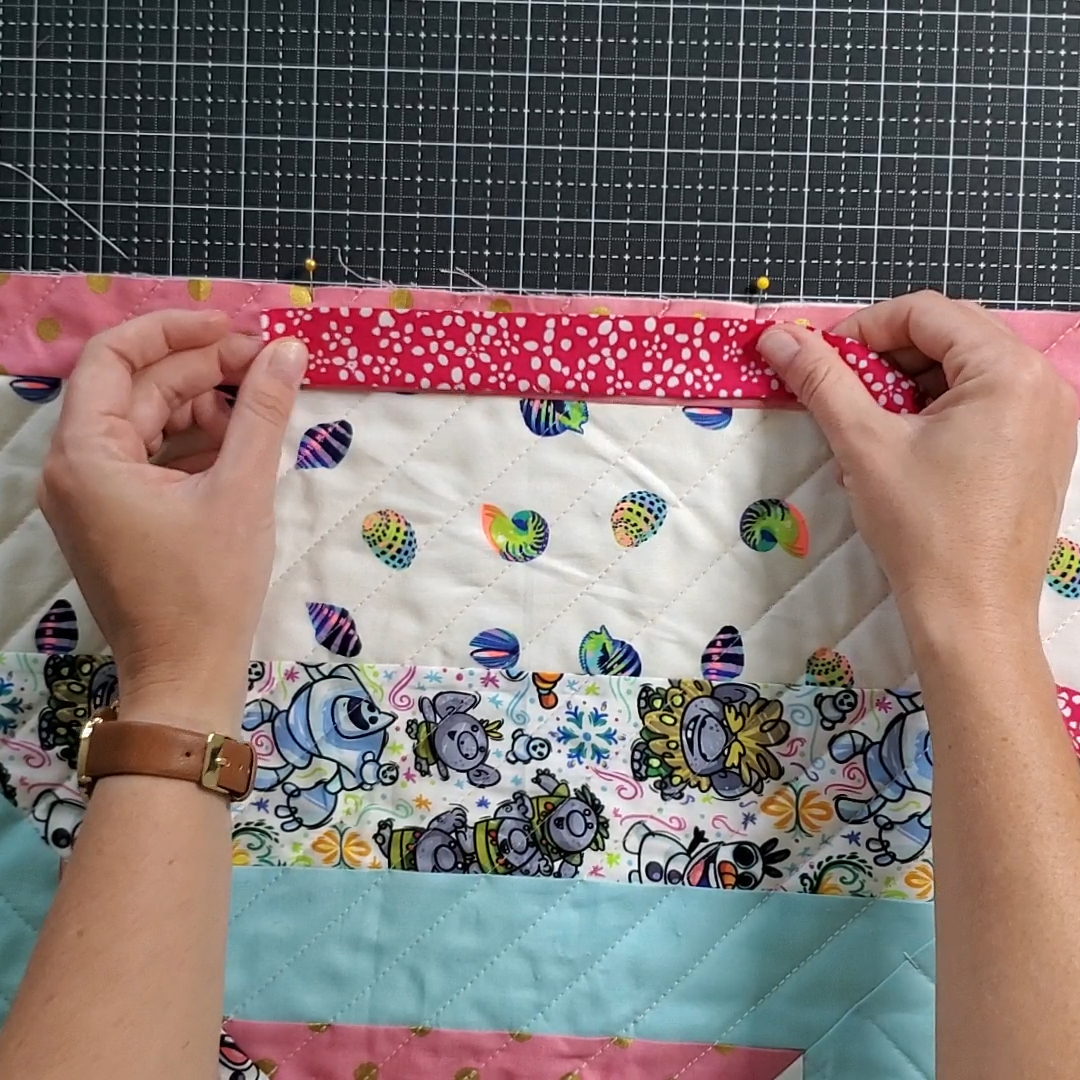
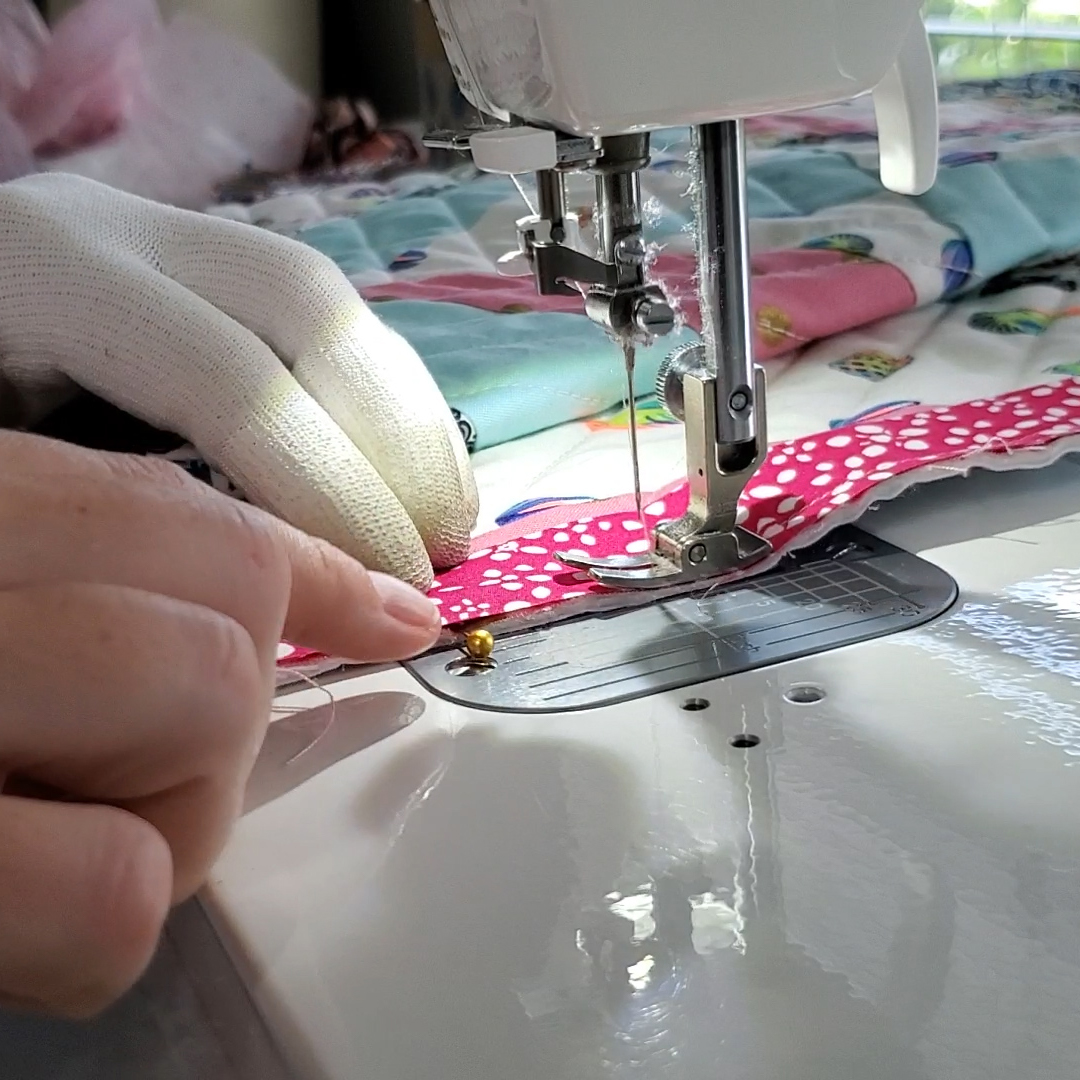
Starting at the pin on the right side, remove the pin and stitch on the binding (remember to back stitch), using a quarter inch seam allowance.
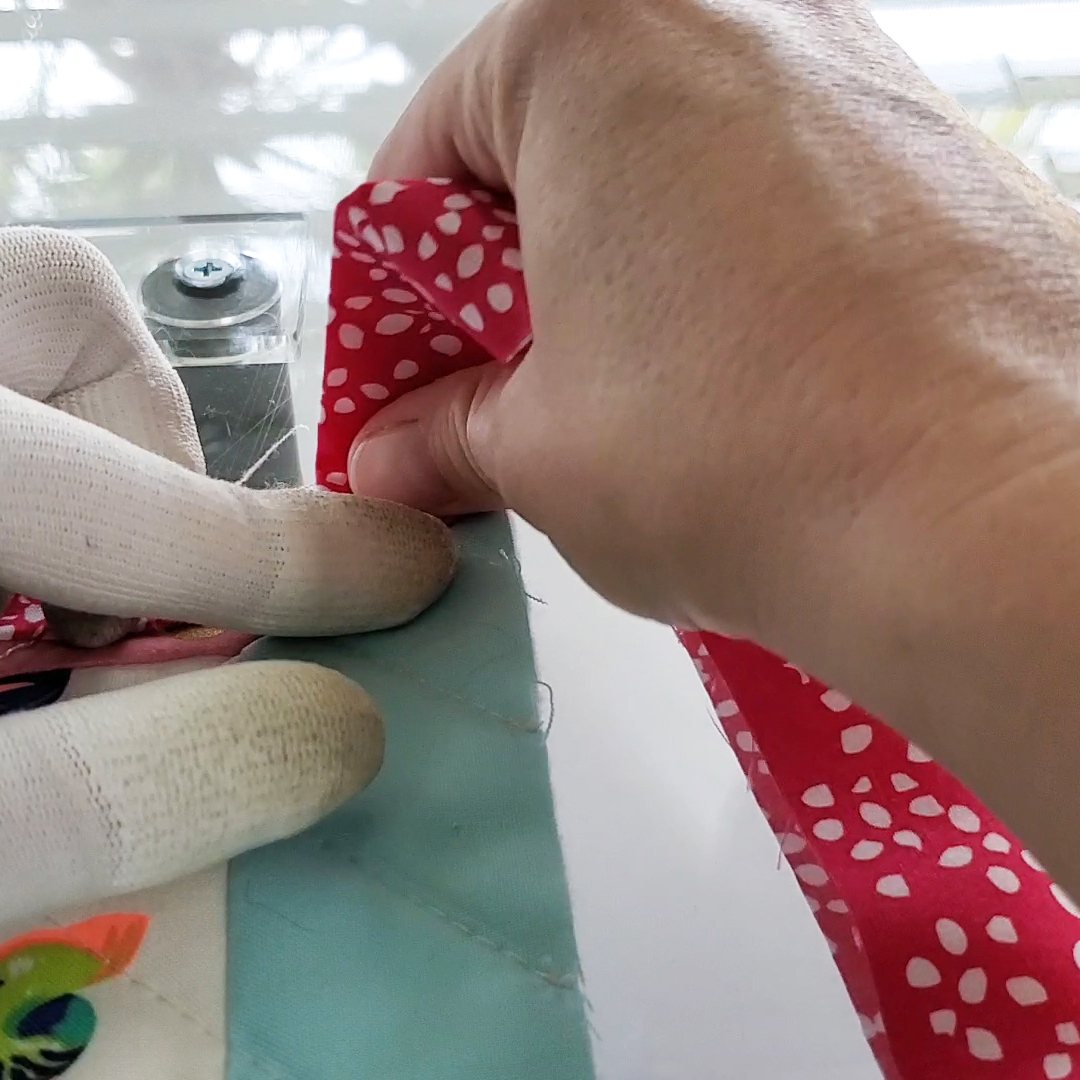
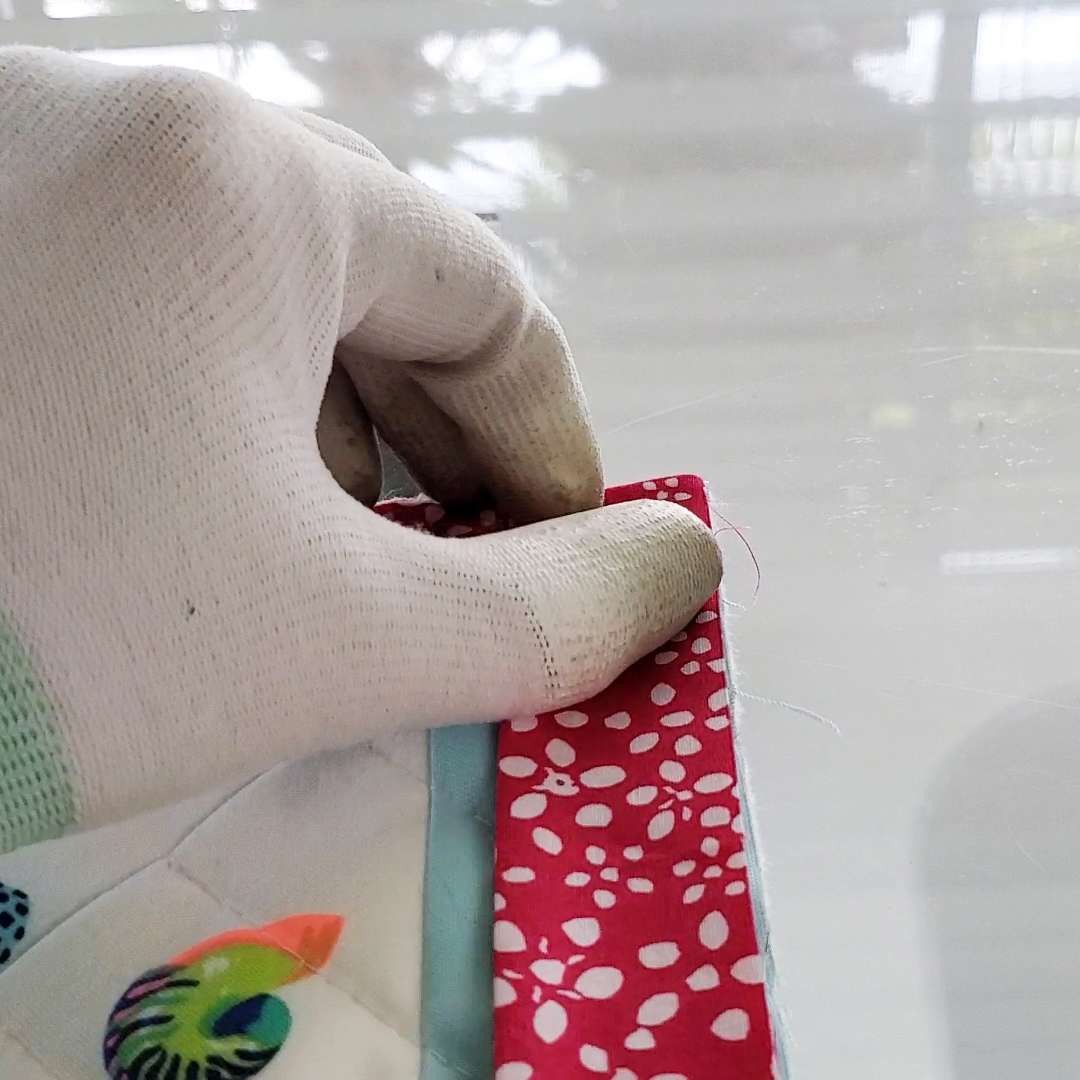
Stop about a quarter inch away from the edge. Cut the machine thread and pull quilt out. With the sewn edge laying left to right (corner stopped at on the right) pull the binding straight up. This should create a 45 degree angle on the binding. Use your finger to hold this in place.
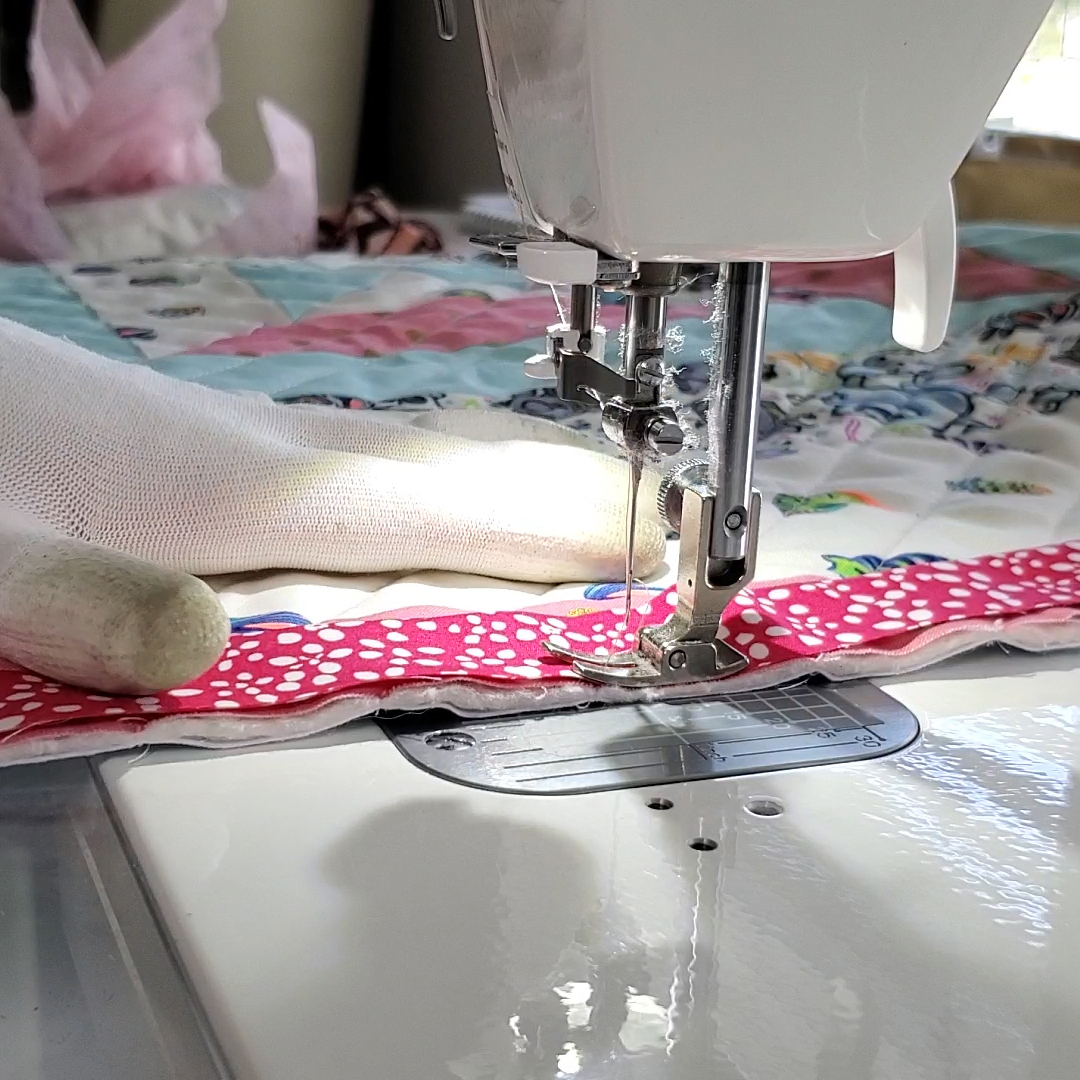
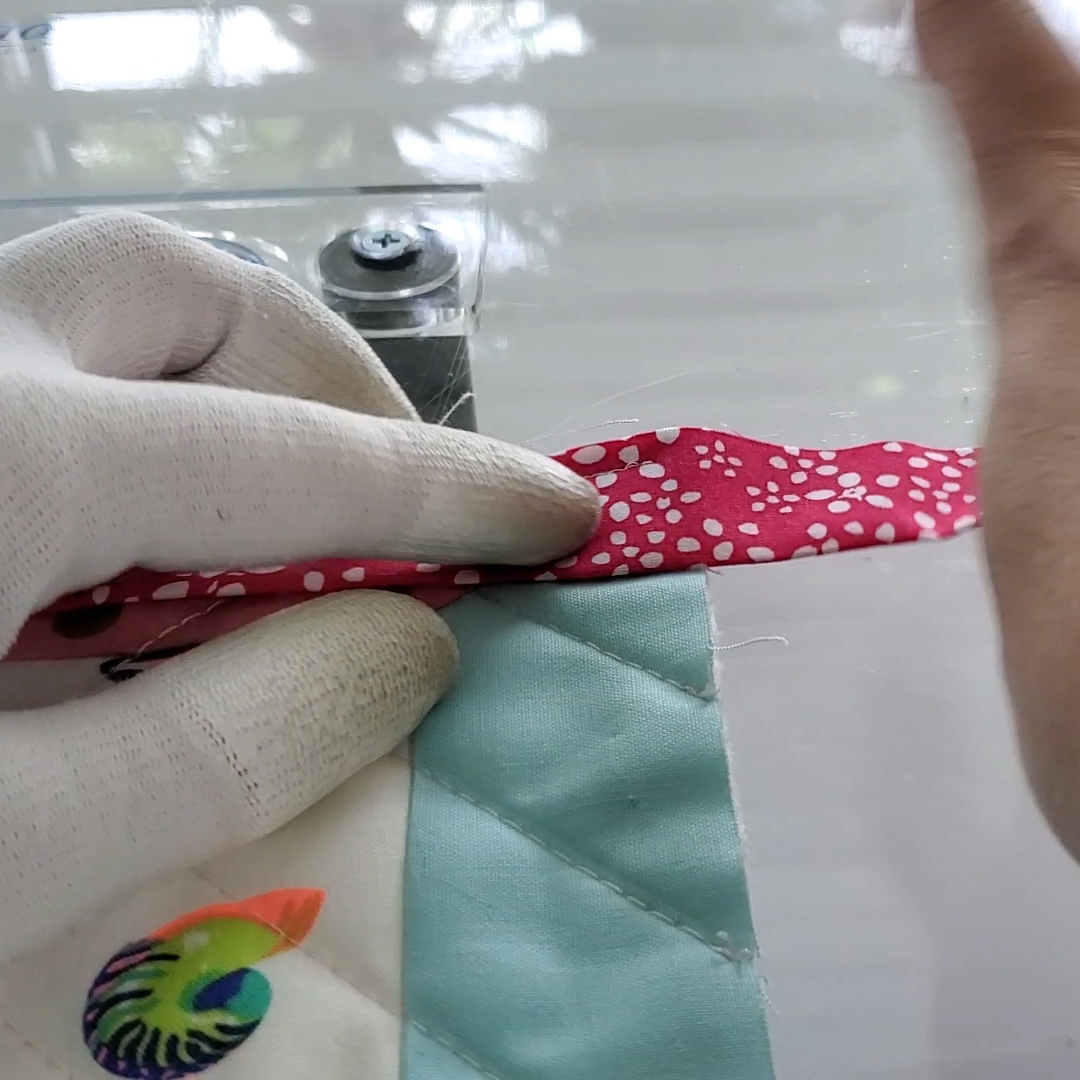
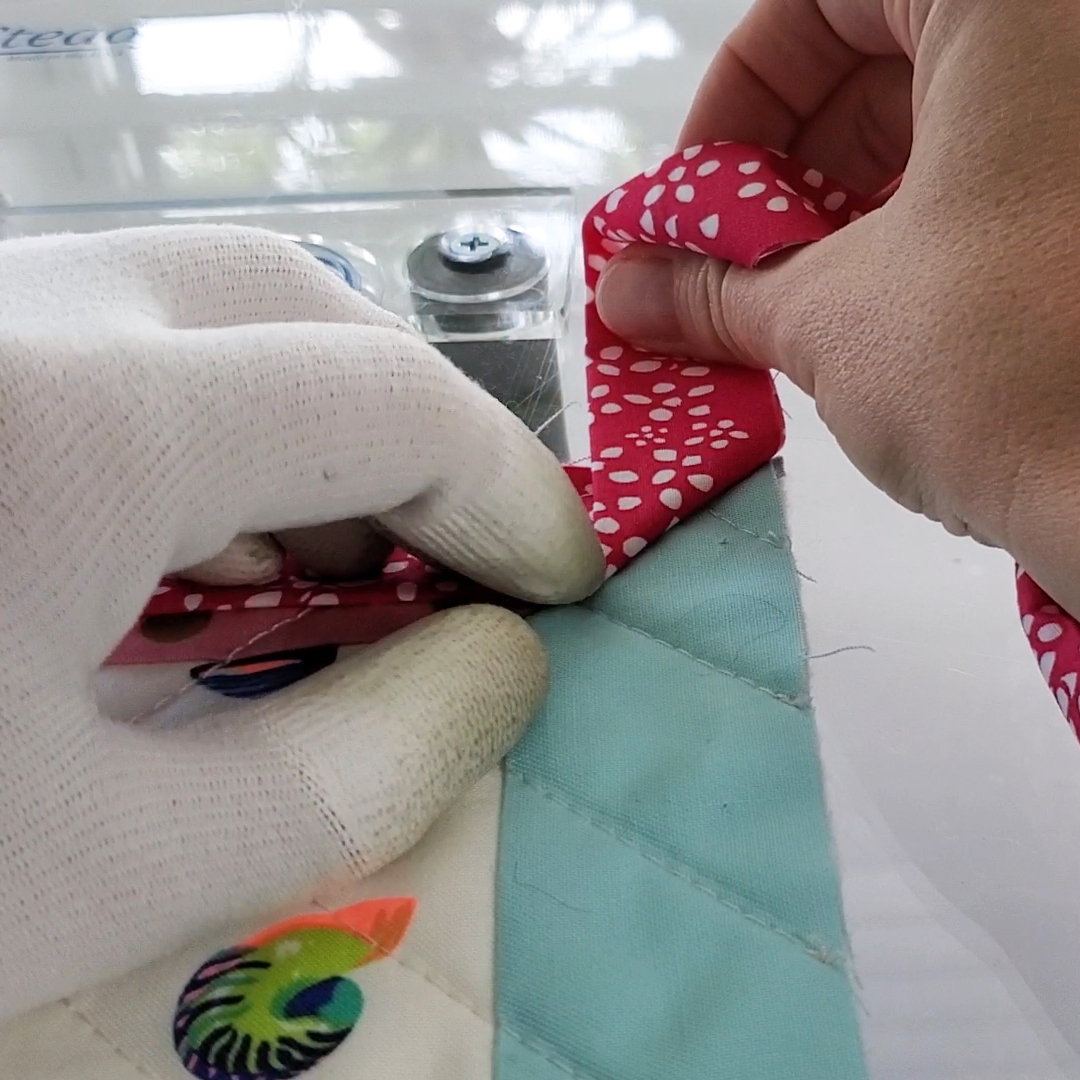
Keeping that 45 degree angle, fold the binding straight down, aligning the raw edge with the raw edge on the right side of the quilt. Clip this corner in place, and return to the machine.
Make sure to backstitch at the start, and continue sewing. Do this for each corner.
Once you have reached the other pin mark for the opening, backstitch and cut the thread.
Lay your quilt with binding open. Mark a spot in the center of the opening, on the quilt.
Take your binding on the left side, and lay over the pin. Mark (binding width)/2 to the right of the pin. [If using 2.5 inch binding, this will be 1.25 inches, for example]. Pull binding back to the left.
Take the binding on the right and lay over the opening. Mark (binding width)/2 to the left of the pin, on the binding. [If using 2.5 inch binding, this will be 1.25 inches, for example]. Pull binding back to the right.
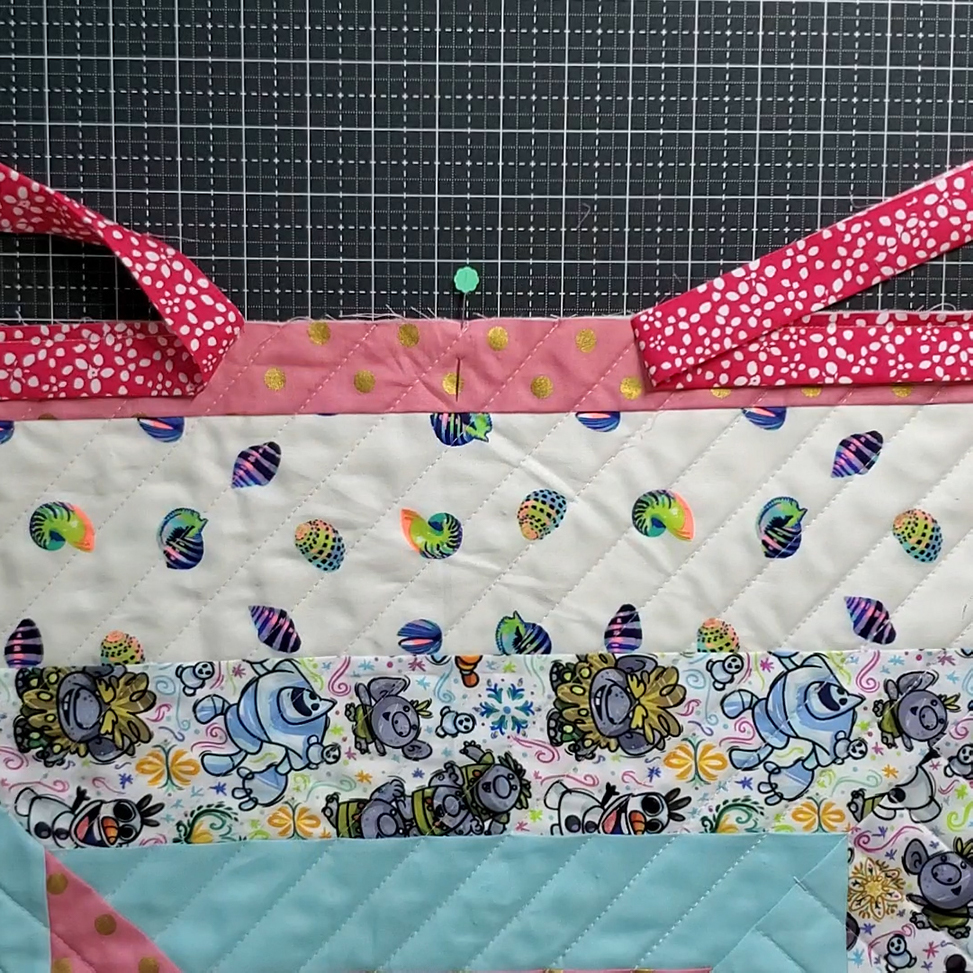
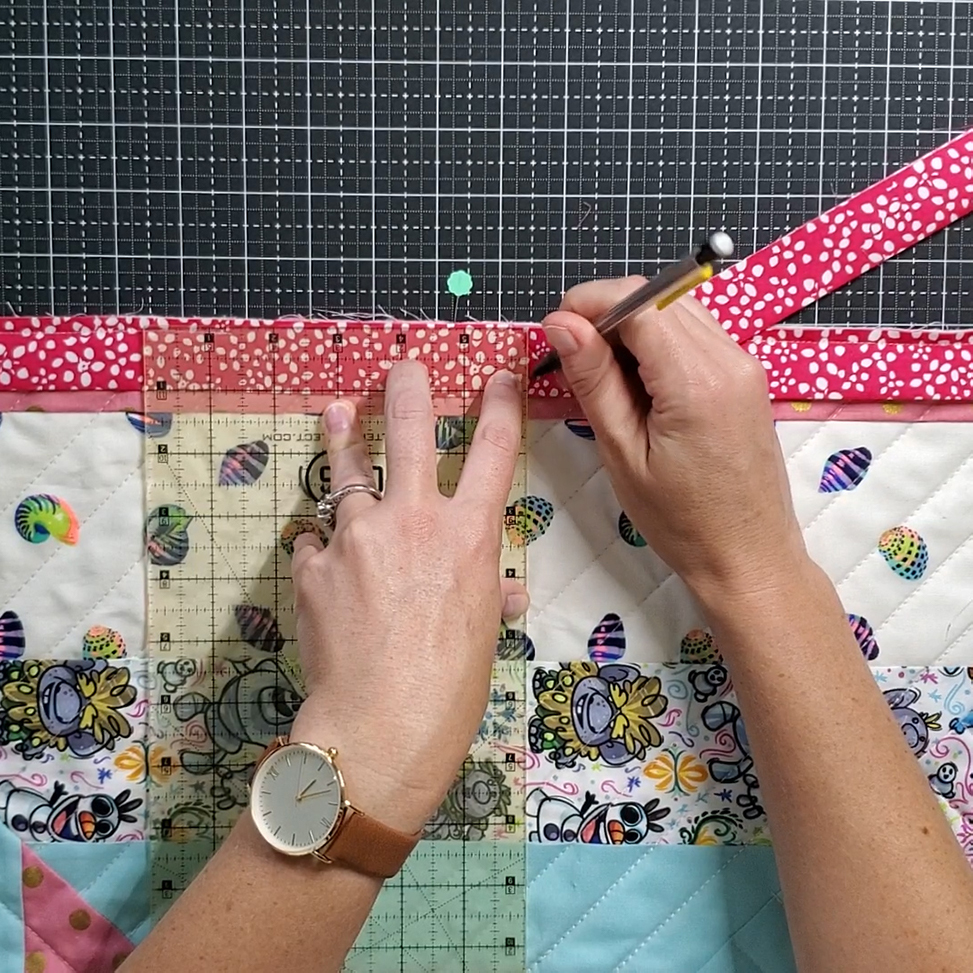
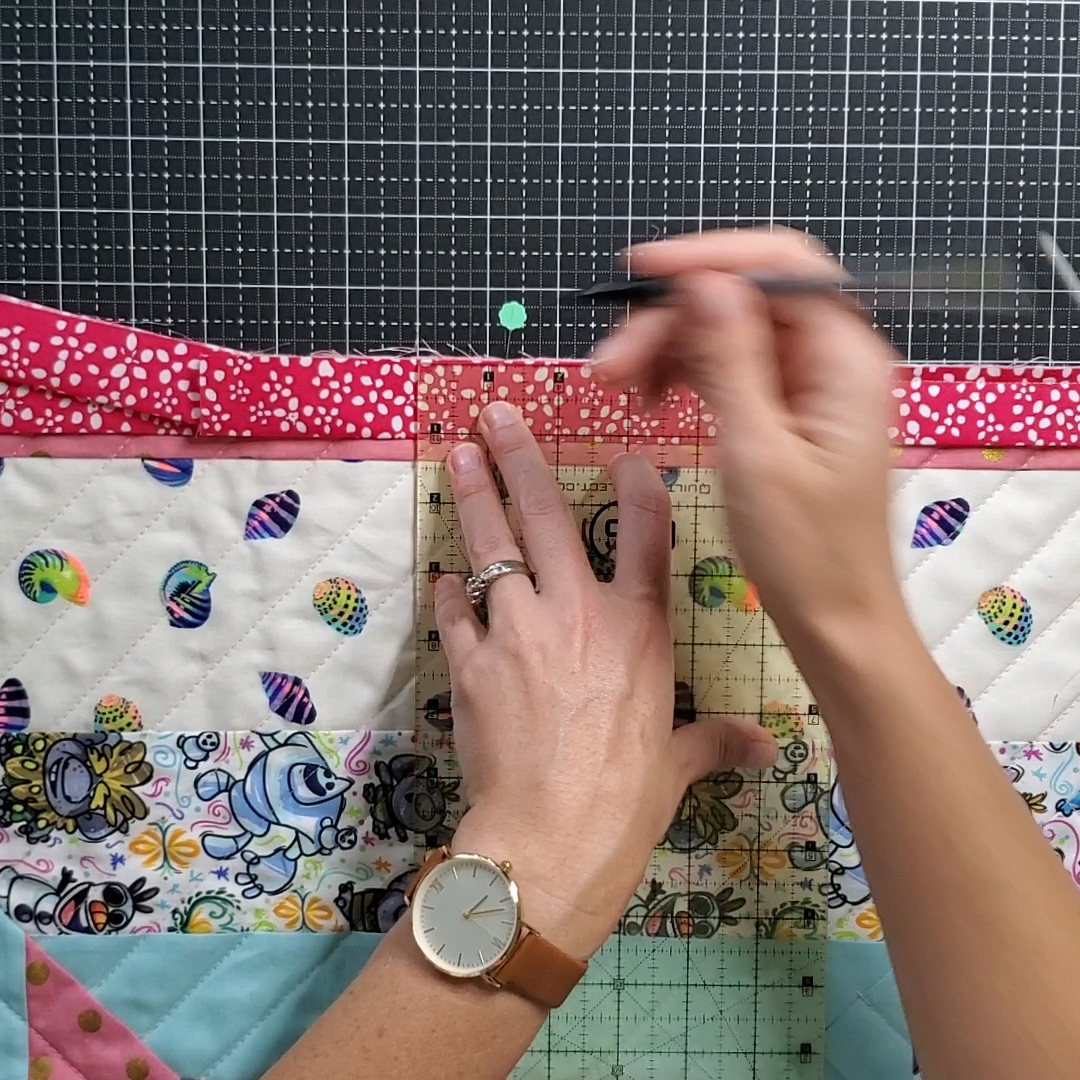
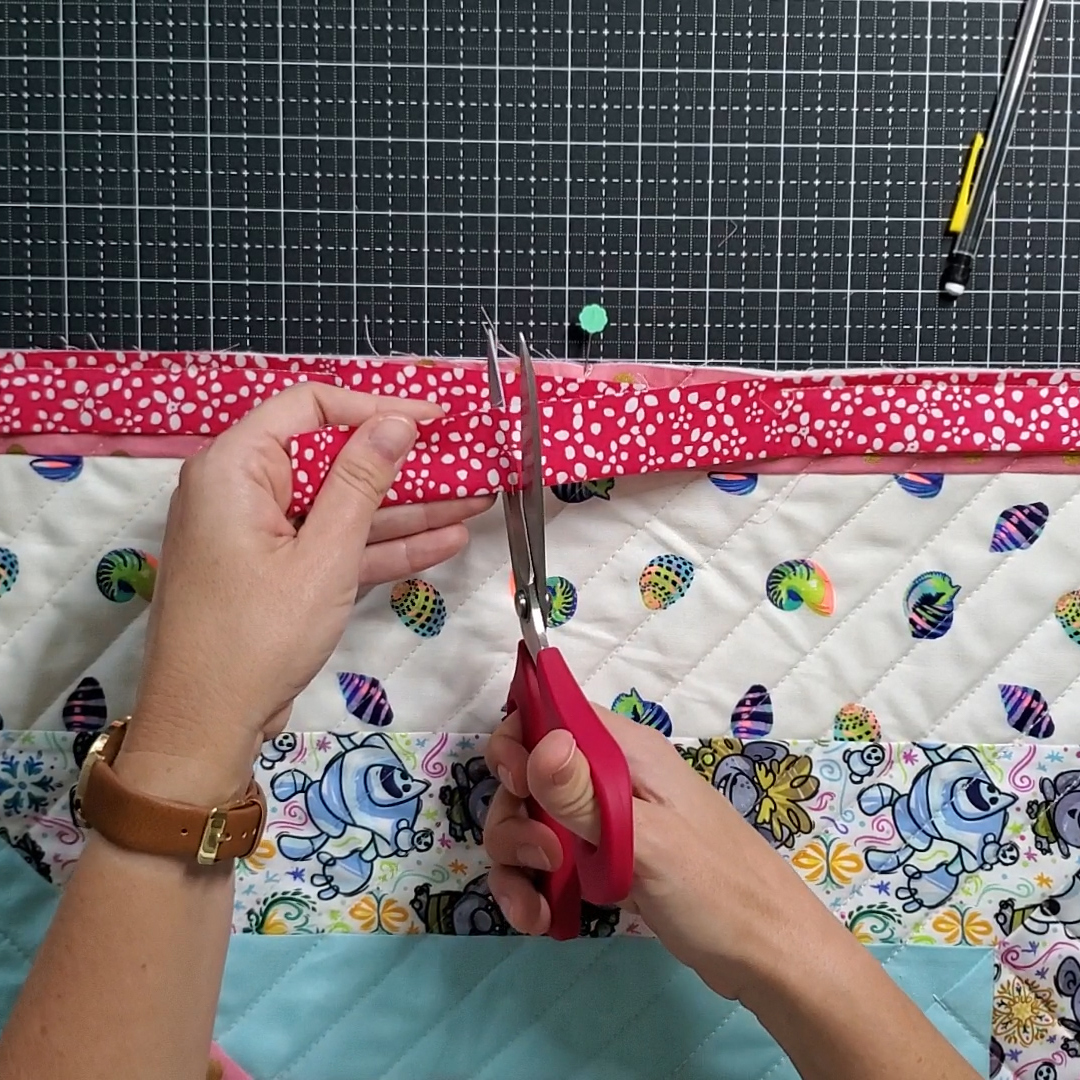
Cut both ends of binding on these marks.
Pull the two ends together, with creases on the bottom. Open and press right sides together. Twist the ends so they are perpendicular (refer to the video for help with this step).
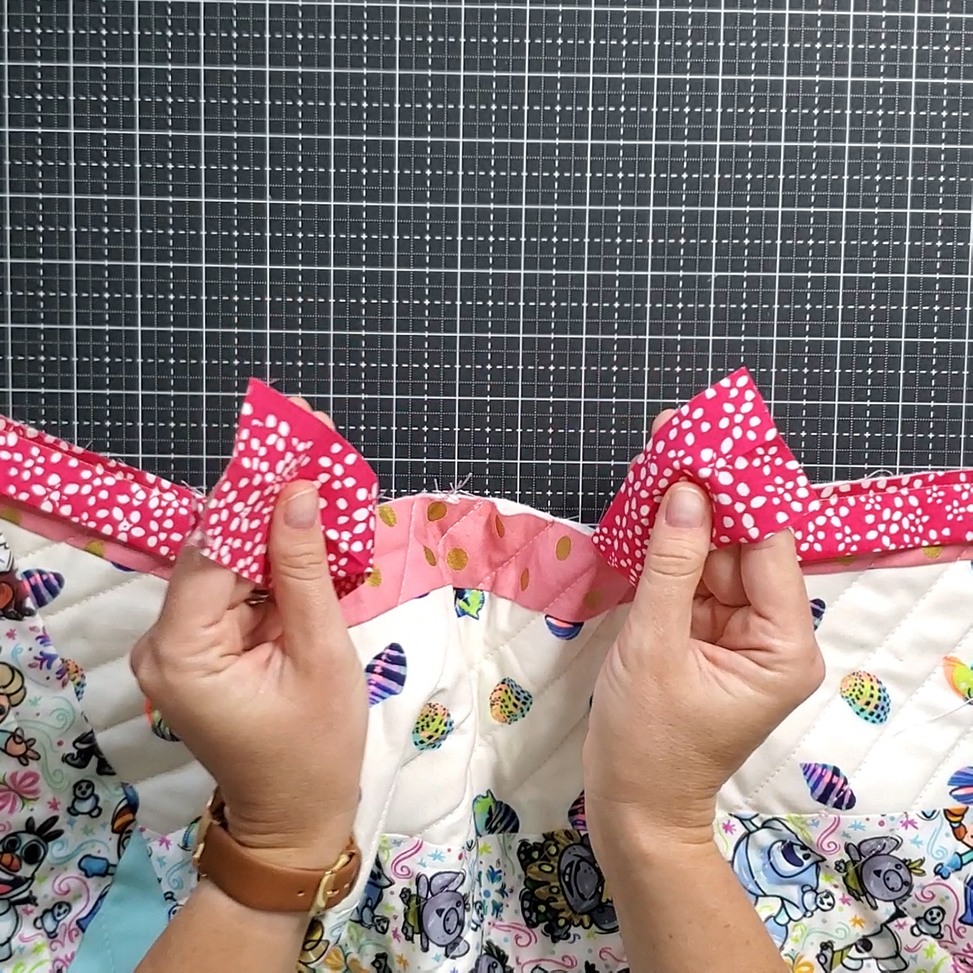
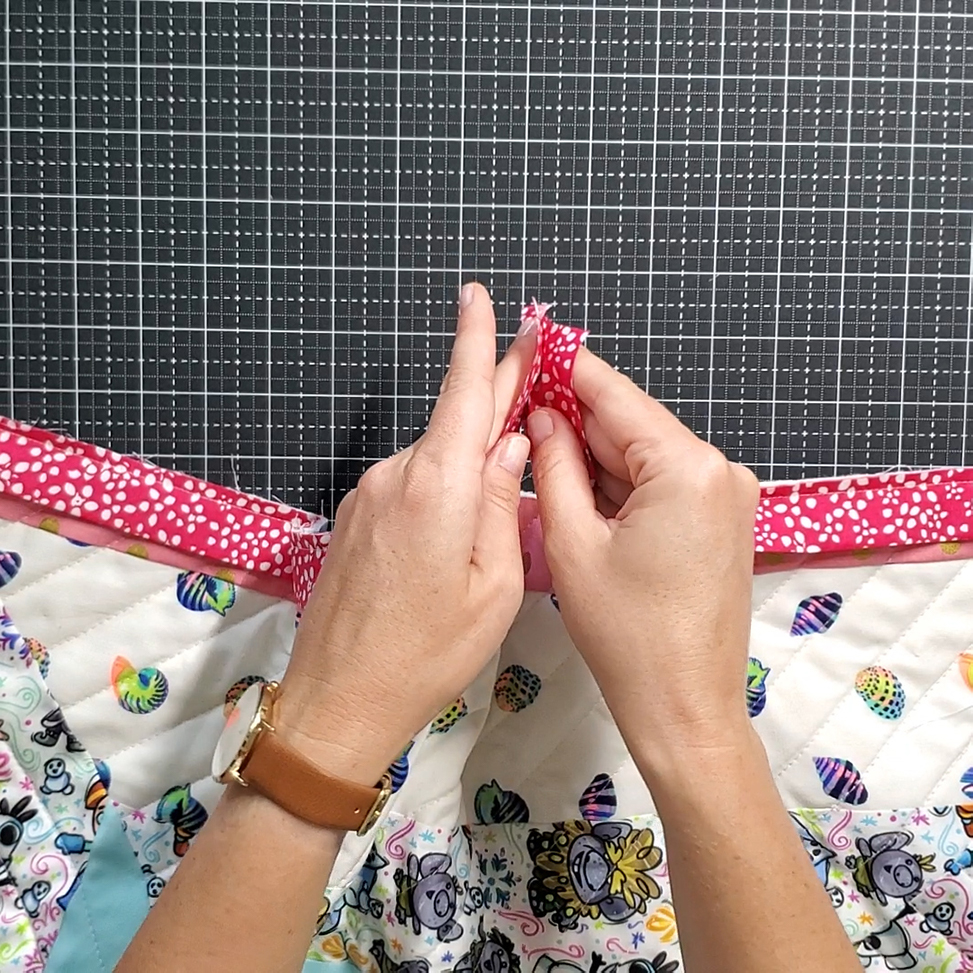
We are going to sew these two ends together just like we did when sewing the strips together to make a longer binding strip. Draw a line from top left corner on the top binding end to bottom right of the bottom binding end. Sew along this line, and then cut off a quarter inch seam allowance.
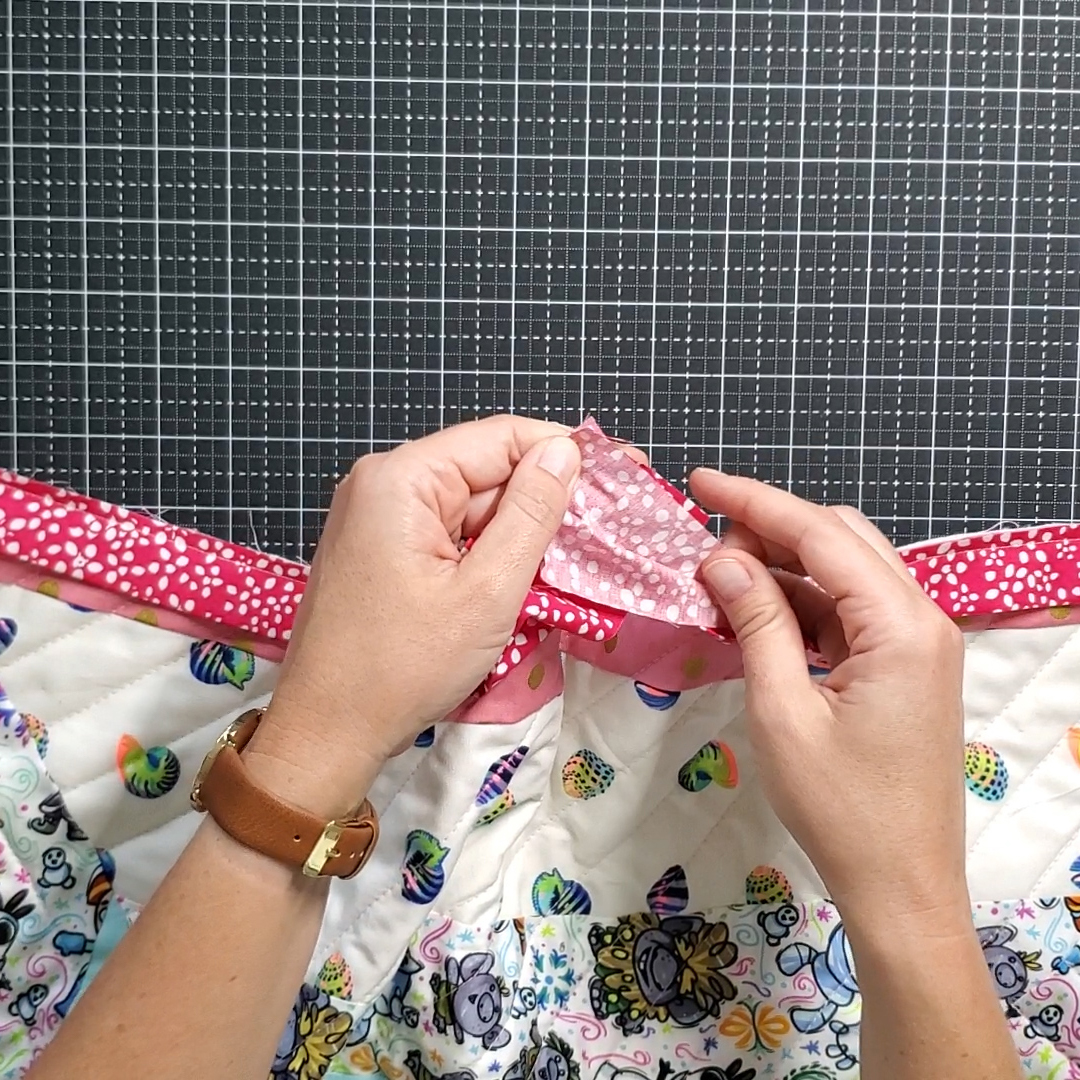
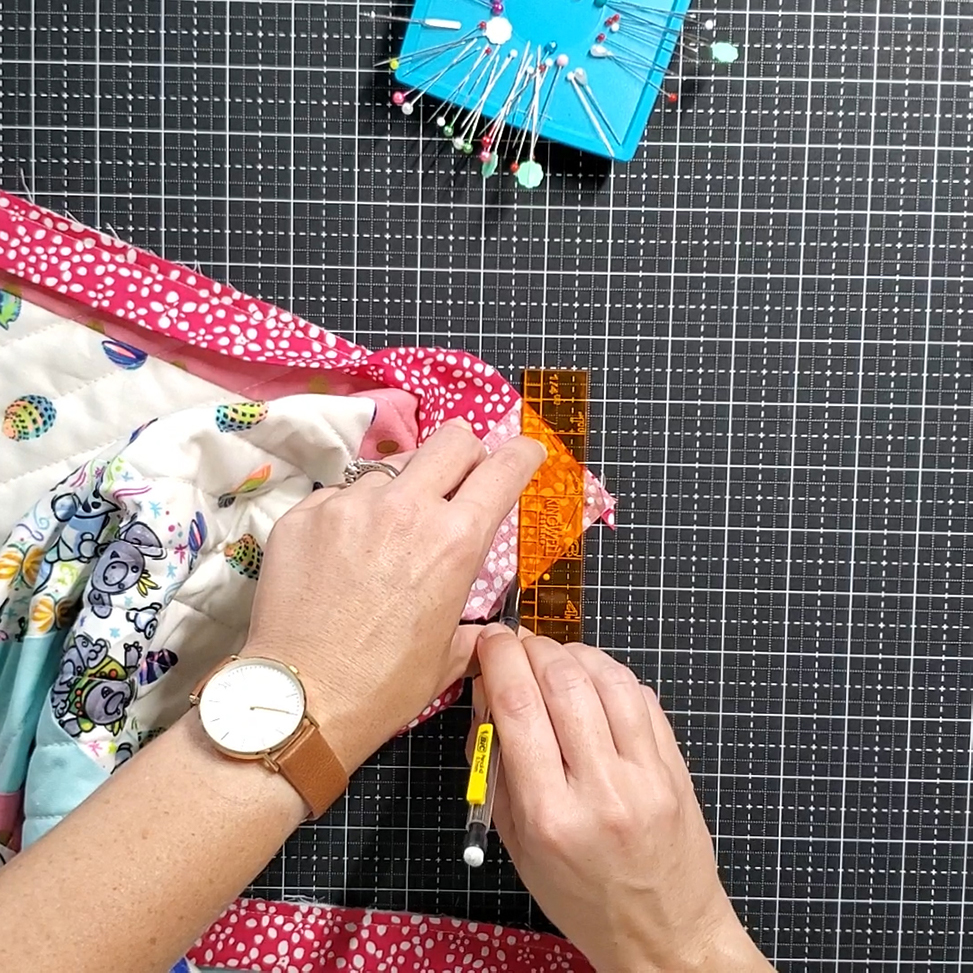
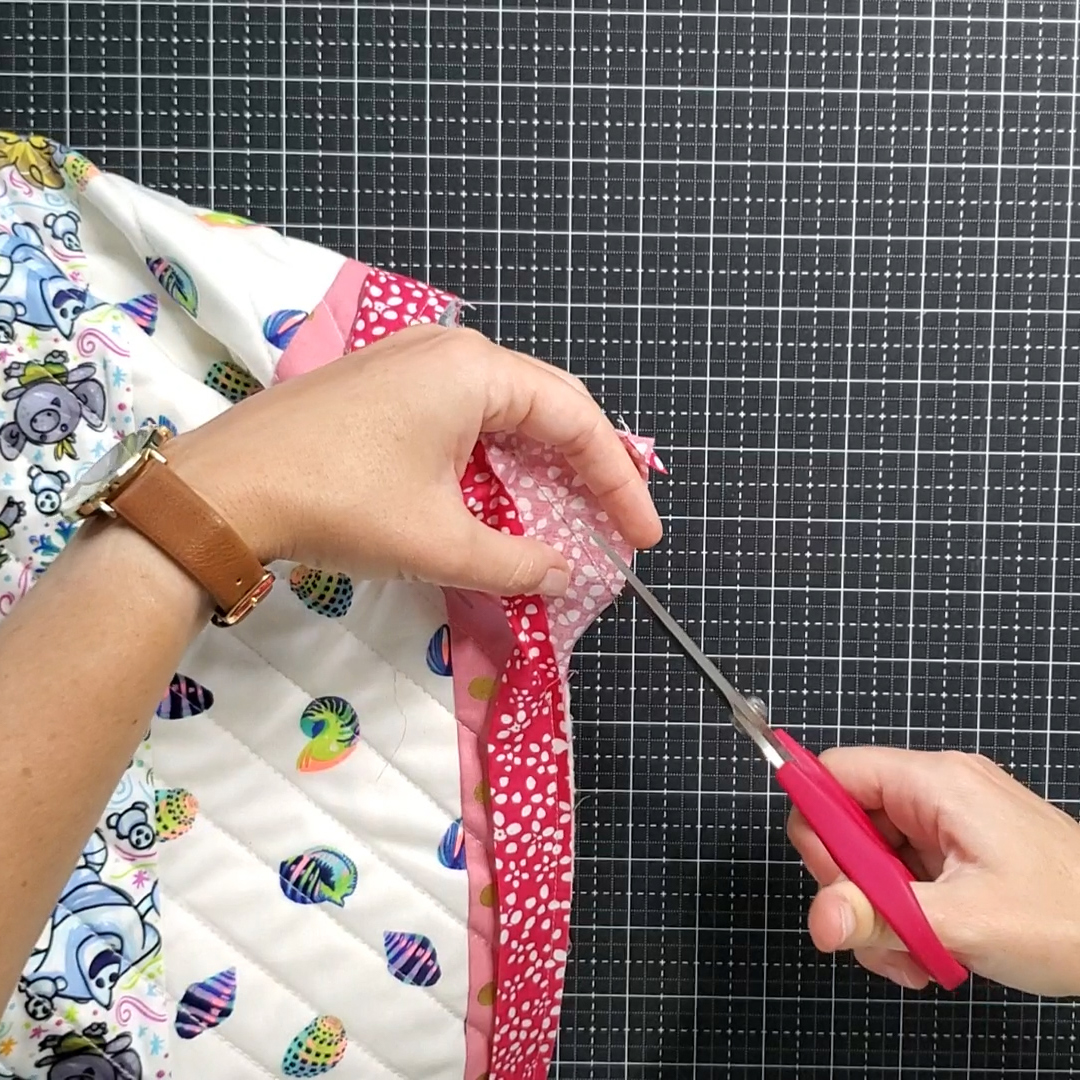
Open and fold along the original crease. This should perfectly cover the opening, with raw edges of binding along raw edges of the quilt. Stitch this opening closed using a quarter inch seam allowance.
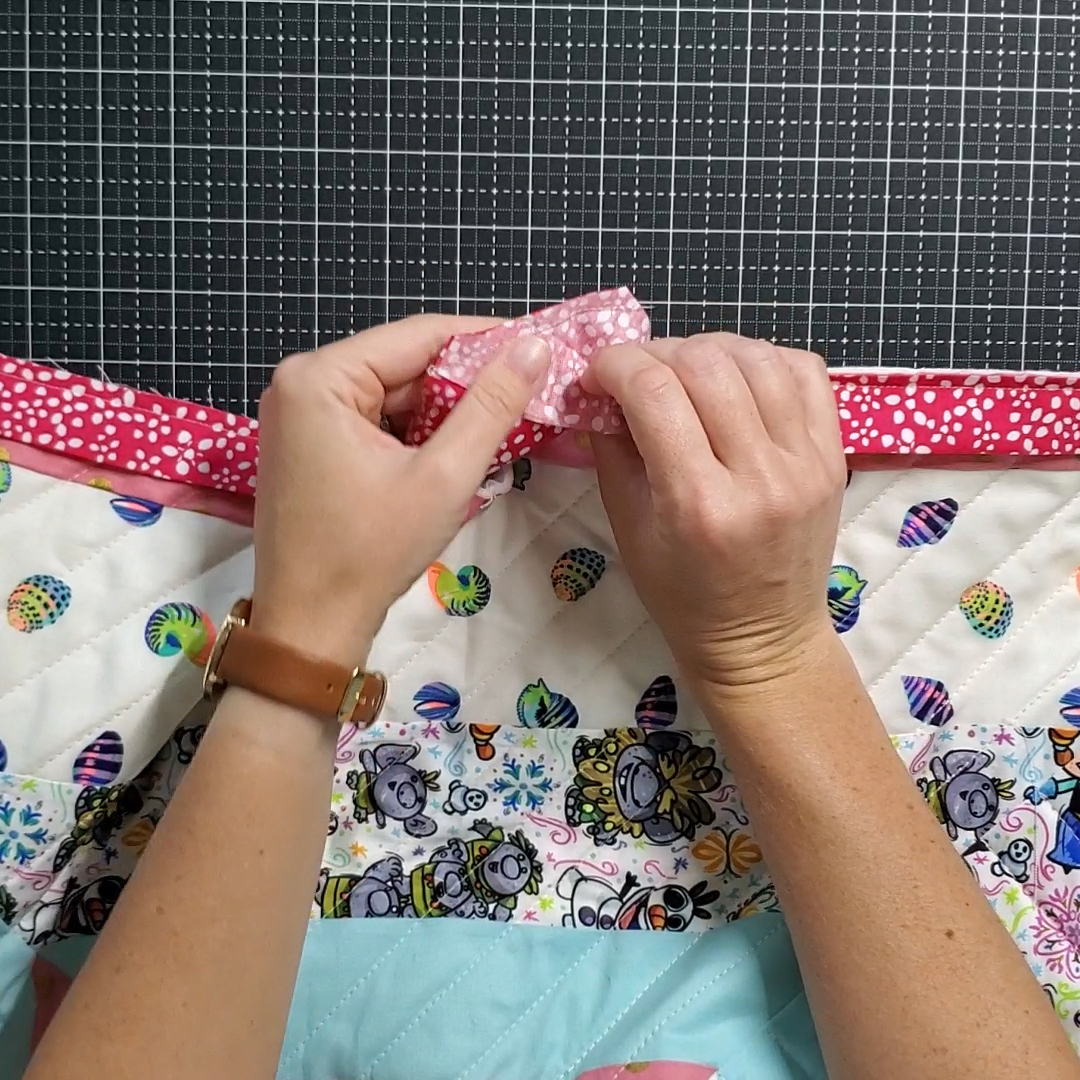
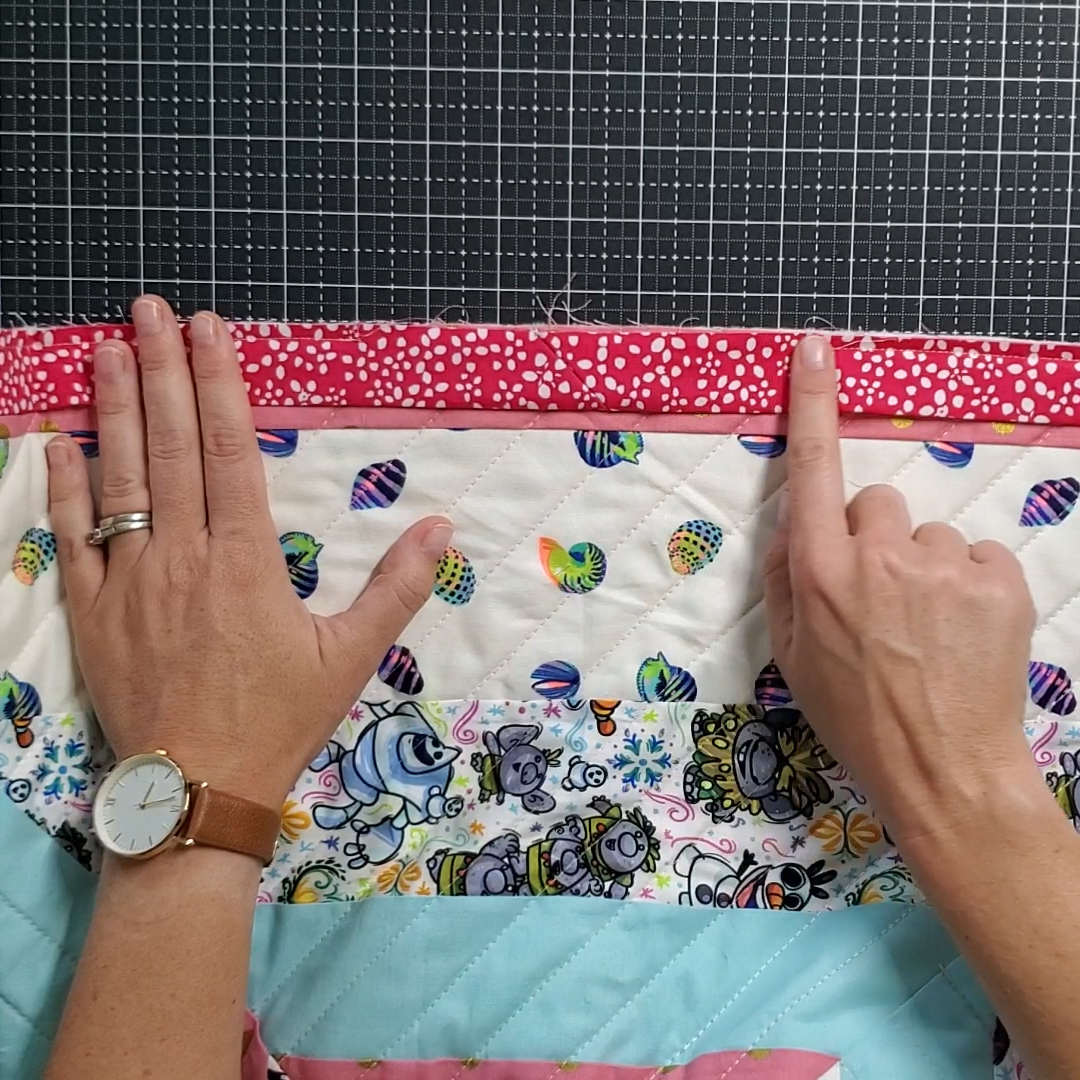
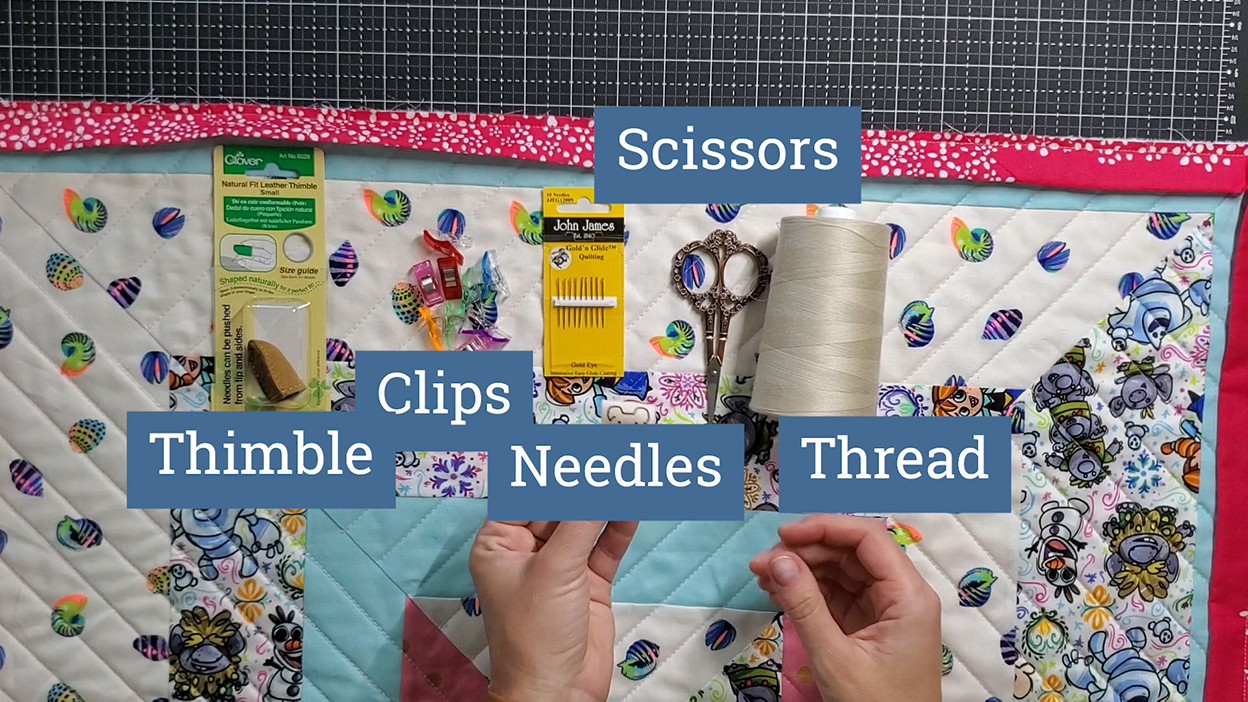
Hand binding the back requires the following tools.
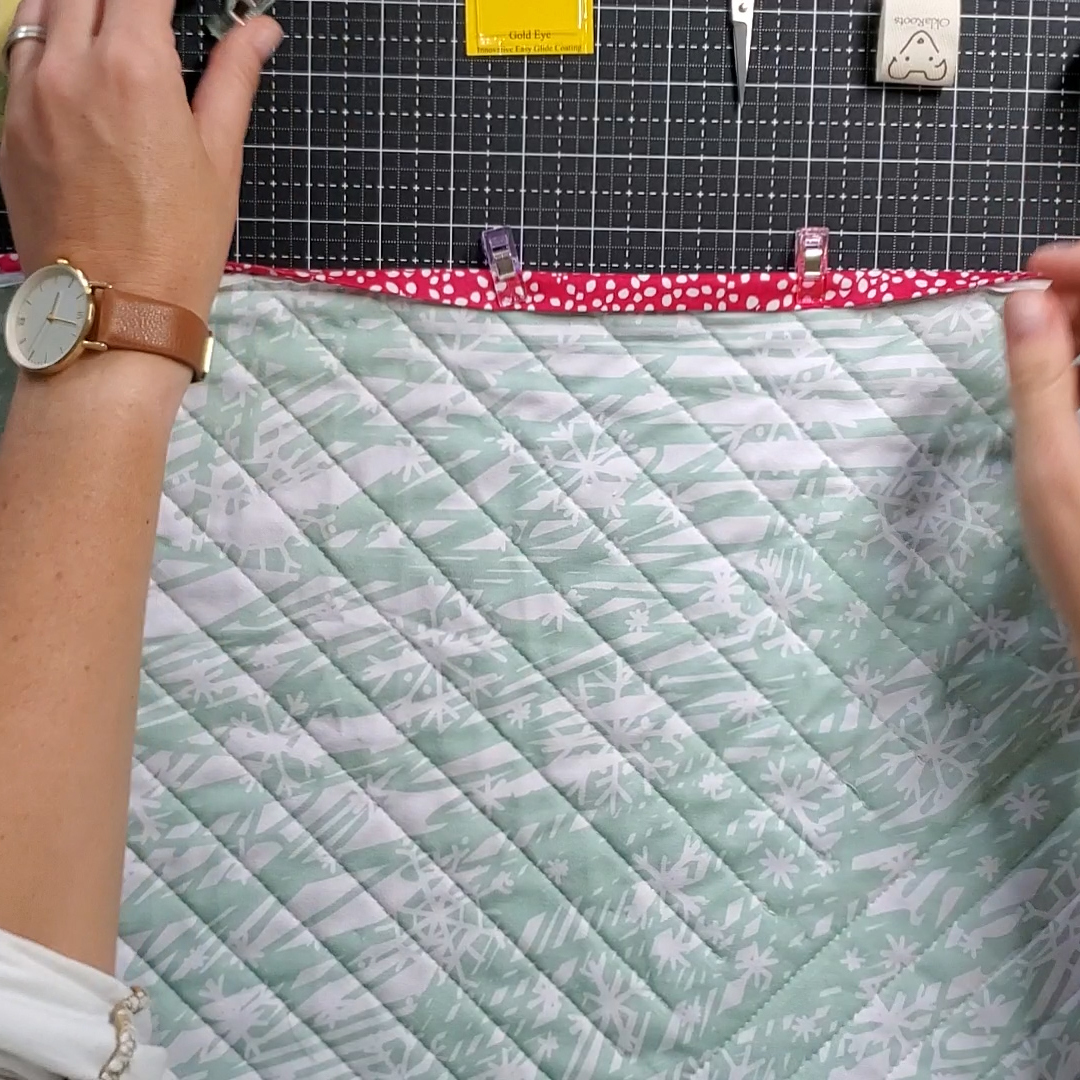
Lay the quilt back side up. Wrap the binding around to cover the seam and pin in place using the clips. Double thread your needle and knot the end. Pull the needle through the backing fabric, close to the seam, and through the binding. The needle should come out of the binding in the crease.
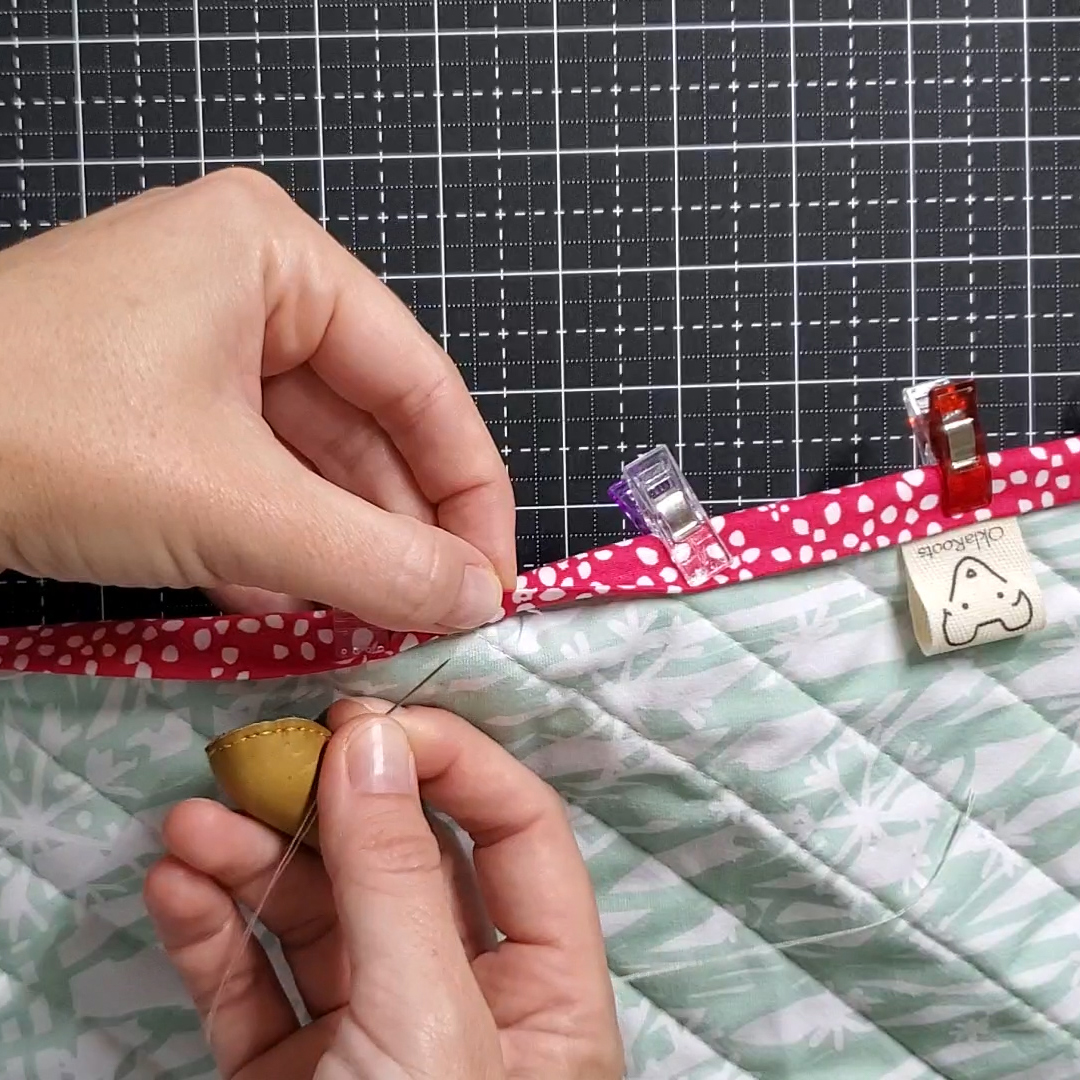
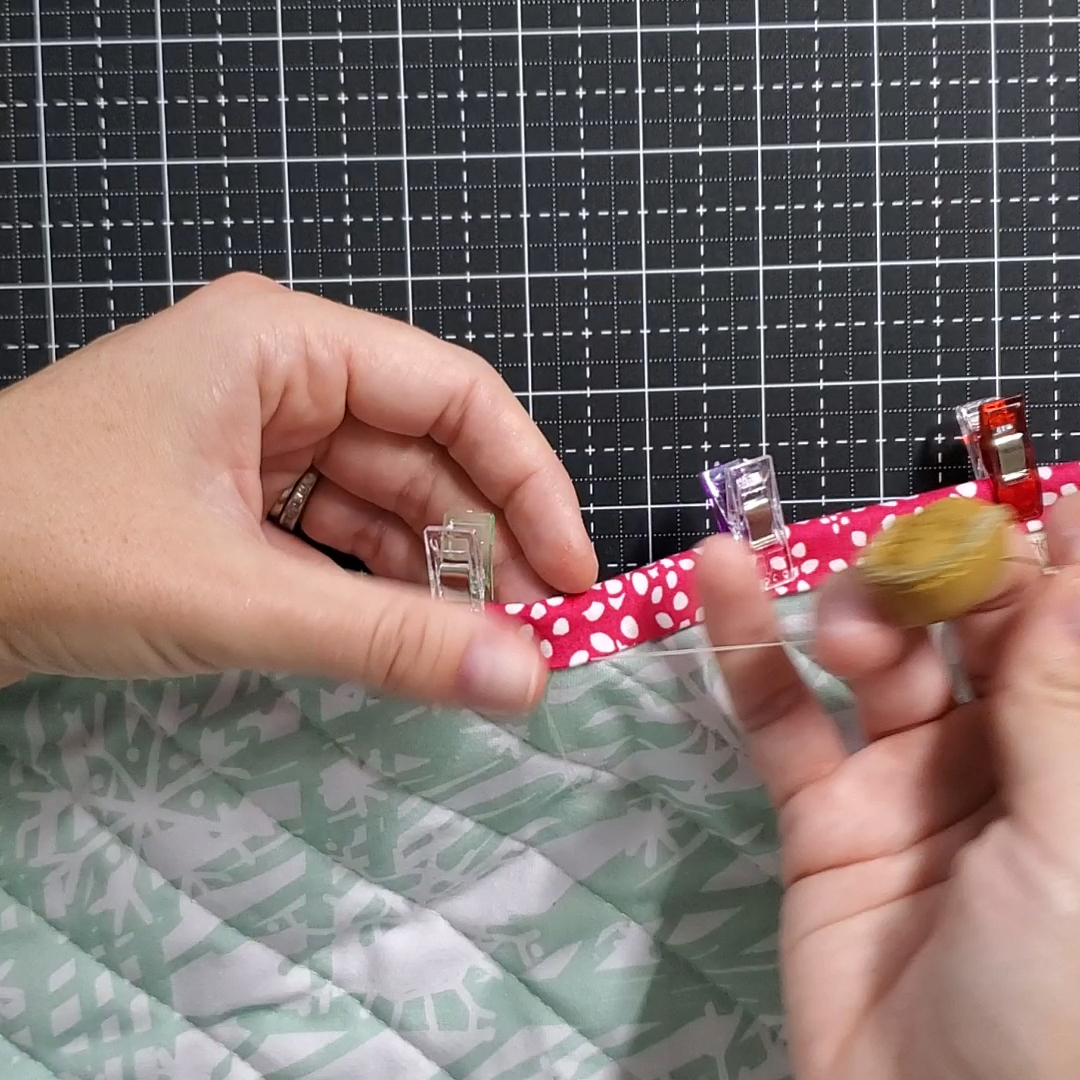
Decide which direction you will be sewing. In my photos, I am working from right to left. Insert the needle close behind where the thread came out of the binding. Push the needles into the backing fabric and then through the binding in front of where the thread came out previously, through the crease. My stitches are about a quarter inch long.
Remember, when sewing this you will always insert the needle slightly behind where it came out, and then pull the needle out of the crease in front. Think 1 step back, 2 steps forward.
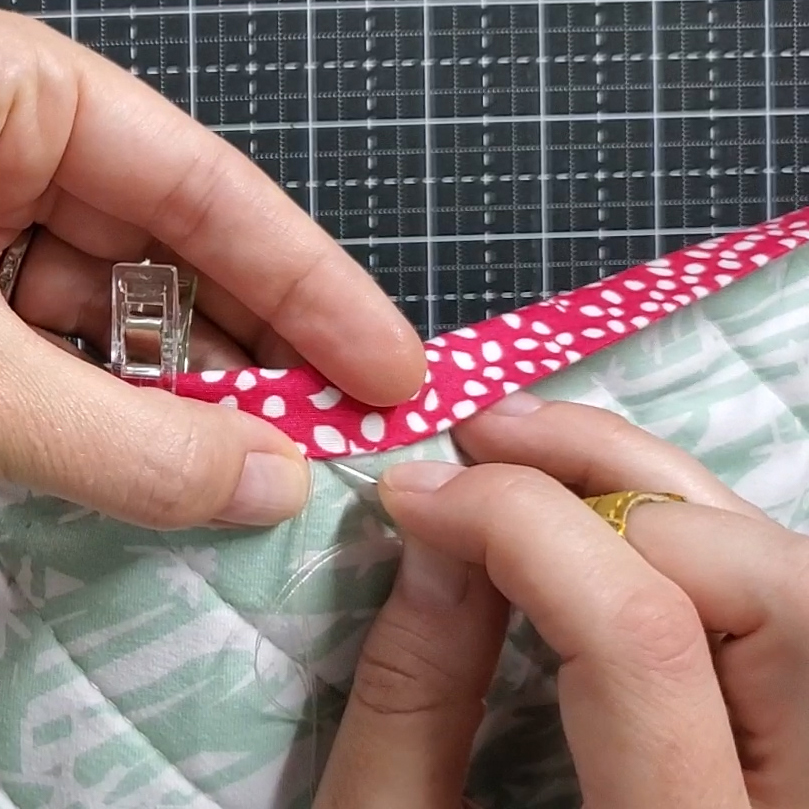
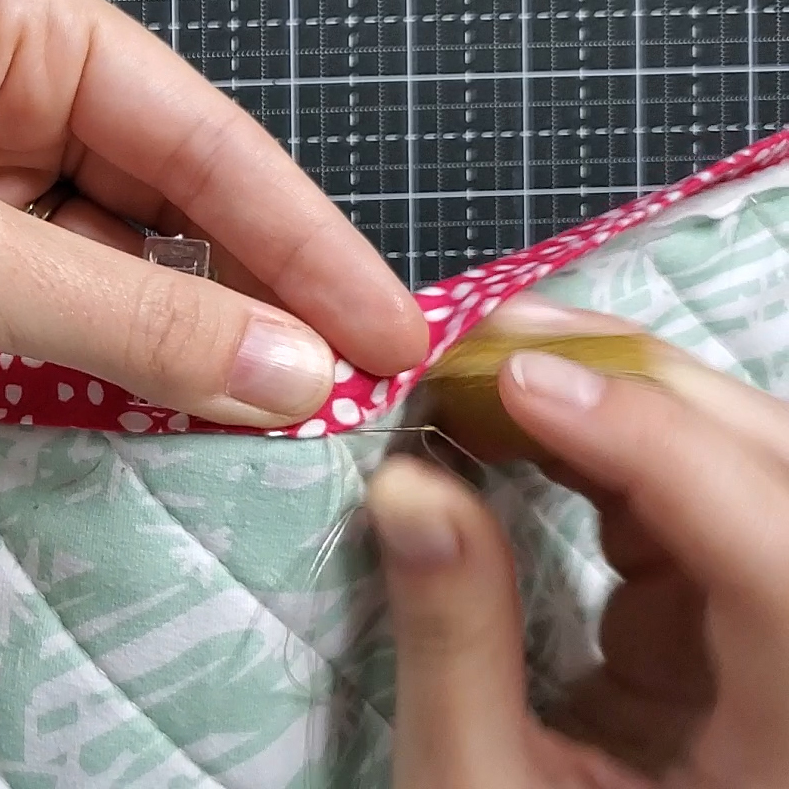
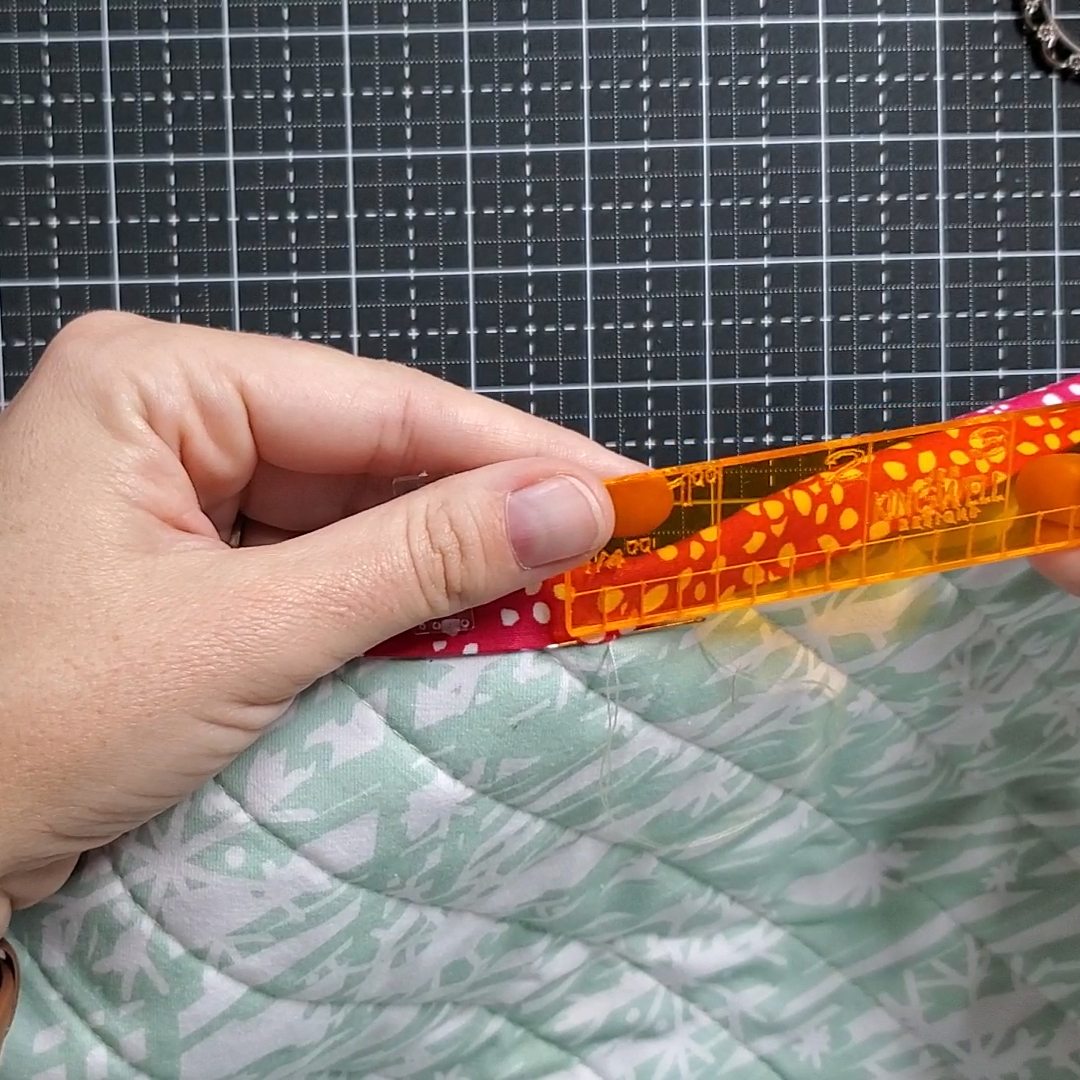
Once your thread has shortened knot it off and pull through the backing fabric, close to the seam.
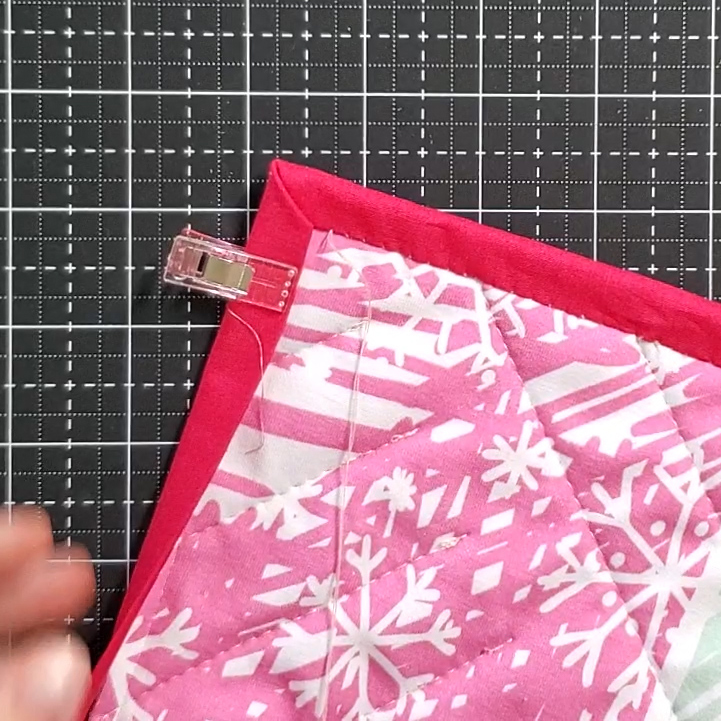
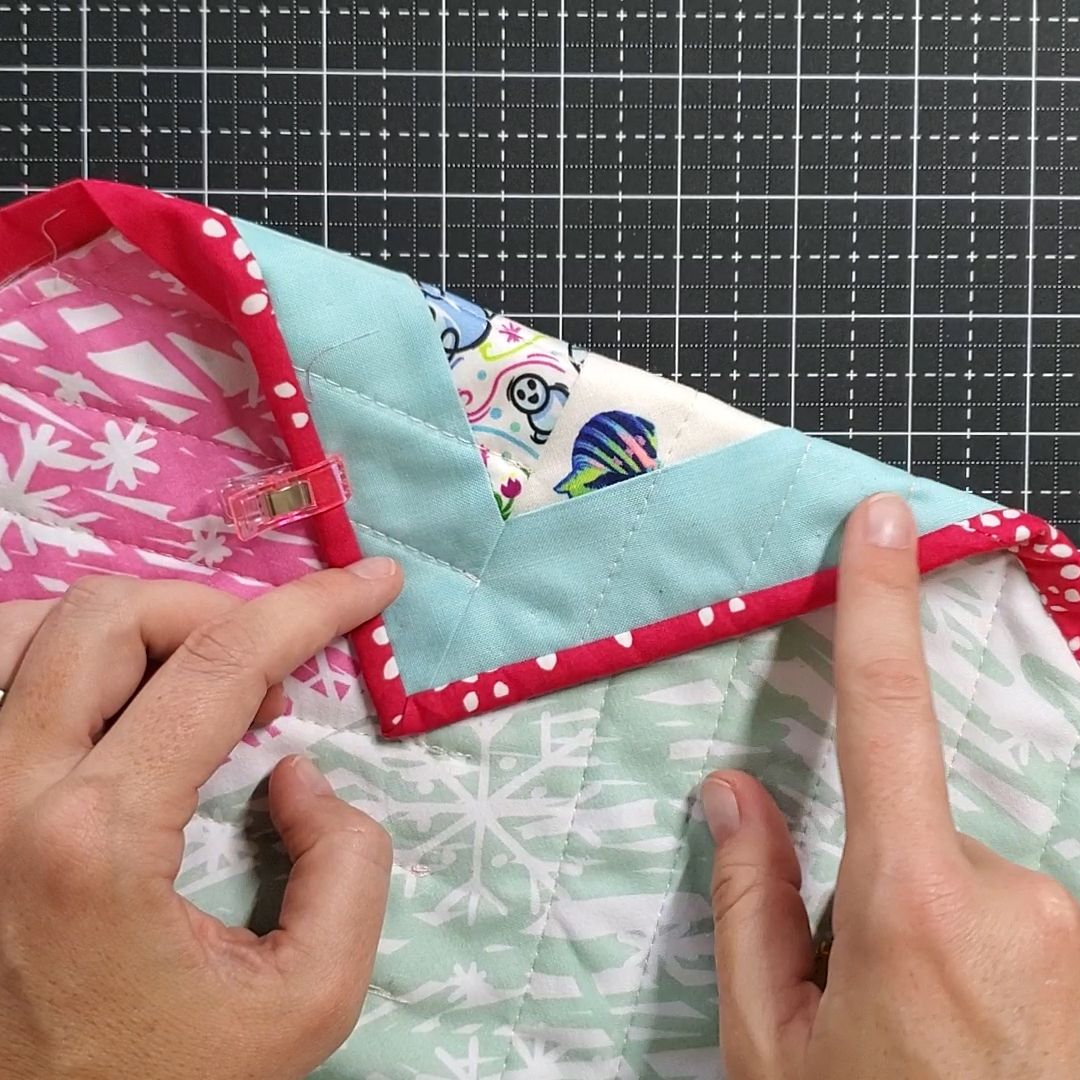
When working with corners, fold down the side you are sewing and leave the next side open. This will create a 45 degree angle on the binding. Then, fold over the next side, so the 45 degree angle now points into the center of the quilt. Adjust as needed to get both edges lined up. Use clips to hold in place.
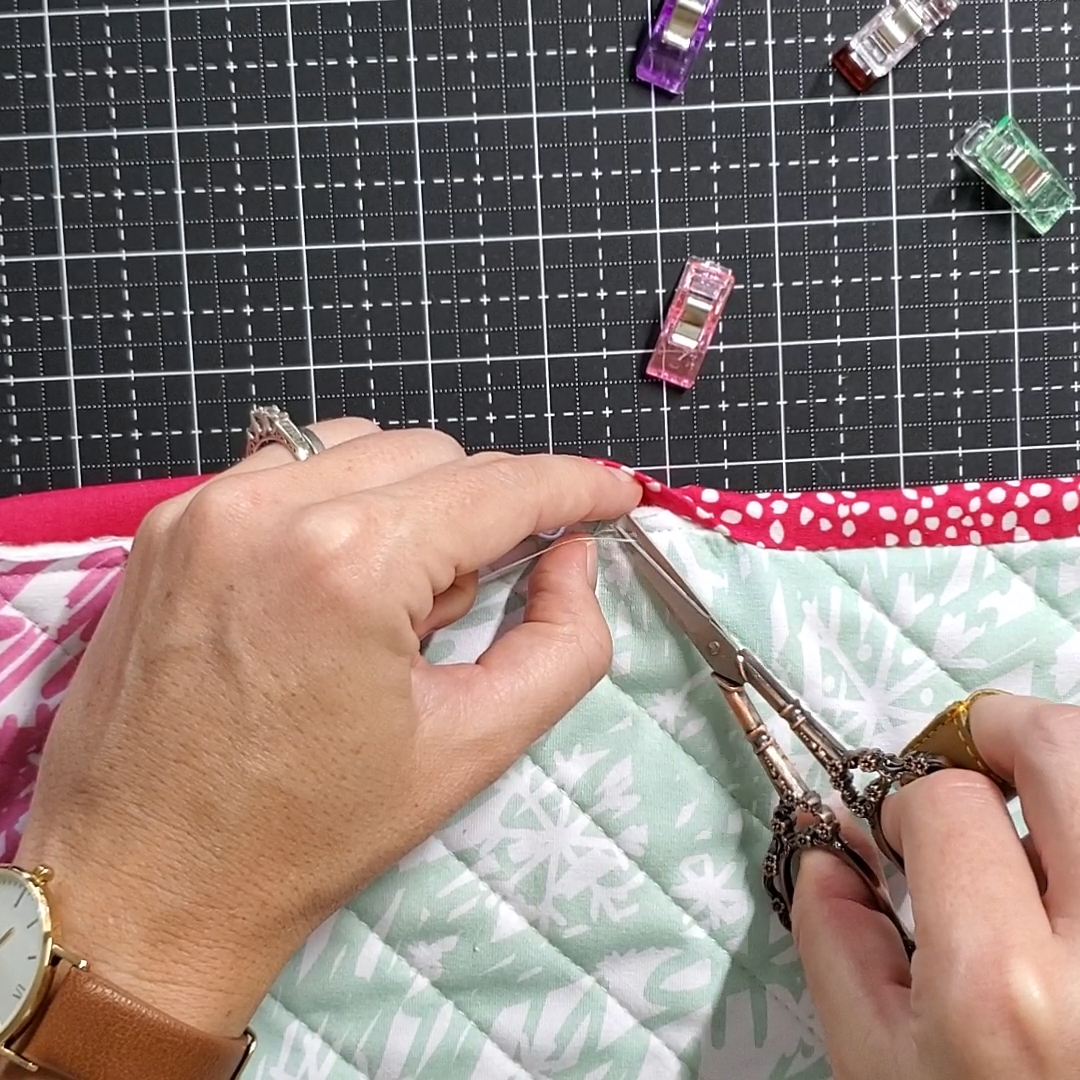
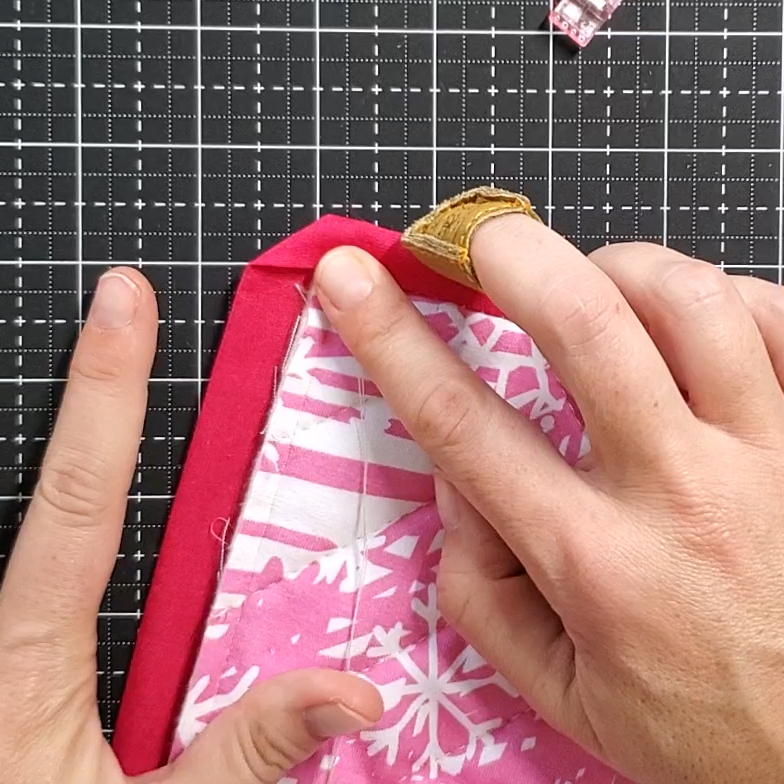
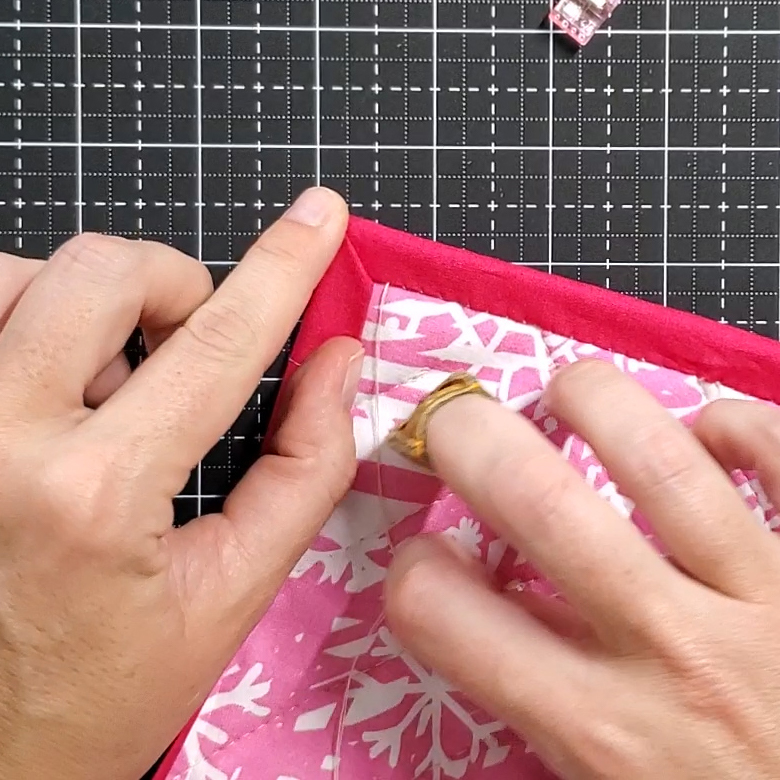
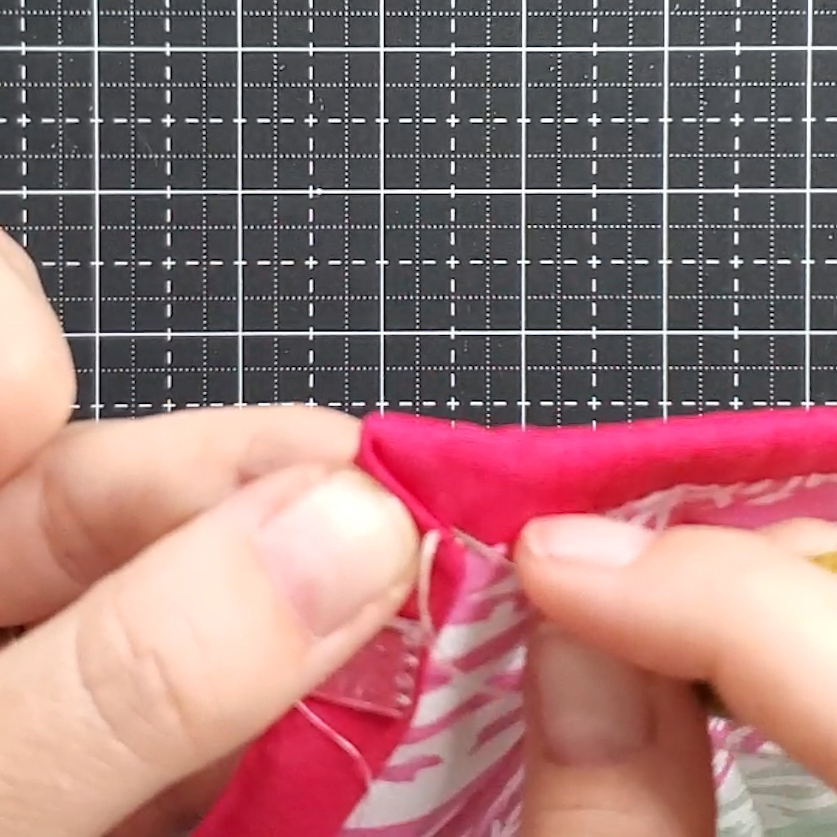
Sew along the binding into the corner, the same way you have sewn the binding on to the quilt. When at the tip of the corner, insert the needle into the binding and push it through the corner towards the middle of the quilt. Pull out in the crease and then continue along the next edge. Do this for each corner.
And that is how I bind my quilts! It takes a bit, but my quilts in general take a bit more time. I love getting the quilts done and binding attached to the front during the warmer months. Then once cool weather comes I have a nice stack to hand bind while watching some awesome fall shows! Another bonus: I get a LOT of quilts completed in a short amount of time (or so it appears).
Happy sewing! Don't forget to use #OklaRootsTuts in any of your social media postings you want me to see!
Do you have a different way of binding your quilts?? Let's hear them!


Joy | 25th Mar 20
May I share your binding page on my new Blog? sewjiyfully.blog
Jess | 10th Apr 20
Yes you definitely can Joy! Thank you for asking.
Karen Grey | 19th Jan 25
Love your tutorials! So informative and well done! Could not have made the Off with their Threads dog poop bags without it! Have you made one for their Vaccine and Passport Holders? Just wondering!
Enjoy the day!!!
Karen
K | 19th Jan 25
Love your tutorials! So informative and well done! Could not have made the Off with their Threads dog poop bags without it! Have you made one for their Vaccine and Passport Holders? Just wondering!
Enjoy the day!!!
Karen
K | 19th Jan 25
Love your tutorials! So informative and well done! Could not have made the Off with their Threads dog poop bags without it! Have you made one for their Vaccine and Passport Holders? Just wondering!
Thanks!