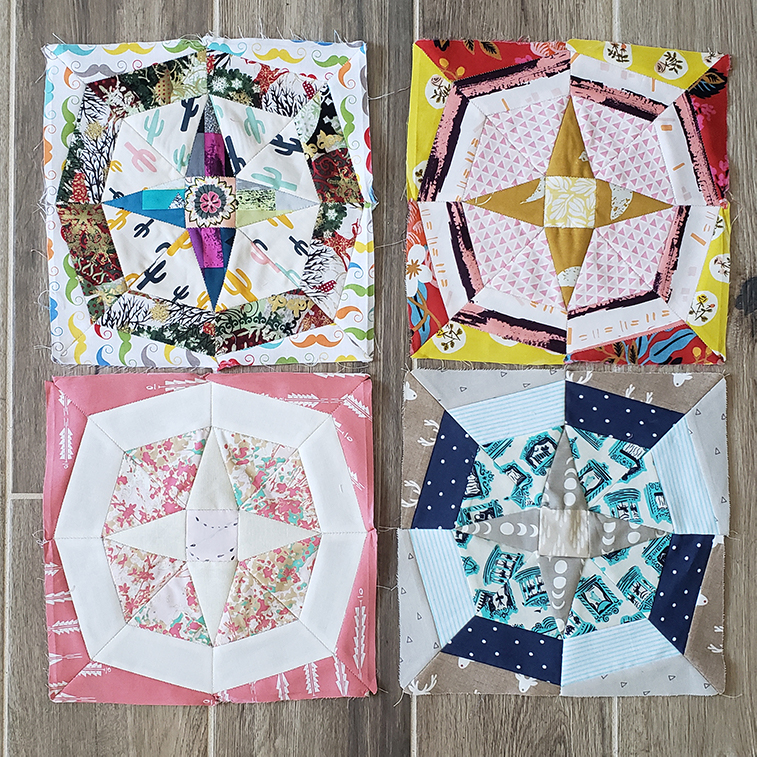
Hello there! Remember me??? You thought I forgot about this sew along, didn't you? Well, jokes on you! I tried to forget about it, but couldn't.
More...
One thing you should know about me is that my eyes are bigger than my... handwork? What I mean is, I have thousands of amazing ideas for various sewing projects floating around in my head and I want to do all of them right now. Which is really quite exhausting, so I end up taking some time (maybe too much time) trying to organize my thoughts.
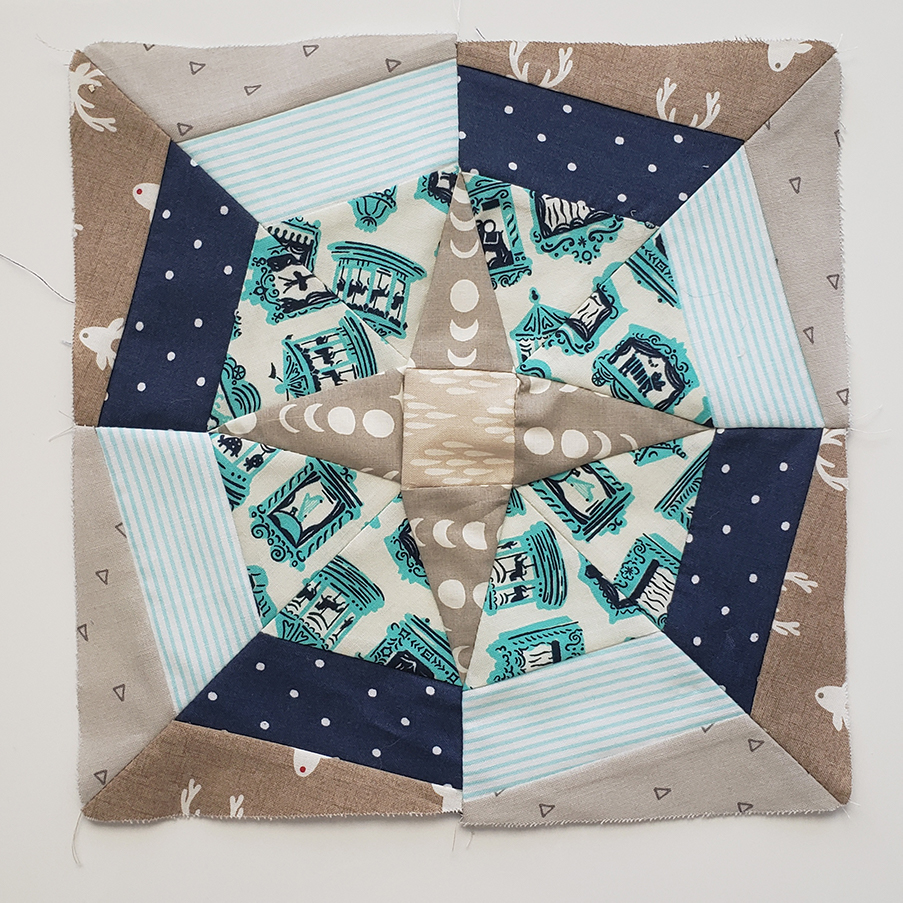
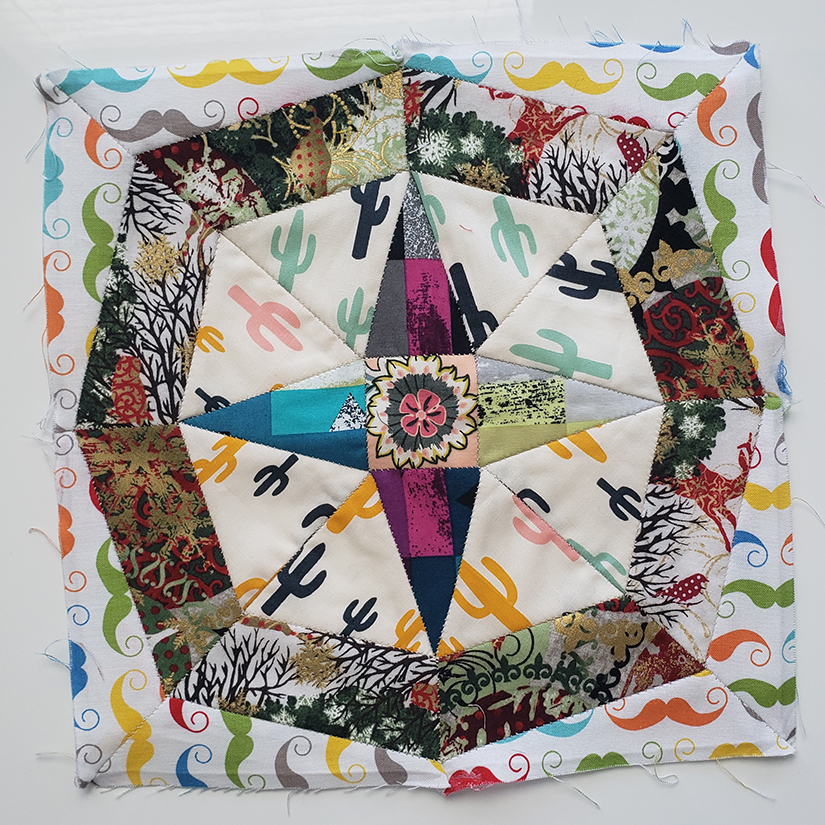
Anywho, I made the first block for Month 6 back in October of 2018. I used the templates to cut my pieces and used my sewing machine to stitch them together. The thing you should know about this month is that it introduces Y-seams. Y-seams and I are not friends. My block was not aligned properly and ended up kind of lumpy. So I put the pattern to the side for a few months until I had the motivation to try again.
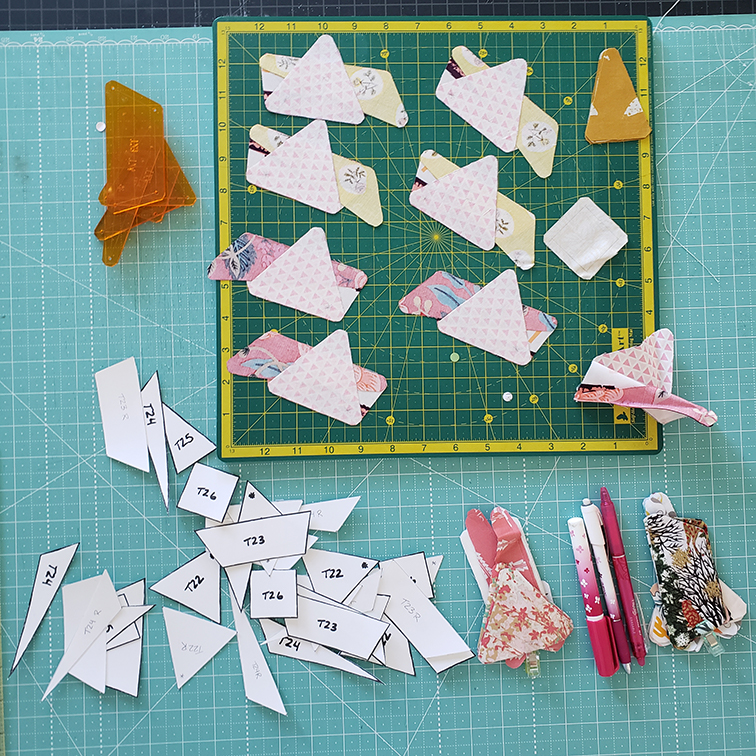
And in April of 2019, motivation returned! However, I decided instead of battling those Y-seams with my machine again, I would instead use a method I am very comfortable with: English Paper Piecing.
There are many video tutorials out there to teach you how to EPP, and I will add to that library at some point. But for now, I can show you how I create the EPP templates.
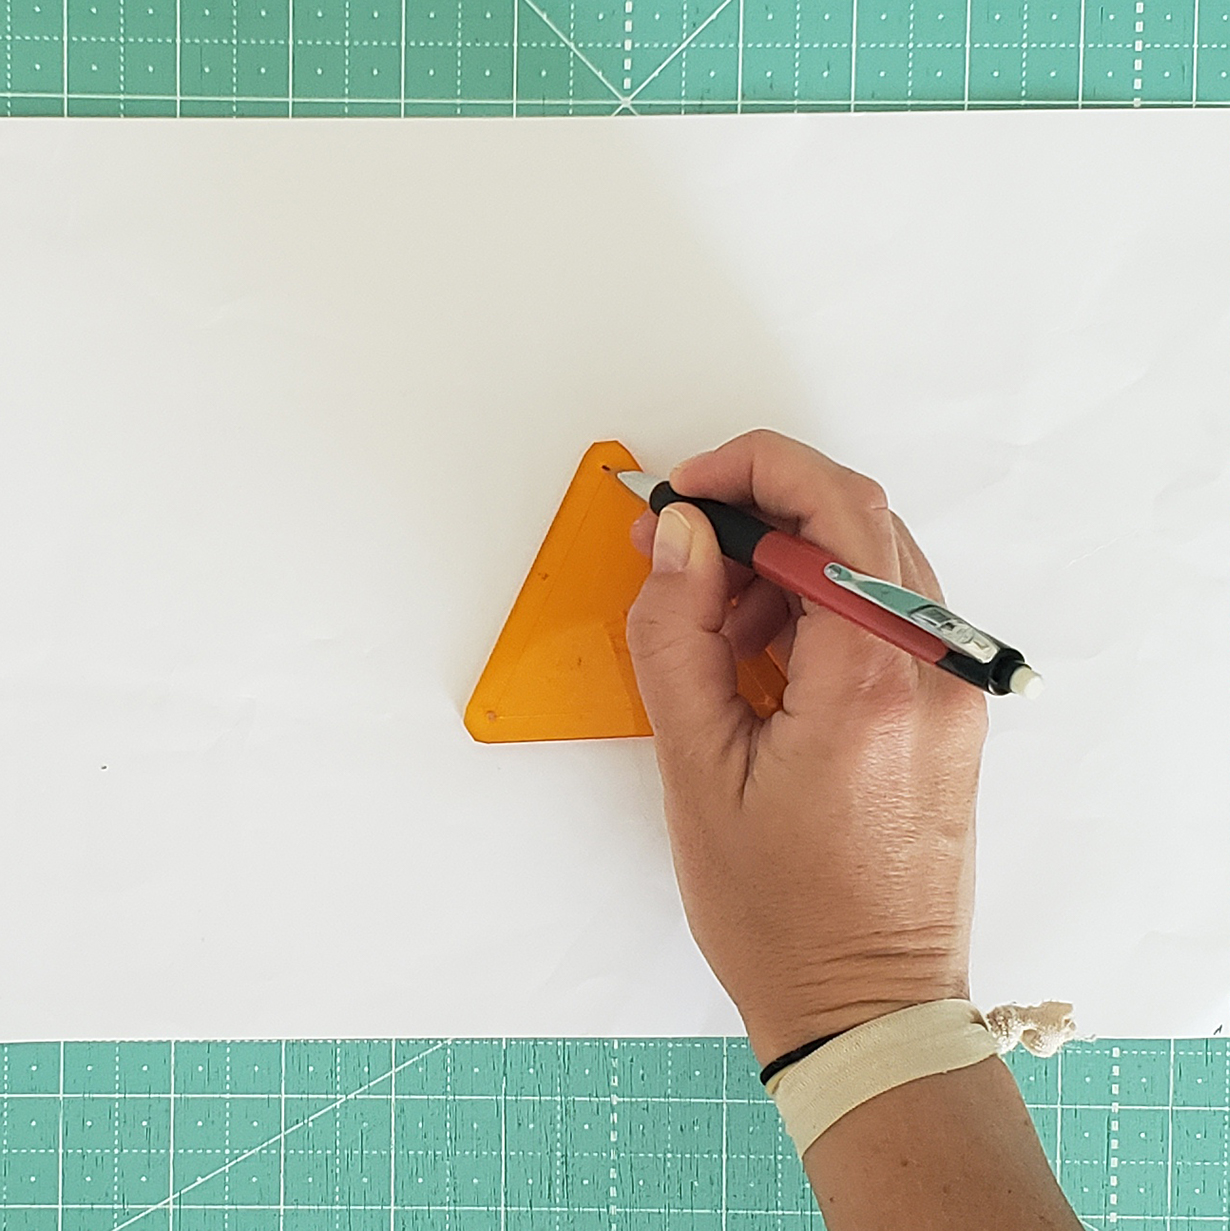
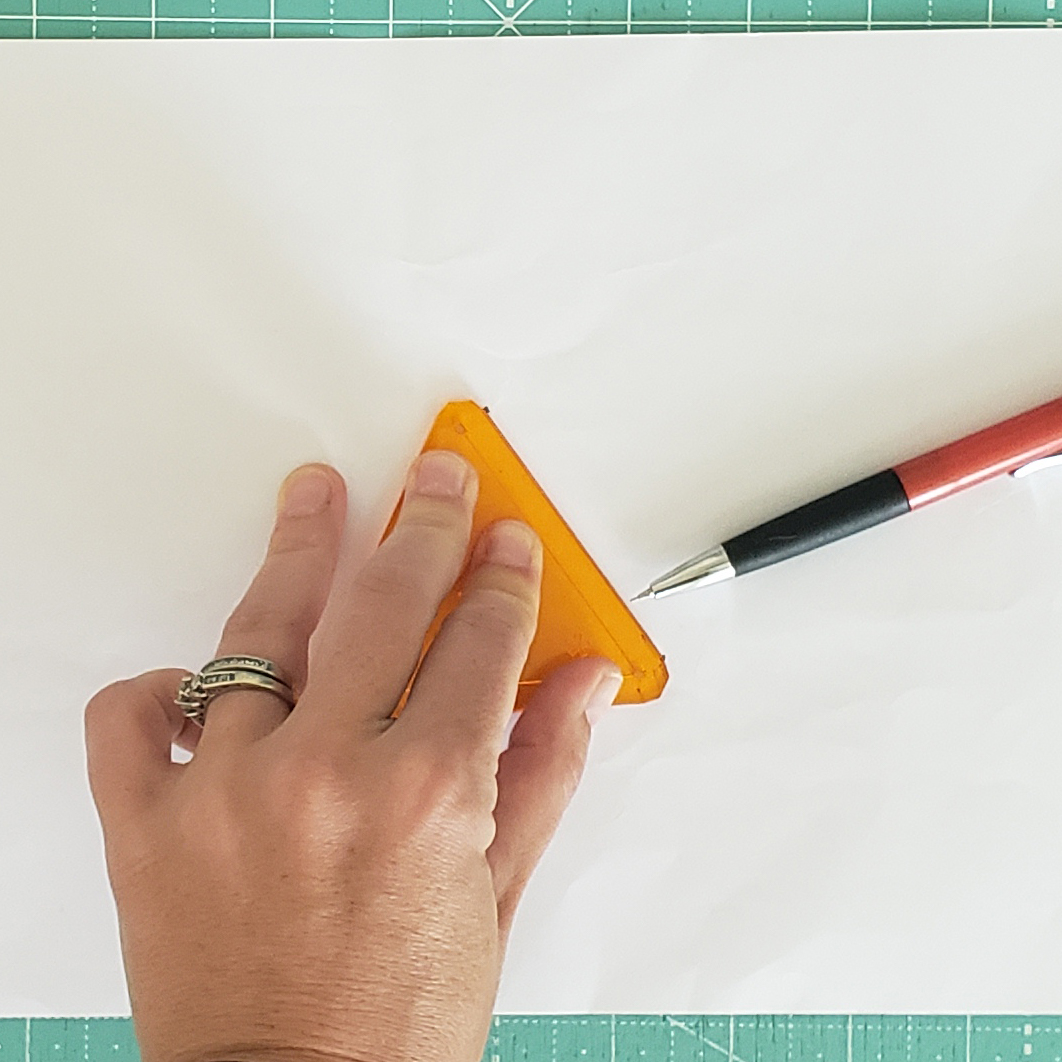
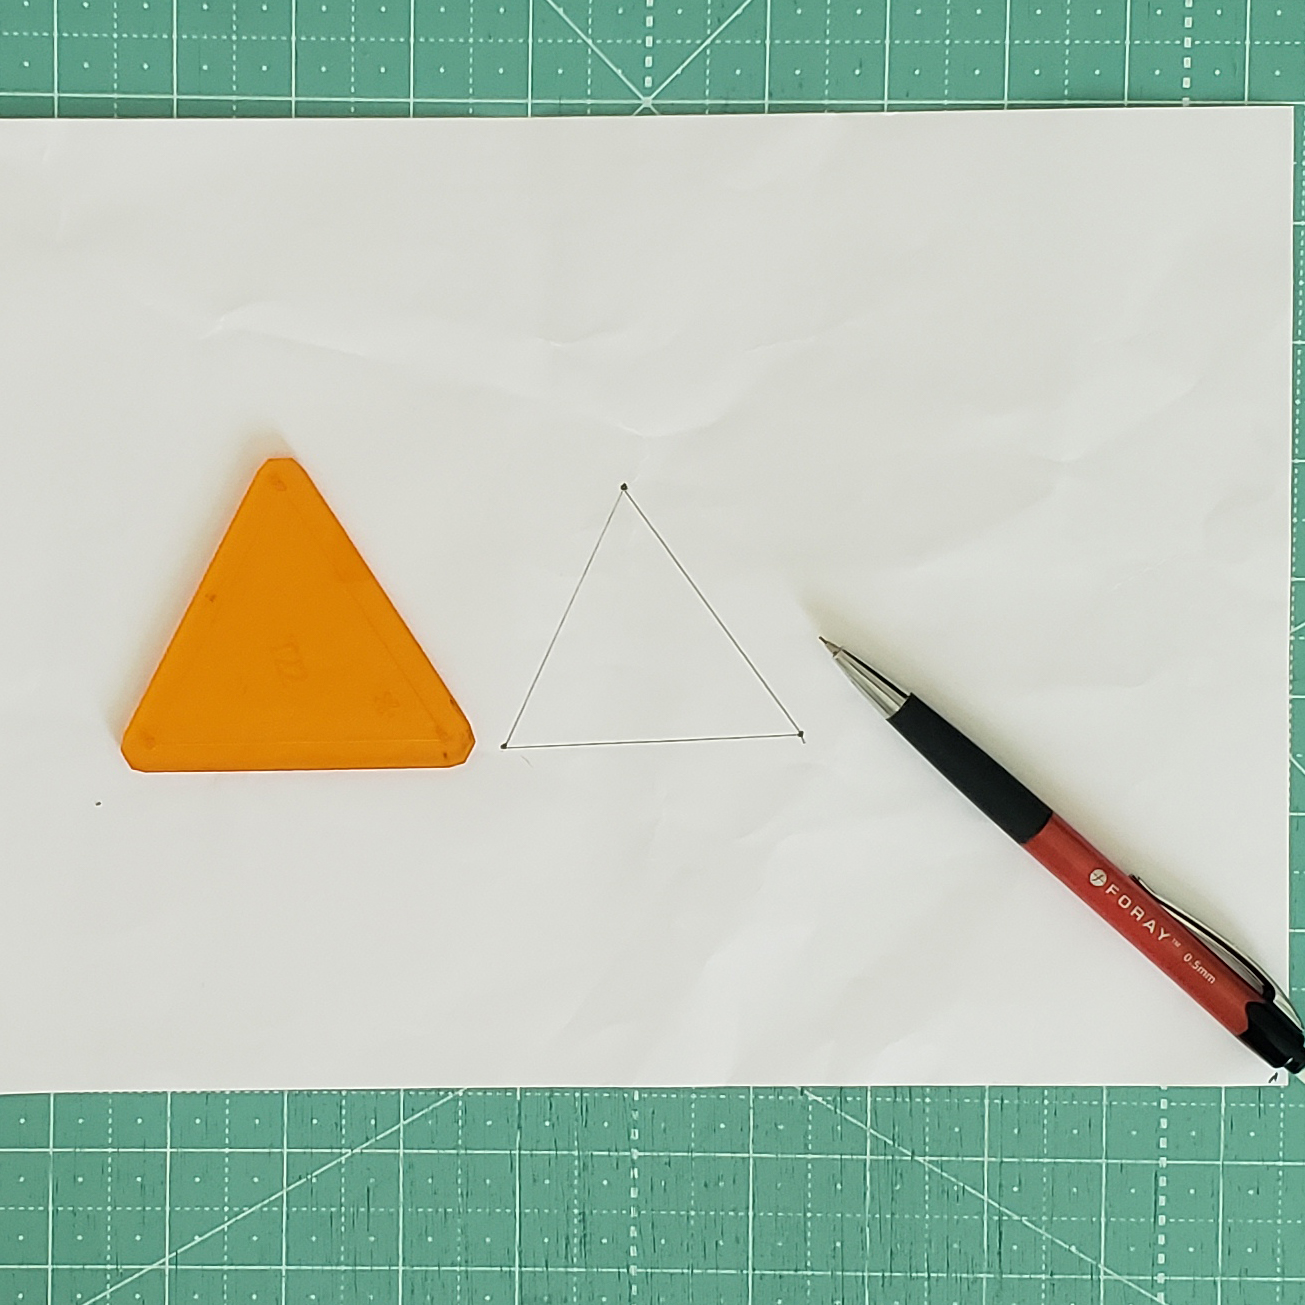
I used the acrylic templates that came with my pattern and some thicker (cardstock) paper. Jen's acrylic templates are created for both machine and hand sewers, so she includes holes in them so you can align pieces appropriately. These holes are also very useful when creating the paper templates for straight lined EPP.
Remember, the acrylic templates include the seam allowance. We want to use these when cutting our fabric, but we don't want that same size for our EPP templates. Instead, we want the inner shape (without the seam allowance).
Using a pencil, draw dots where the holes in the acrylic template are. Then, line up the edge the template with two of the holes and draw a line connecting them. Continue doing this until you have created the appropriate shape. Make sure to write what piece it is, and also create any reversed pieces necessary.
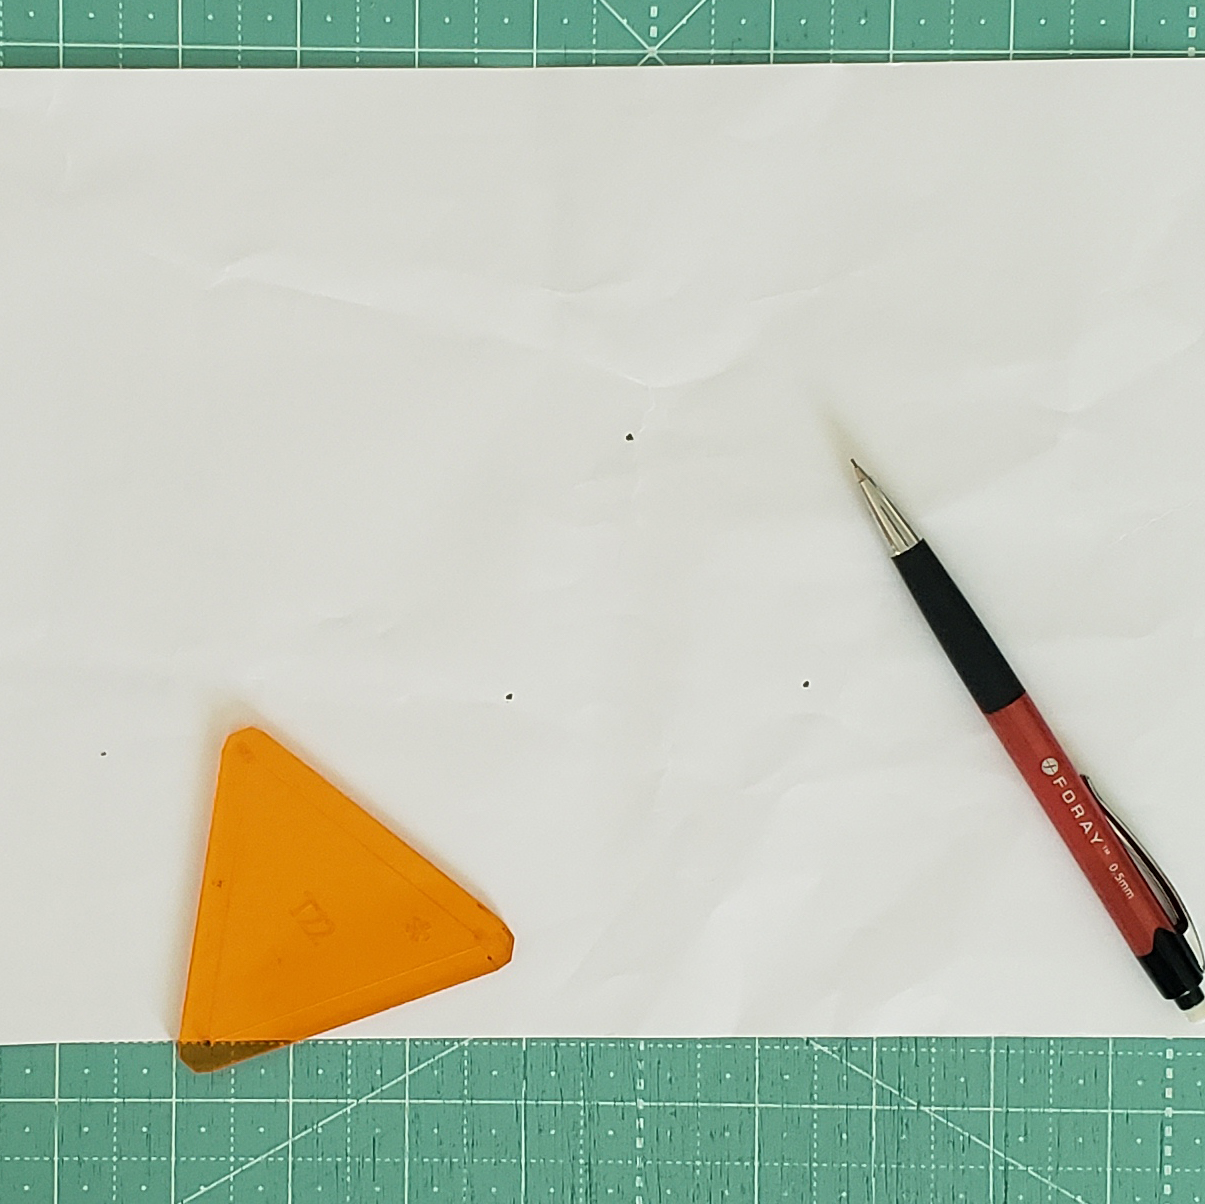
I made one set that I used over and over for the three remaining blocks. As long as you are gentle when removing the EPP pieces from the fabric, they will be in good condition to use again.
I'm pretty happy with these blocks now that it is all said and done. I have to say, I really love EPP. I travel often and it allows me to continue sewing and working on projects when away from my machine. You won't finish a quilt quickly using this method, but it sure is worth it in the end.
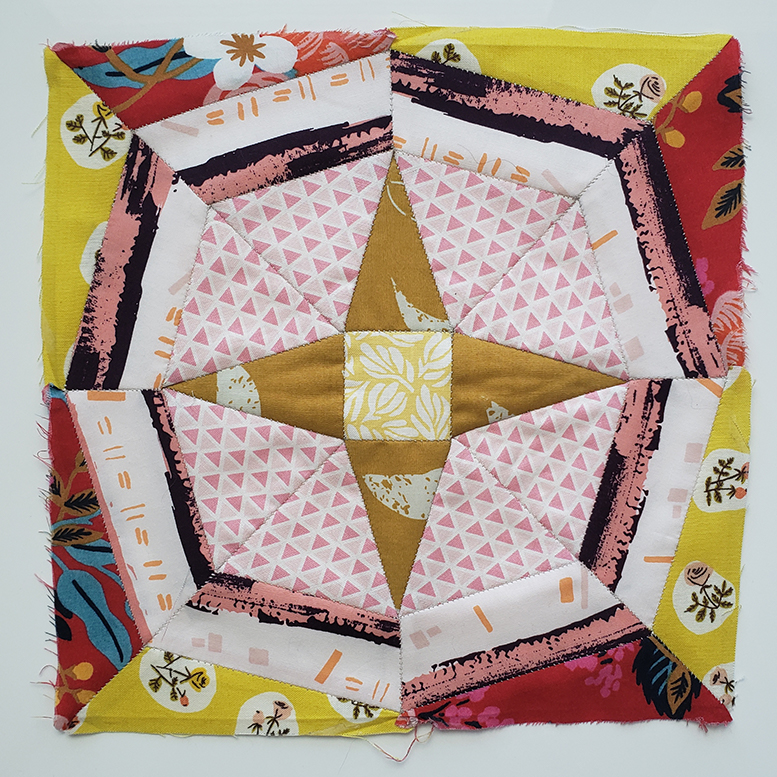
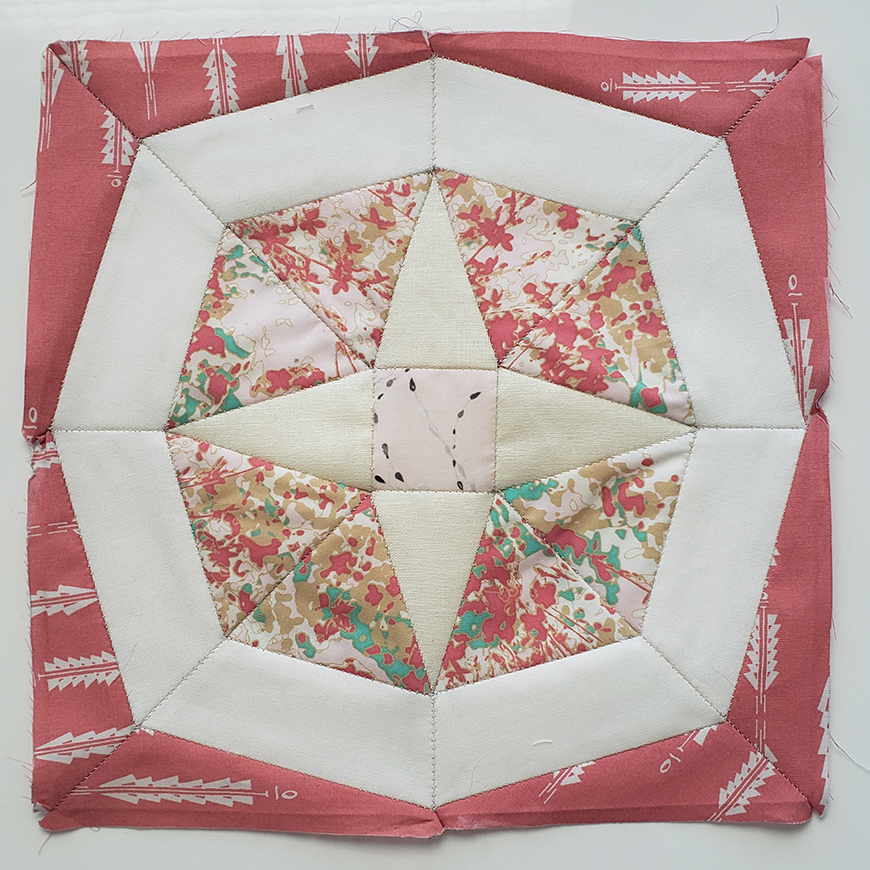
Side note - Just read the intro to Month 7... a warning from Jen that it is a complex pattern. Oh boy! Let's hope I get those done before the holidays!
Check out the other posts I have for the Delilah Quilt here.

Hey there! I get all my bag labels from Inked Papers on Etsy. They are fantastic to work with! https://www.etsy.com/shop/inkedpapers